Four steps to making a minimum viable prototype
Use this process as a guide to try out prototyping before applying it to your work.
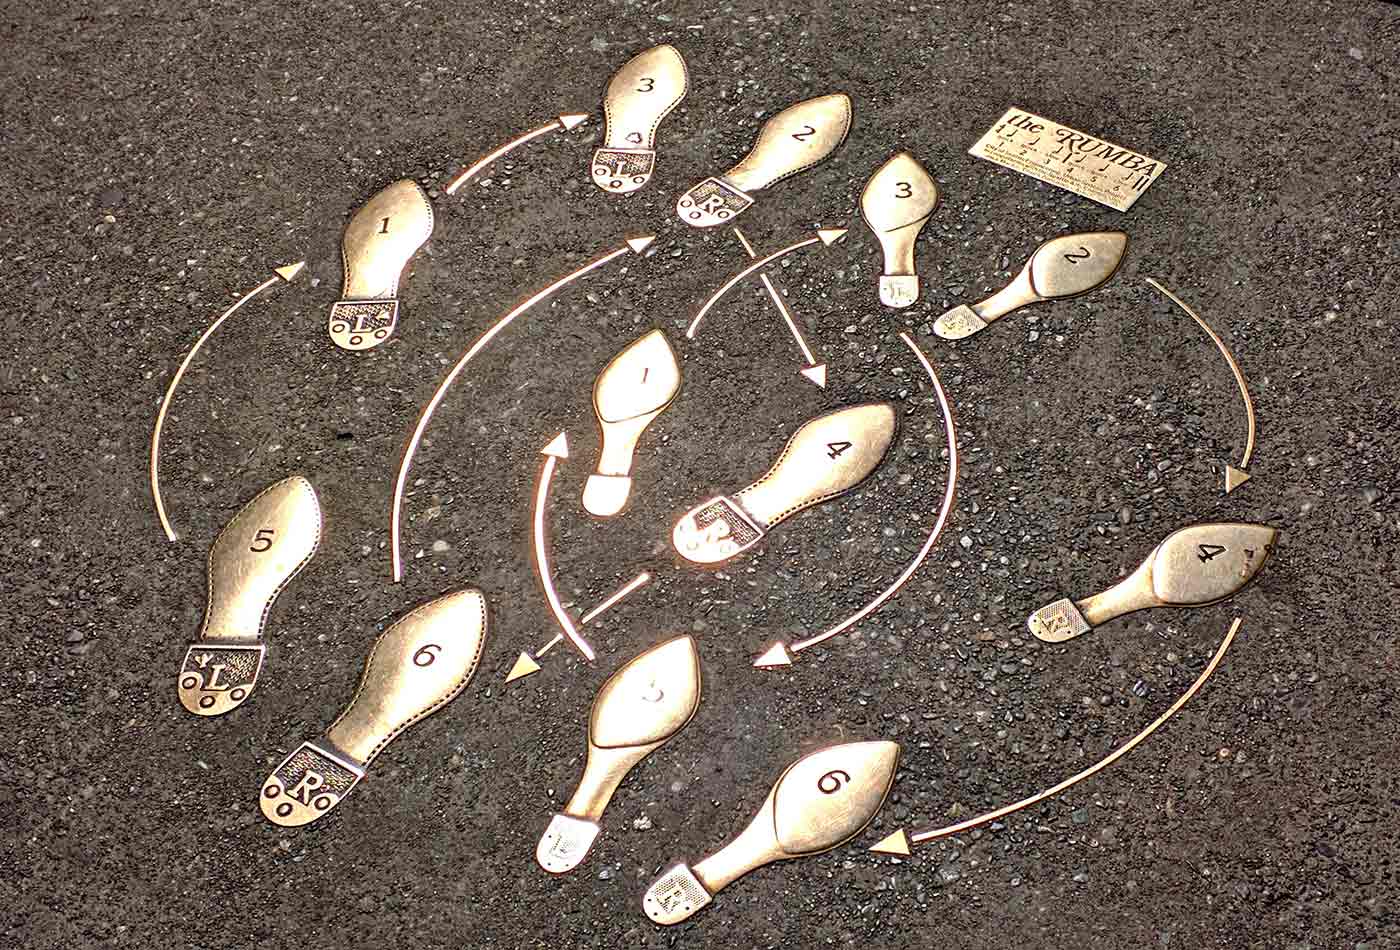 The Rhumba (source: Dicklyon on Wikimedia Commons)
A minimum viable prototype is the least amount of effort and a generalized approach to building a prototype. It will be the first step to becoming more comfortable with incorporating prototyping into your day-to-day work.
Step 1: Establish who your users are and identify their problem
Once you have a good idea of the pain point or problem you’re solving for your users, think of a few different ways to solve that problem.

Learn faster. Dig deeper. See farther.
For example, I have a user who is a female, young professional, and owns a dog, but must travel a lot for work. She has a dogsitter, but wants regular check-ins to see her dog and to connect with it. Currently, there are a few expensive smart objects that allow her to view or interact with her pet, but she has to manually log in, turn on the camera, and hope her dog is in view. From these pain points—expensive tech, manual login, not guaranteed to see the dog—I see an opportunity area to create a new product for this user.
I can solve this problem a few different ways, but after exploring and testing three different ideas, I’ve decided to make a lower-resolution camera connected to a motion sensor that’s mounted at dog-height near the dog’s food and water. The camera will automatically take pictures of the dog when it walks by, and texts these pictures to the user, not requiring her to have an app or manually log in. But if users want more control, they can download an accompanying smartphone app that allows them to angle the camera, and talk to their dog. Now I’m ready for the next step.
Step 2: Write out a user flow that solves their problem
Now that you have a user, a problem, and a direction to solve it, you’re ready to create the user flow that supports that direction. A user flow is the journey the user takes to complete their goal. You can write it out in sentences, make a diagram, or draw it as a storyboard. Figure 1 shows how that looks for a shopping checkout experience.

Your user flow will help you determine the scope of the prototype you need to create, or the extent of the subject matter that a prototype covers. If your main pain point is the signup process of an app, you don’t need to include the entire functional usage of your app in the prototype. Start by prototyping, testing, and improving the signup process. By prioritizing and scoping your work properly, you’ll save time and be able to focus on very tangible results faster. You’ll be able to limit the variables that affect the user’s experience. You can isolate smaller areas to test, then incorporate them all together to test the full product experience. This scoping exercise is especially helpful with electronics, to ensure the different components are functioning before combining them together.
If you don’t have an obvious scope within your user flow, look for assumptions that are not backed by research (which might be everything), and prioritize which assumption is the most crucial to test first (Figure 2). One way to determine priority is to ask yourself “if this assumption is false, will it block the product from being useful or selling?” You’ll want to start with the one that would completely derail your product if it’s wrong.

For example, the UI text you choose for your navigation might not match your user’s mental model. If you choose witty text instead of direct terminology, your user might not understand how to find specific functions of your product (Figure 3). So, the best prototype to start with would be one to test your navigation and call-to-action text to make sure your user understands what it means.

Another example is choosing the icon types for a smart object interface (Figure 4).

For our example, I’ve made a user flow and found a few interesting assumptions that will need to be tested (Figure 5).

One assumption is that the dog will be active enough to trigger a motion sensor. Another is that the images the camera takes will be good enough to make it worth texting to the owner. The former is a huge deal breaker; if the dog doesn’t trigger the camera, then there’s no product. The latter is something that can be fine-tuned after the launch. So, I now know that I need to make a prototype to test my motion sensors with real dogs to see how much motion is needed to trigger the sensor.
Step 3: Make the prototype to address the user flow
Take the user flow that you’ve written or diagramed and draw wireframes, or combine the necessary electrical components that you need to create the prototype that you require. At this point, you’ll need to choose what fidelity level would be best. Read Chapter 3 for details on how to choose a fidelity level.
Overall, you’ll want to use a low-fidelity prototype early in your process and gradually increase the fidelity level as your idea becomes more refined. You’ll need to choose your medium for this prototype such as a paper prototype, coded or interactive prototype, breadboard-based prototype, or unit-test prototypes (more about each one of these in Chapters 5 and 6).
Draw out the screens, or write code for the components, for each step you decided is crucial to test. Ensure your prototype is addressing the assumption you’re trying to improve. Figure 6 shows an example of a quick paper prototype for testing the navigation of a celebrity news app.

For the motion sensor prototype for our new dog product, I’ve put together a quick breadboard prototype with a motion sensor, an Arduino microcontroller, and an LED light (Figure 7). With these two components and a little bit of code, I can see exactly how much motion it takes to set off the sensor. The code I’m using will turn on the LED light whenever it sees motion, and turn it off after the motion stops. Now I’m ready to set up and test the prototype.

Step 4: Test, take stock of results, and repeat
Now you’re ready to test the prototype! Write up your research plan (see Chapter 7 for details), find a few users to test with, and observe what went well and what didn’t. It’s best to have an additional person help you with your user test so you can ask questions and they can take notes. Keep in mind that it’s a good thing if the user gets lost or doesn’t complete the task properly. That means you’ve found an area you can improve, and that the prototype was a good use of time.
After testing with a few different people (shoot for four to eight, based on the advice outlined in Erika Hall’s Just Enough Research [A Book Apart]), take stock of your notes. Did a pattern emerge from the feedback? Was your assumption validated or invalidated? Did any other insights pop up randomly that you didn’t previously consider? Take these insights back to your original user and problem, and think through how you can improve the experience. Go back through this process and make another prototype with a newly prioritized list of assumptions based on your user testing.
Finally, for our new dog product, I was able to test with a few different breeds and sizes of dogs to check for the proper motion sensor calibration (Figure 8).

Based on the tests, the sensor should not necessarily be near the food bowl, but positioned in the common room in which the dog spends the most time. That way, when the dog jumps up on the couch or curls up on his dog bed, the camera will capture the dog at its best.