■ Create a Cutout—Want to get creative?
Try using the cutout tool to trim away the
background. Then insert a new back-
ground photo, or create a shape to place
behind your cutout. The only limit now is
your imagination!
Adding Text or Shapes to Your
Photos
Picture It! enables you to add graphics and text,
and so on, to your images via the Add Something
menu item. Choices include the following options:
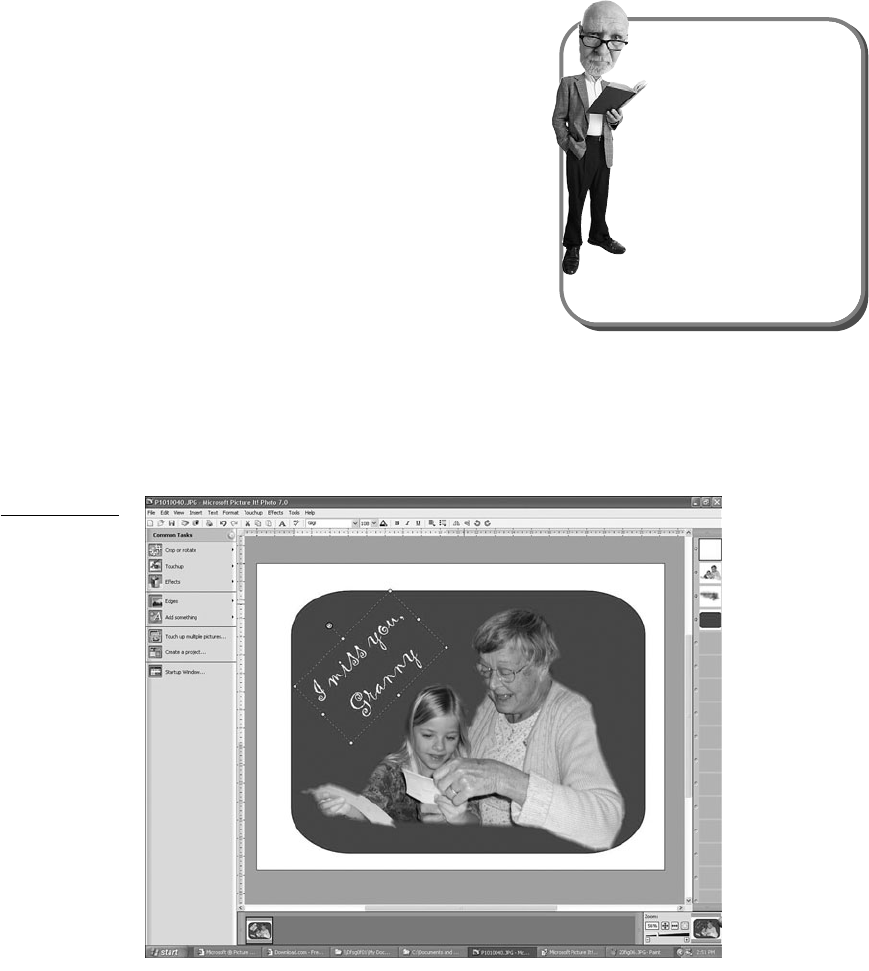
■ Text—This full-featured text tool lets you type a caption or greeting directly
into your image. Simply click and type. You can reposition the text box by
dragging it, in addition to resizing, stretching, or skewing it. Just click and
drag any handle to get the desired effect (see Figure 20.7).
CHAPTER 20 CUSTOMIZING THE MY PICTURES EXPERIENCE WITH PICTURE IT!
271
tip
You may want to use the
Soft Edges effect (see
“Adding Edges, Frames, and
Mats”) in conjunction with
the cutout tool to subtly blur
the edges and produce a
better blending effect in
your final image.
FIGURE 20.7
As shown in this
example, you
can easily tilt
the text, change
font styles, and
even vary text
colors to achieve
the look you
want.
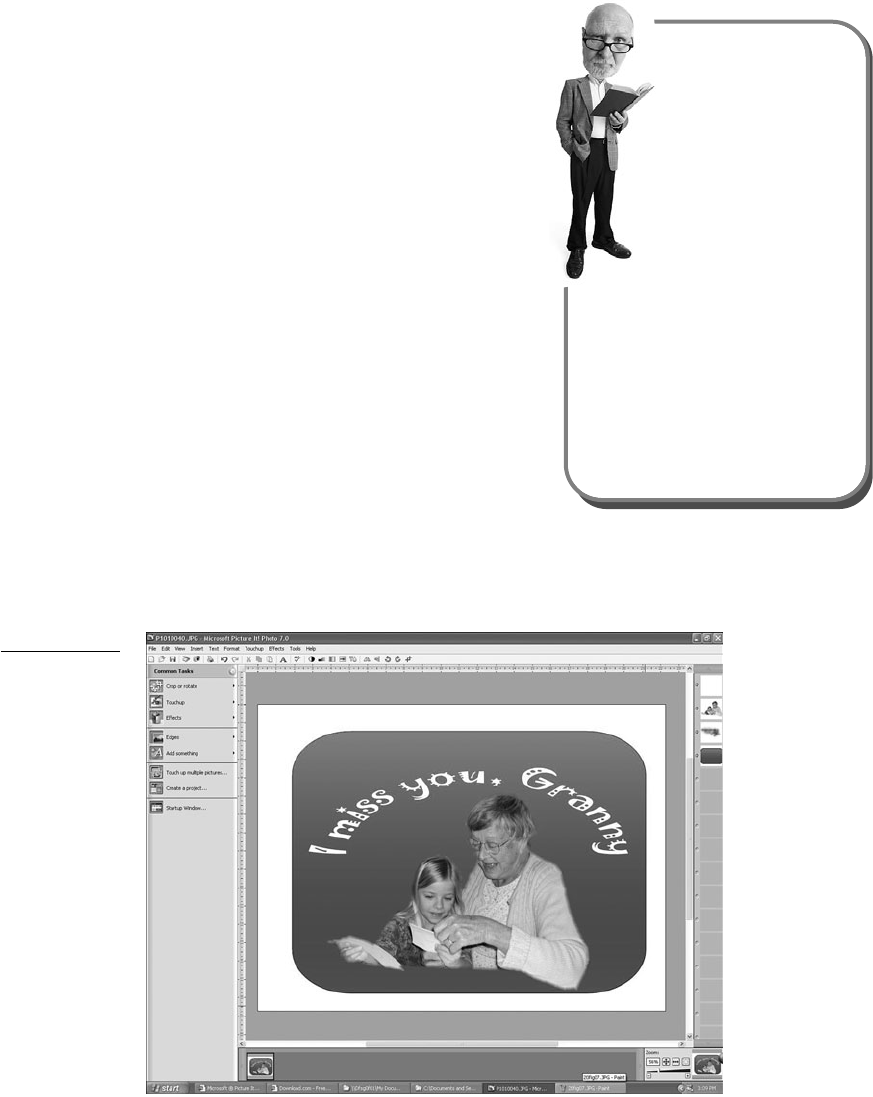
■ Shaped Text—This feature allows you to
add text to your photo in a geometric
shape so that the letters conform to the
shape of a triangle, a circle, an arrow, or
other shapes. The addition of shaped text,
such as the arch-shaped greeting shown
in Figure 20.8, can enhance and comple-
ment the shape of the image’s subject.
■ Shape or Lines—Use this feature to add
a standard drawing object, such as a line
or shape, by choosing it from the Picture
It! gallery. Or choose one of the Draw
options to create a custom line or shape on
your image.
■ Picture from the Gallery/
My Computer/Scanner/
Digital Camera—These options allow
you to insert another image, which you
can blend with the existing image in vari-
ous ways. Choose the source of your image
(the Picture It! Gallery, another folder on your PC, or a scanner or digital
camera), and then choose some of the other actions described in this chapter
to adjust and blend the images.
272
ABSOLUTE BEGINNER’S GUIDE TO MICROSOFT WINDOWS XP MEDIA CENTER
FIGURE 20.8
In this example,
the cutout tool
was used to
remove the
background,
which was
replaced by a
custom shape
with a gradient
fill.
tip
When you first insert the
new image, Picture It! tends
to plaster it on top of your
existing image. Your first step
will probably be to reorder
the objects on your screen
by right-clicking on the top
image, selecting Move Forward or
Backward, and then choosing an
option such as Send to Back. This
will reveal your original image in
front of the new image you just
added. Then you can select the
object you want to change, and
go to work on it.
Get Absolute Beginner's Guide to Microsoft Windows® XP Media Center® now with the O’Reilly learning platform.
O’Reilly members experience books, live events, courses curated by job role, and more from O’Reilly and nearly 200 top publishers.

