Chapter 17
518
The FLVPlayback Component
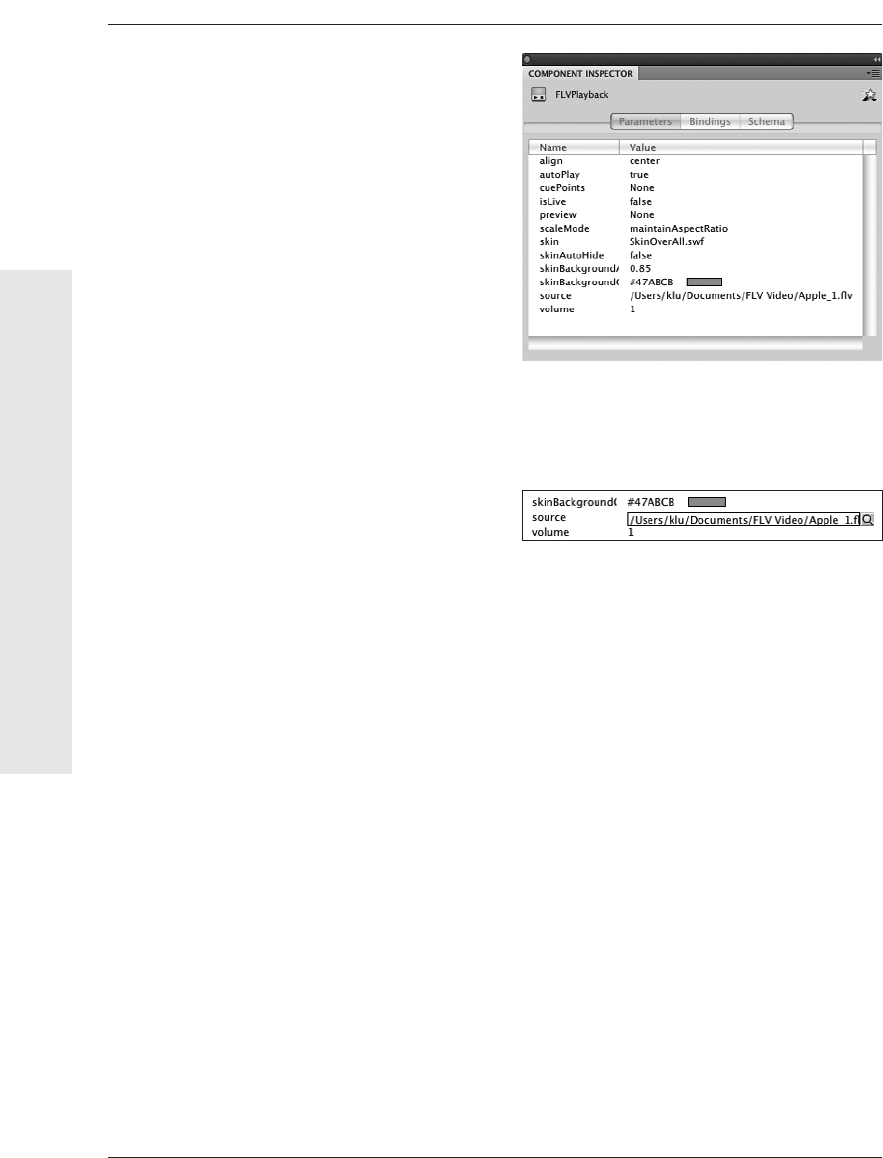
Figure 17.50 The Component Inspector panel’s
Parameters section contains settings for all the
parameters of a selected instance of the FLVPlayback
component.
Figure 17.51 Clicking a parameter name activates a
fi eld for changing the parameter’s value.
Working with the
FLVPlayback Component
When you use Flash’s Video Import Wizard
to import video for use with a playback
component, the wizard adds a component
named FLVPlayback to the library and places
an instance of it on the Stage. You can replace
the component instance’s generic icon with a
frame from the video clip, change the source
le, and modify the other parameters.
To choose source video for an
FLVPlayback instance:
1. Select the FLVPlayback component
instance on the Stage.
2. Access the Component Inspector panel.
If the panel isn’t open, choose Window >
Component Inspector.
3. Click the Parameters button (Mac) or tab
(Windows).
Parameter settings associated with the
component appear in a two-column table
(Figure 17.50).
4. To choose the video that appears in the
video-display window during playback,
in the Name column click the Source
parameter.
A search button (a magnifying-glass icon)
and text eld with the path name of the
current source activates in the Value
column (Figure 17.51).
5. Click the eld or the search button.
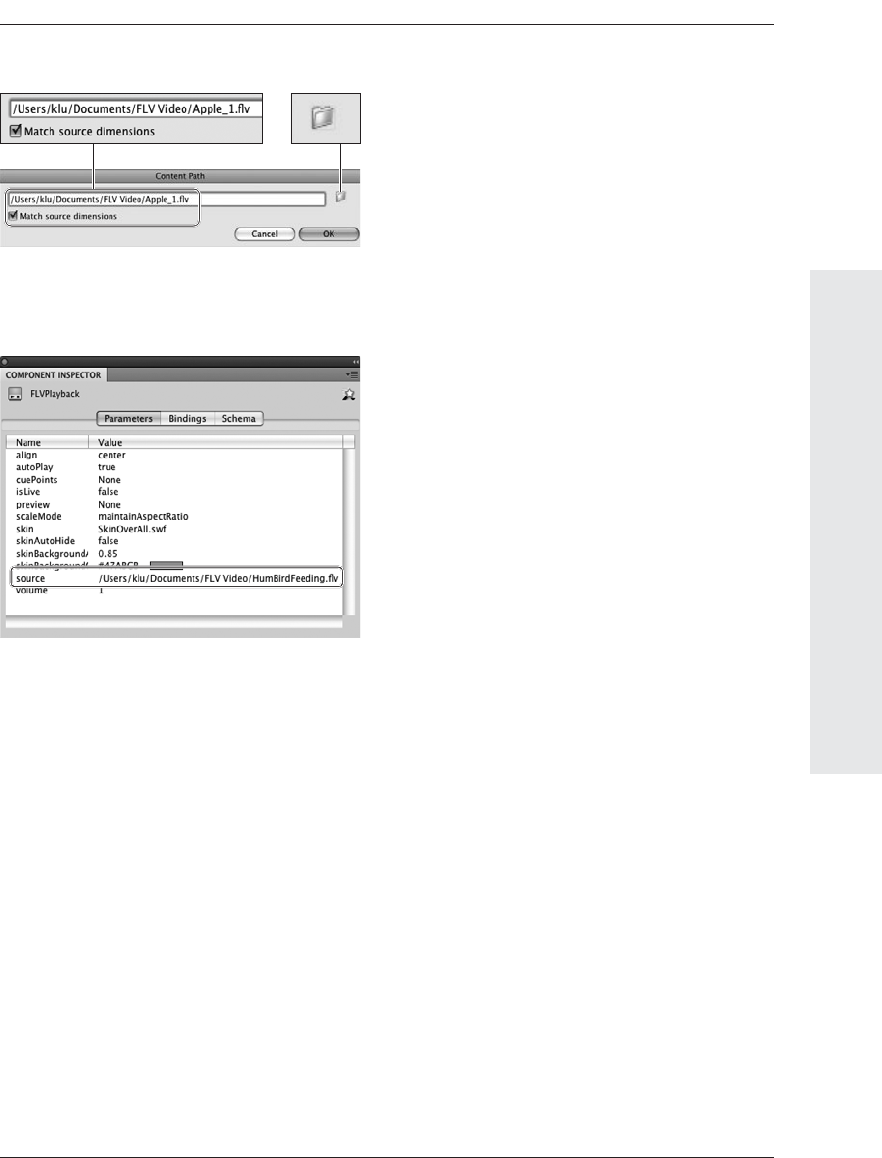
e Content Path dialog appears.
6. To identify the source video le (it must
be encoded in a Flash-compatible format,
such as FLV or F4V), do either of the
following:
▲
Enter a URL for the source video in
the Content Path eld (Figure 17.52).
Adding Sound and Video
519
The FLVPlayback Component
Figure 17.52 The Content Path dialog lets you identify
the video that the FLVPlayback-component instance
will display to the end user.
Figure 17.53 The fi lename in the Value column for the
Source parameter of the FLVPlayback component is
the fi le that end users see in the fi nished movie.
▲
To nd the le you want, click the
folder icon on the right side of the
eld. In the Browse for Source File
dialog that appears, navigate to the le
you want, and click Open. Flash enters
the URL in the Content Path dialog.
7. To determine how Flash sizes the
FLVPlayback component instance, do
either of the following:
▲
To resize the component to t the
source video, select the Match Source
Dimensions check box.
▲
To resize the video to t within the
default FLVPlayback component (320
by 240 pixels), deselect the Match
Source Dimensions check box.
8. Click OK.
e Getting Metadata progress bar
appears. Once it’s done, Flash updates
the Source parameter with the le name
(Figure 17.53). Depending on what you
chose in step 7, Flash also resizes the
FLVPlayback component instance on
the Stage. e instance now points to the
desired encoded video le.
✔ Tip
■ If the skin you’ve chosen for the
FLVPlayback instance includes a volume-
control slider, you can set the starting
slider position. Click the value for Volume
and enter a new number: 1 sets the slider
all the way to the right (full volume);
values from 0.9 down to 0.1 set the slider
farther to the left (lower volumes); a value
of 0 sets the slider all the way to the left
(no sound). You can enter values greater
than 1, and those values create increas-
ingly louder starting volumes, but the
lever for the volume slider disappears.
During playback, clicking anywhere in the
slider brings the lever back, but end users
may nd this confusing.
Enter URL
Browse to
locate fi le
Get Adobe Flash CS4 Professional for Windows and Macintosh: Visual QuickStart Guide now with the O’Reilly learning platform.
O’Reilly members experience books, live events, courses curated by job role, and more from O’Reilly and nearly 200 top publishers.

