306
Acquiring and Editing Audio
LESSON 11
Adding J-cuts and L-cuts: Lesson 11-3
Frequently you’ll want to start a video clip by having its sound play under the previous
video clip and then transition to its associated video. is is a great way to let your
audience know that someone is about to say something or that a transition is coming.
is is called a J-cut, so named because it looks vaguely like a ‘J’ on the sequence.
Conversely, another slick editing technique is to let audio tail o under the next video
clip. is is an L-cut.
To do either of these cuts requires that you unlink the audio and video portions of a
linked A/V clip so you can edit them separately. A er they’ve been unlinked, you can
move that audio segment to another audio track and then extend or shorten the audio
portion to make the J- or L-cut. ere are two unlinking methods—a right-click context
menu and a keyboard modi er. I’ll show you both.
1 Open the Lesson 11-3 Finish sequence and play it.
is is how your J- and L-cuts will look and sound by the end of this mini-lesson. It has
the sound bite and cutaway clips used in Lesson 8.
Note: In this case the cutaway clips aren’t being used as cutaways. ey’re B-roll—basic
video used to piece together a project.
e cutaway video plays over the rst few words of the sound bite audio and then the
cutaway video dissolves to the interview clip while the cutaway audio fades out—a J-cut.
at process is reversed for the end of the sound bite—an L-cut.
2 Open the Lesson 11-3 Start sequence.
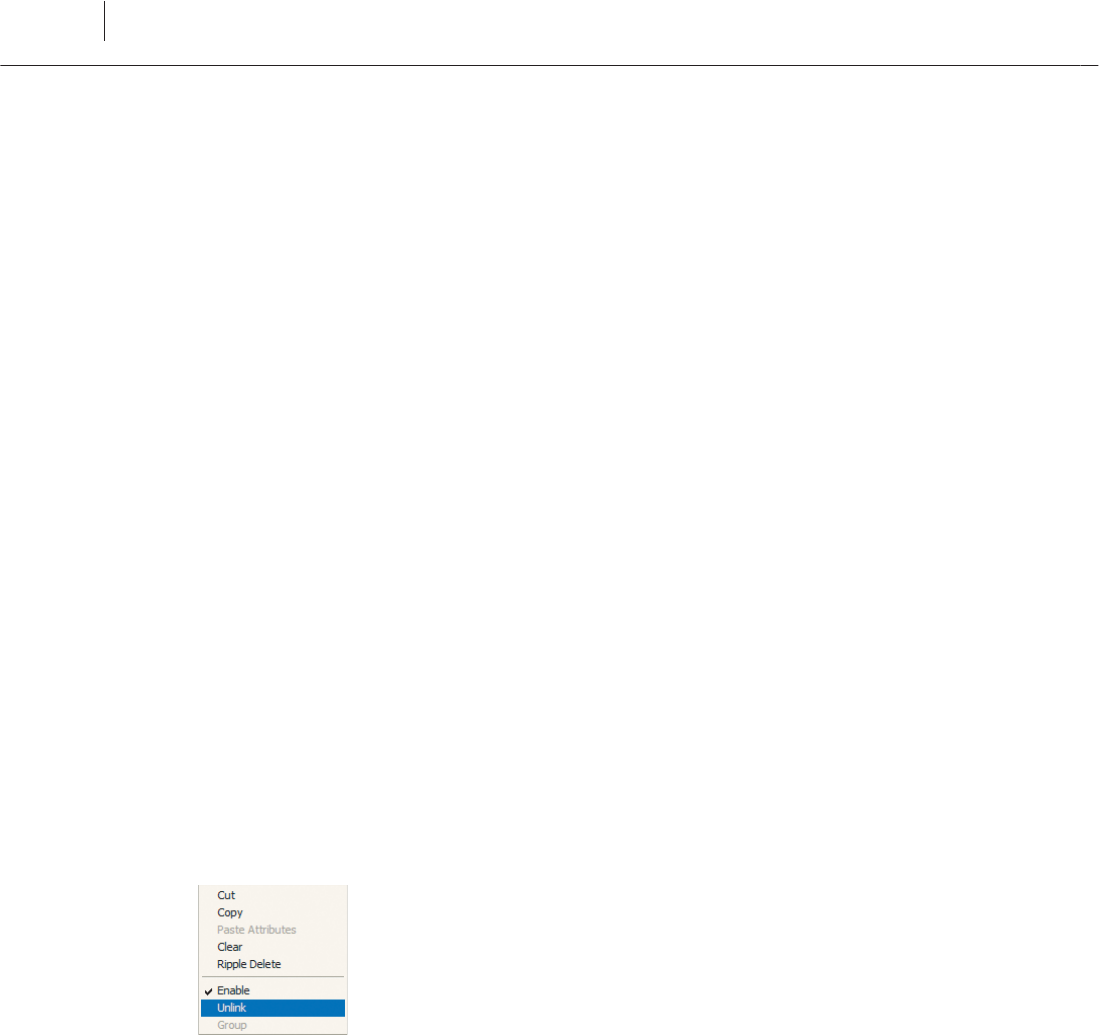
3 Right-click the second clip and select Unlink.
ADOBE PREMIERE PRO 2.0
307
Classroom in a Book
4 Complete the Unlink process by clicking outside that clip in the Timeline to
deselect it.
Now when you click on either the audio or video portion of that clip, only that portion
is selected. You’ll re-link these clips, then use a keyboard modi er to temporarily
unlink them.
5 Shi +click on both of those unlinked clips to select them (if one is already
highlighted, there’s no need to Shi +click on it).
6 Right-click on one of them and select Link.
Now you’ll use the keyboard modi er unlinking method.
7 Alt+click on the audio portion of the second clip. at unlinks it and selects it.
8 Drag that unlinked audio portion of the second clip straight down to the
Audio 2 track.
Note: As you move the audio portions of your clips in the sequence, take care that you don’t
slide them le or right when you drag them. Otherwise the audio and video will get out of
synch. Premiere Pro gives you a visual cue to help you line up your clips: if you see a black
line with a triangle, your clips are properly lined up. If that black line disappears, you have
moved out of synch. In that case, move the clip around a bit until the black line reappears.
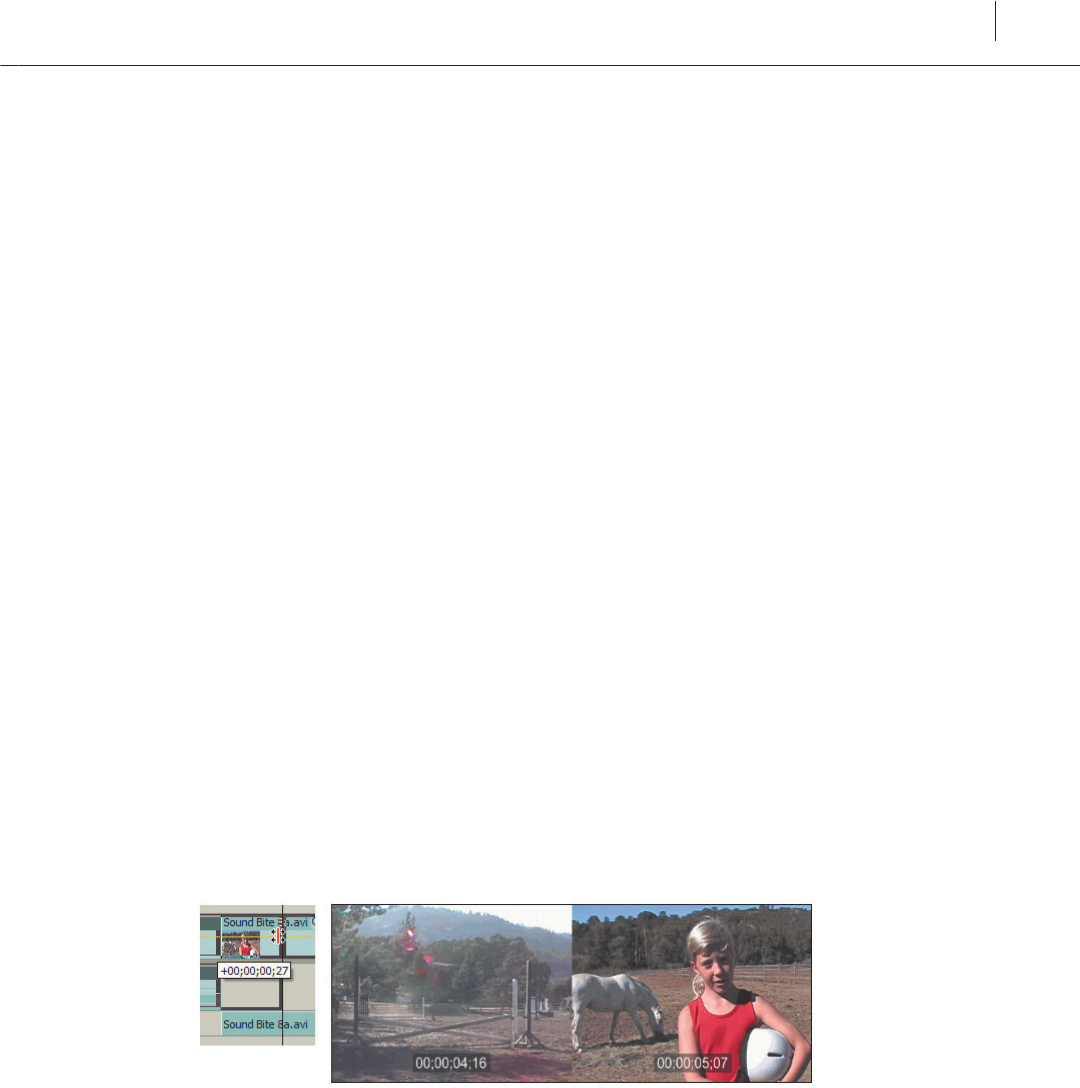
9 Using the Rolling Edit Tool (N) to move the edit between the rst and second video
clips (not the audio clips) to the right about one second, moving the horse and rider o
camera before showing the interview clip.
Use the Program Monitor and the Timeline pop-up timecode displays to help make the
edit. As I mentioned in Lesson 8, letting the interviewee get o screen before cutting to
the interview video makes for a more comfortable shi .
Get Adobe® Premiere® Pro 2.0 now with the O’Reilly learning platform.
O’Reilly members experience books, live events, courses curated by job role, and more from O’Reilly and nearly 200 top publishers.

