Installing Your Application
You've done it! You wrote your first application. In the next couple of sections, you install your app on the emulator and then get it into action on a real device!
Installing on the emulator
Installing your app on an emulator is the next step. In Chapter 5, you set up a run configuration to run the Hello Android application. Now you will be using the same launch configuration for your new app. Because the ADT is smart enough to know about this launch configuration, it will use it by default. To install this app on the emulator, follow these steps:
- In Eclipse, choose Run
 Run or press Ctrl+F11 to run the application.
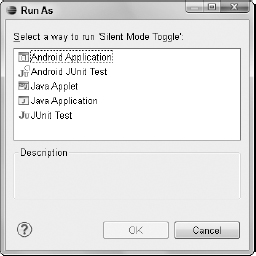
You are presented with the Run As window, as shown in Figure 7-3. Choose Android Application and click the OK button. Doing this starts the emulator.
After the emulator is running, it's running on its own. The emulator has no dependencies on Eclipse. In fact, you can close Eclipse and still interact with the emulator.
 The emulator and Eclipse speak to each other through the Android Debugging Bridge (ADB). ADB is a tool that was installed with the Android Development Tools (ADT).
Figure 7-3: The Run As configuration dialog box.
- Wait for the ...
Get Android™ Tablet Application Development For Dummies® now with the O’Reilly learning platform.
O’Reilly members experience books, live events, courses curated by job role, and more from O’Reilly and nearly 200 top publishers.

