Adding Textures
Generally speaking, a texture is a kind of image that you stretch or tile over the surface of your object to give it more detail without adding more geometry. Not only can textures influence the color of your object, but they can also allow you to make additional adjustments, such as stipulating the specularity of some specific parts of the model. For example, on a human face, skin tends to be shinier across the nose and forehead, and a reduced specularity exists around the eyes. With textures, you can control these sorts of things.
You can add and edit textures to a material in Texture Properties, as shown in Figure 8-1.
Figure 8-1: The Texture Properties.
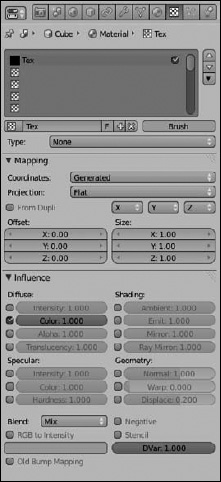
Like Material Properties, Texture Properties has a Preview panel that displays the texture as you work on it. By default, the Preview panel is hidden because the initial texture type is None. You can change this type in the Context panel with the Type drop-down menu. The list box at the top of the Context panel is similar to the list box in Material Properties. With these Texture slots, you can control the textures applied to your material (which, in turn, is applied to your object). However, unlike the list box in Material Properties, you can't arbitrarily add and remove texture slots. You have exactly 18 slots to work with. Left-click any texture slot in the list to choose that slot as the one you want to work ...
Get Blender For Dummies®, 2nd Edition now with the O’Reilly learning platform.
O’Reilly members experience books, live events, courses curated by job role, and more from O’Reilly and nearly 200 top publishers.

