Using UV Textures
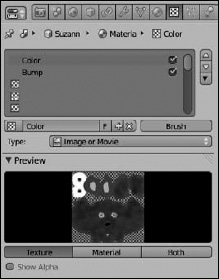
After you create a bunch of UV textures, either by painting them yourself or by baking them from the mesh, you need a way to bring them back into Blender and apply them to your mesh. This process is where Image textures in your Texture Properties come in. Figure 8-12 shows Texture Properties with image textures on two different texture slots, one for a color map and another for a bump map.
Figure 8-12: Texture Properties with two Image textures loaded.
The process for adding an Image texture is pretty similar to adding any of the procedural textures:
- Choose Image or Movie from the Type drop-down menu in Texture Properties.
- In the Image panel, left-click the Open button.
A File Browser opens, and it's where you can find the image you want to load as a texture. Alternatively, if you already have an image loaded, you can use this datablock to select that image by clicking the image datablock button on the left of the datablock field.
- Choose your image from the File Browser.
- With the image loaded, choose Clip from the Extension drop-down menu in the Image Mapping panel.
This step isn't critical, but it's something I like to do. Basically, it prevents the image from tiling. Because I'm loading a UV texture, I don't need it to tile.
- Choose UV as the type of Coordinates in the Mapping panel.
This step tells the material to use your UV layout for texture coordinates ...
Get Blender For Dummies®, 2nd Edition now with the O’Reilly learning platform.
O’Reilly members experience books, live events, courses curated by job role, and more from O’Reilly and nearly 200 top publishers.

