Itâs time to dive into C#. Whether youâre moving from Visual Basic or Microsoft Access, getting started means moving through a number of things that look familiar but work just a little differently.
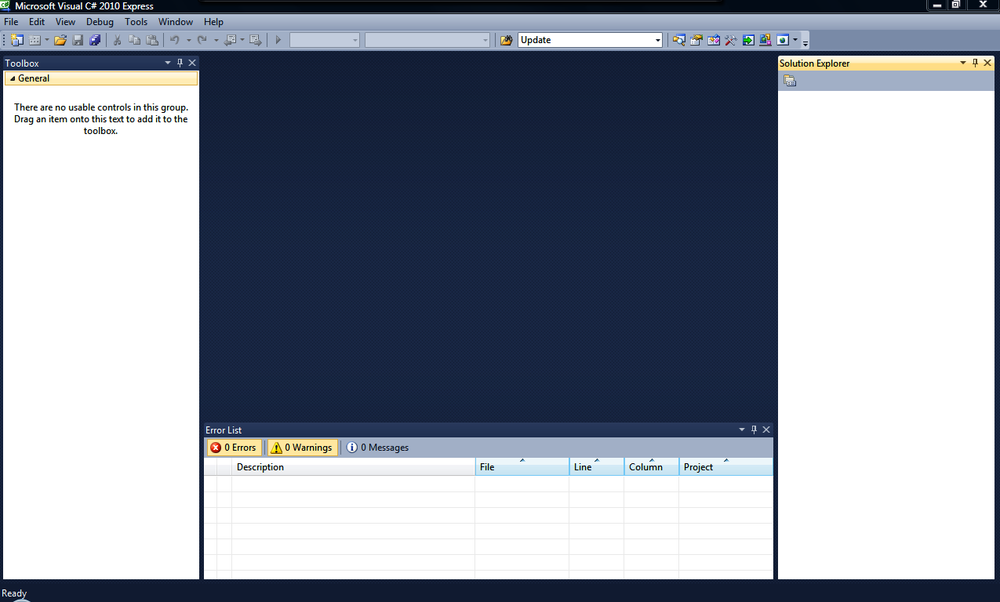
If you havenât done it already, you can go to the Microsoft website and download the Express version of Visual Studio 2010 for C#. The site is presently at http://www.microsoft.com/visualstudio/en-us. At the bottom of the page, you can go to Express Product Downloads, or you can download the 90-day trial of the full version. Links change all the time, so if it isnât there when you look, a simple search from a search engine will direct you to where you can download it. Once you have it installed and opened it, you will see a screen similar to the one shown in Figure 1-1.
Note
If you want the Express version of SQL Server, it is available on the Express Product Downloads page as well. If you donât have Microsoft Access loaded on your computer, you will need this to work with the data examples. The examples we will use are virtually interchangeable between the two platforms. The main difference is the connection string you will use. While SQL Server has many additional features, it is beyond the scope of this book.
Now that you have the programs installed, you are ready to create a new project. To do this, from the main screen in Visual Studio, you can go to FileâNew Project, or simply press Ctrl+Shift+N to bring up the new project dialog box that you see in Figure 1-2.
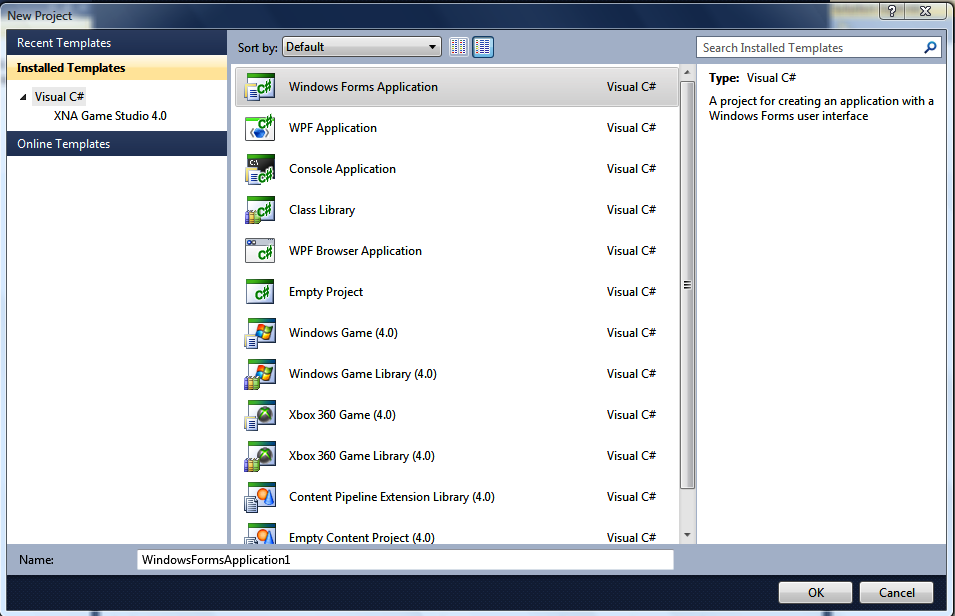
If you click on the Windows Forms Application and enter
FirstTestApplication into the name field in that
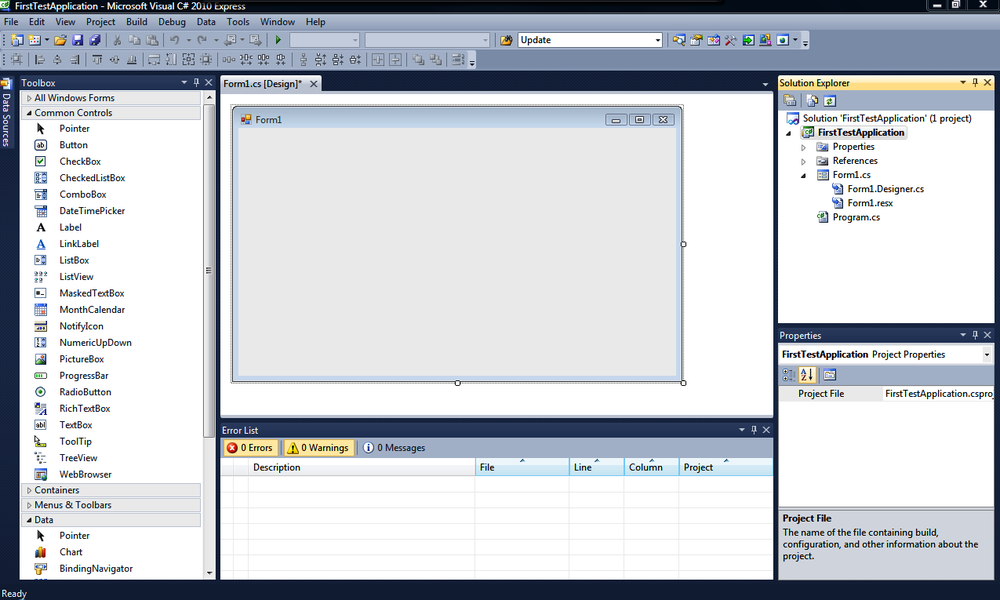
dialog box, you will get a screen like you see in Figure 1-3. The Solution
Explorer will be on the right (if you donât see that, press Ctrl+W, then
press the S key); it shows all of the objects that are in your solution.
(Note that a solution can contain multiple projects.) Below that, you will
see the Properties Window, where you will view and edit the object
properties. To the left of the screen, you will see the Toolbox Window
(you may see more or fewer tools, depending on what you have installed).
You can use items in the Toolbox by dragging and dropping onto your form
just like you would in Classic VB. At the bottom of the screen, you will
notice the Error Window. This window will show you errors and warnings as
you write code. This can be very helpful for you as you learn the
language. You donât need to wait until you compile to find errors.
Get C# Database Basics now with the O’Reilly learning platform.
O’Reilly members experience books, live events, courses curated by job role, and more from O’Reilly and nearly 200 top publishers.

