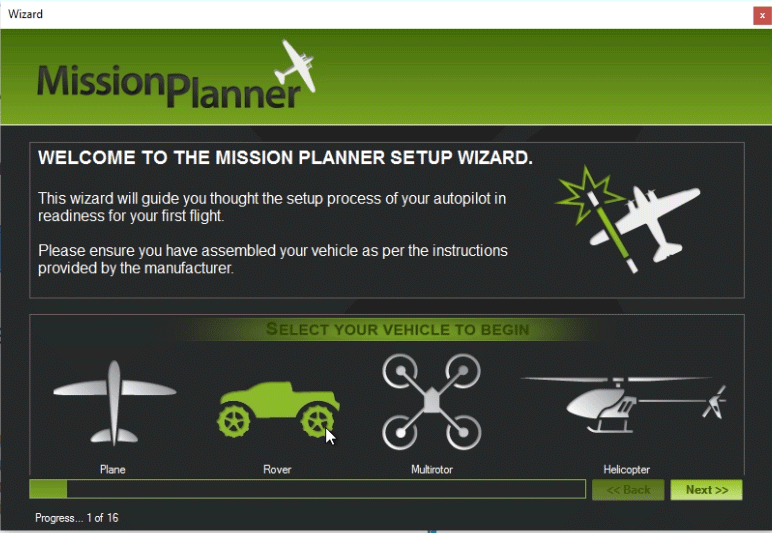
After connecting the Pixhawk to our computer, start up the Mission Planner software. You'll be confronted with this requestor:

Obviously, you'll want to select Rover. This wizard will do the initial setup of your Pixhawk and calibrate it for use.
Next you simply select how the computer connects to the Pixhawk (as shown in the following screenshot):

At this point, you must provide which port the Pixhawk is attached to. The Pixhawk essentially emulates a serial port via USB (a COM port). The way to know which port is associated with ...

