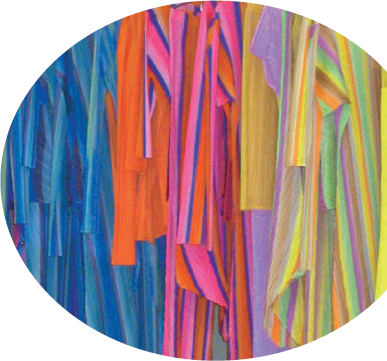
Chapter 8. Shooting for Color in Art Photography
In This Chapter
Understanding the relationship between light and color
Discovering how your camera handles light and color
Mastering f-stop settings to achieve maximum color
Trying advanced color techniques
After cracking groggy eyes in the morning, you notice rays of dusty light sweeping across your bed. You watch as the tiny specks of debris scatter about, floating aimlessly. You cough. Outside your window is a bright red cardinal among maple leaves, motionless for the moment. You grab your camera and snap. You captured the bright red bird in all its grandeur. It flies away. You are happy with your shot, and you go back to sleep. Later, when you upload your picture to your computer, you find that the crimson bird is now maroon with blue tones, and the green of the maple leaf background is olive brown. The bird doesn't even look like a cardinal. What went wrong?

Taking an art photo is more than just snapping pictures of flowers or birds. Shooting for explosive color — from cool blue hues to melting reds — is one of your major goals. Then you can take that color to its brightest, boldest, softest, or smoothest image in your shot (all the way, even, to setting your shadows and colors in Photoshop).
In this chapter, I give you the lowdown on shooting photos in color — bright vibrant colors — from the basics of understanding color to more advanced ...
Get Digital Art Photography For Dummies® now with the O’Reilly learning platform.
O’Reilly members experience books, live events, courses curated by job role, and more from O’Reilly and nearly 200 top publishers.

