Hello Pencil
This book is all about discovering your own unique
drawing style—the dashes, scribbles, strokes, and
dots that you favor. To do this, I want to equip you
with a toolbox full of possible marks which you can
select from and apply at will. In time, your favored
marks and approaches will autograph your drawings
as uniquely yours.
This book has been designed for you to draw directly
into it, allowing you to keep all your drawings in one
place, and in time to serve as a record through the
chapters and the progress you have made. For this
first adventure the only thing you’ll need is a pencil.
Pencils vary in hardness from around 9B (very soft
leaving a thick, black stroke) up to 9H (very hard
leaving a thin, pale gray stroke), and everything in
between. At school you might have had an HB, the
standard pencil for writing, which is right in the
middle. But for drawing I recommend you start out
with a 2B as it’s flexible and can be manipulated to
create a wide range of effects. Remember to always
buy the very best art materials you can afford. Don’t
be distracted by the giant tins of cheap pencils—
invest in one really good 2B and a metal sharpener.
Please don’t just read through this chapter as you
won’t create a personal language of drawing through
theoretical study. Instead,
be brave,
take part,
try,
begin.
So here we are then, time to start.
Take a deep breath and grab yourself a pencil...
9
10 > Fearless Drawing
GRIP
To begin, we’re going to explore your pencil grip, requiring nothing more challenging
than writing your own name. Have a look at how you are naturally holding your pencil
and write your name below.
Name
Name (holding pencil high up)
Name (“wrong” hand)
Now try writing your name with your “wrong” hand, which is likely to look rather alien
compared to your usual handwriting—askew, uncontrolled, and unfamiliar.
Next, hold the pencil really high up, right at the top end and write your name again.
Note how this time you haven’t had as much control or applied as much pressure, so
you’ve now got a paler “wobbly” version of your name.
Hello Pencil > 11
Next let's look at the angle we apply the pencil to the page.
With a newly sharpened point, hold the pencil straight and vertical and write your name.
These are all techniques I regularly employ in my drawings. When my drawings start to
look a little hard and tight, I can find a more relaxed whimsical line by swapping hands,
adjusting the angle, or changing how high up I hold my pencil. We will go on to explore
lots of different marks, but remember the freedom and variation you can find just in
your pencil grip.
Name (pencil tip)
Name (side of point)
Again, laying the pencil horizontally, apply the side of the point to create a broad line
and write your name again.
12 > Fearless Drawing
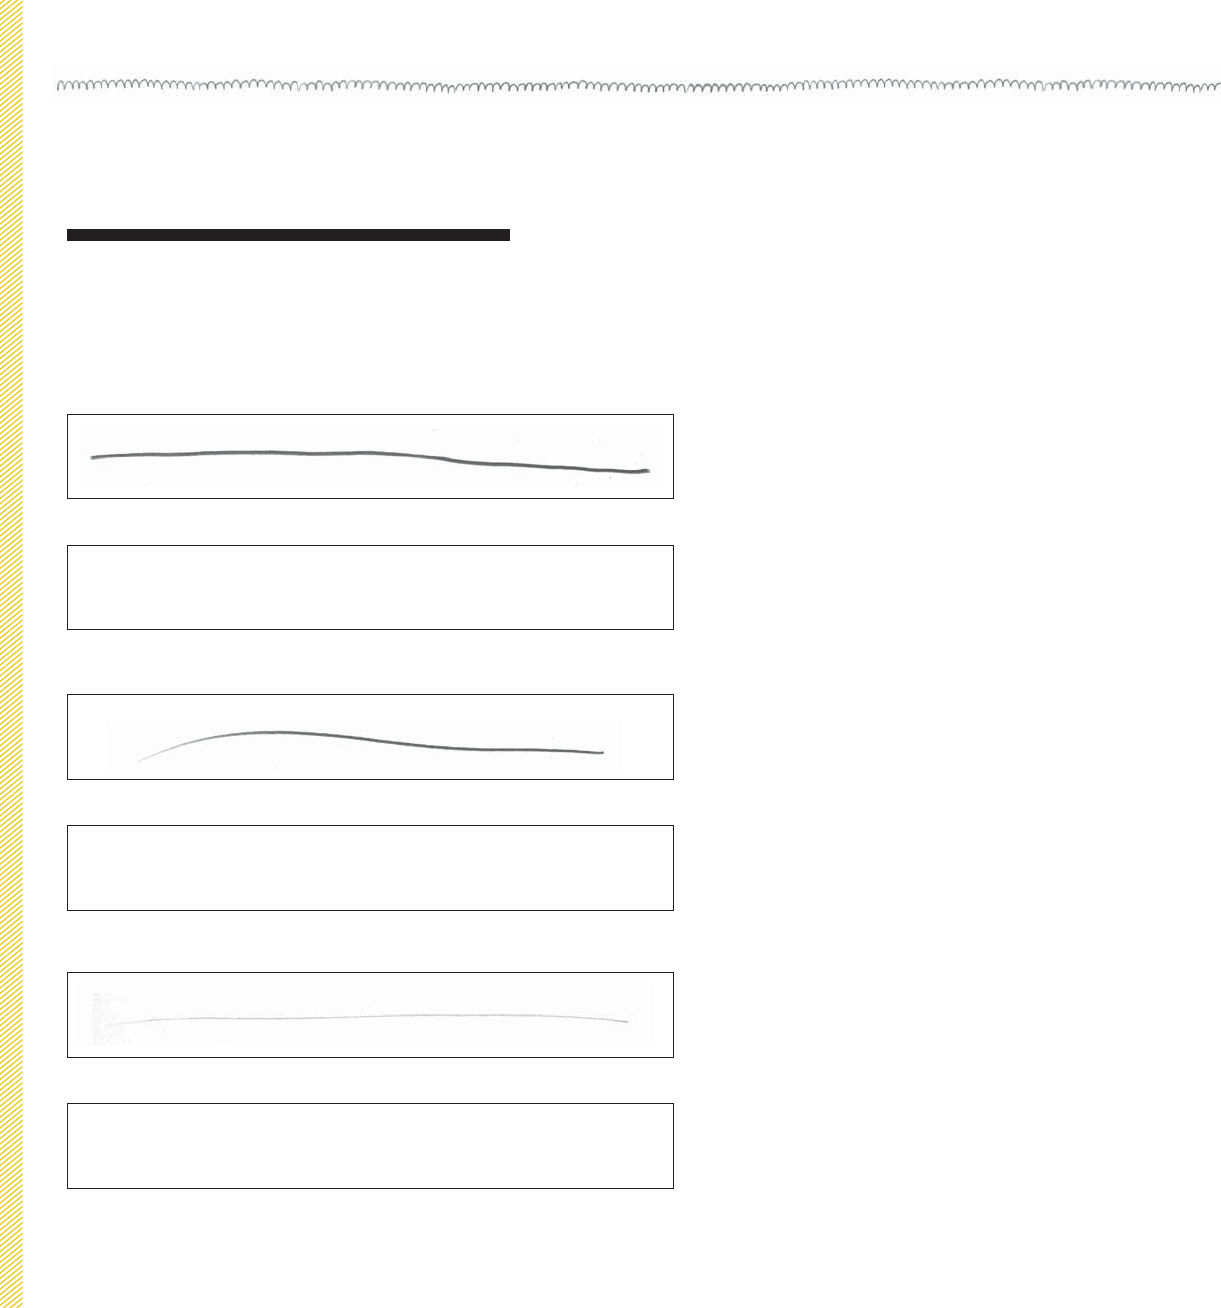
PRESSURE AND SPEED
How hard you press your pencil against the paper will have a dramatic effect on the quality and atmosphere of line you create.
Awareness of pressure will allow you to manipulate your drawn lines however you choose to articulate the object you are drawing,
or to evoke a particular mood in your work.
Now for a lighter touch, again draw a horizontal line, but this
time apply the tiniest amount of pressure you can manage
and draw very slowly.
Let’s begin with a heavy pressure line. Press your pencil AS
HARD AS YOU CAN against the page and slowly draw one
long horizontal line.
Now repeat, but this time draw the line as fast as you can.
The faster line is probably not as straight as the slow one, and
may taper off at the end. You can actually see the speed taken
recorded in both lines. These heavy lines will look definite,
thick, dark, strong, solid, and confident.
Mine:
Mine:
Mine:
Yours:
Yours:
Yours:
Get Fearless Drawing now with the O’Reilly learning platform.
O’Reilly members experience books, live events, courses curated by job role, and more from O’Reilly and nearly 200 top publishers.

