Creating Masking Effects
with Layer Groups
Layer groups provide a simple and quite
intuitive way to create a sophisticated mask-
ing effect in Photoshop Elements. Any object
placed on a layer, including photographic
images and lines of editable text, can be used
as the basis for masking any number of layer
objects above it. Think of the lower, or base
layer, as a window through which the upper
layers are allowed to show through. So, for
example, you could have a favorite fishing
trip photo framed within the shape of a boat
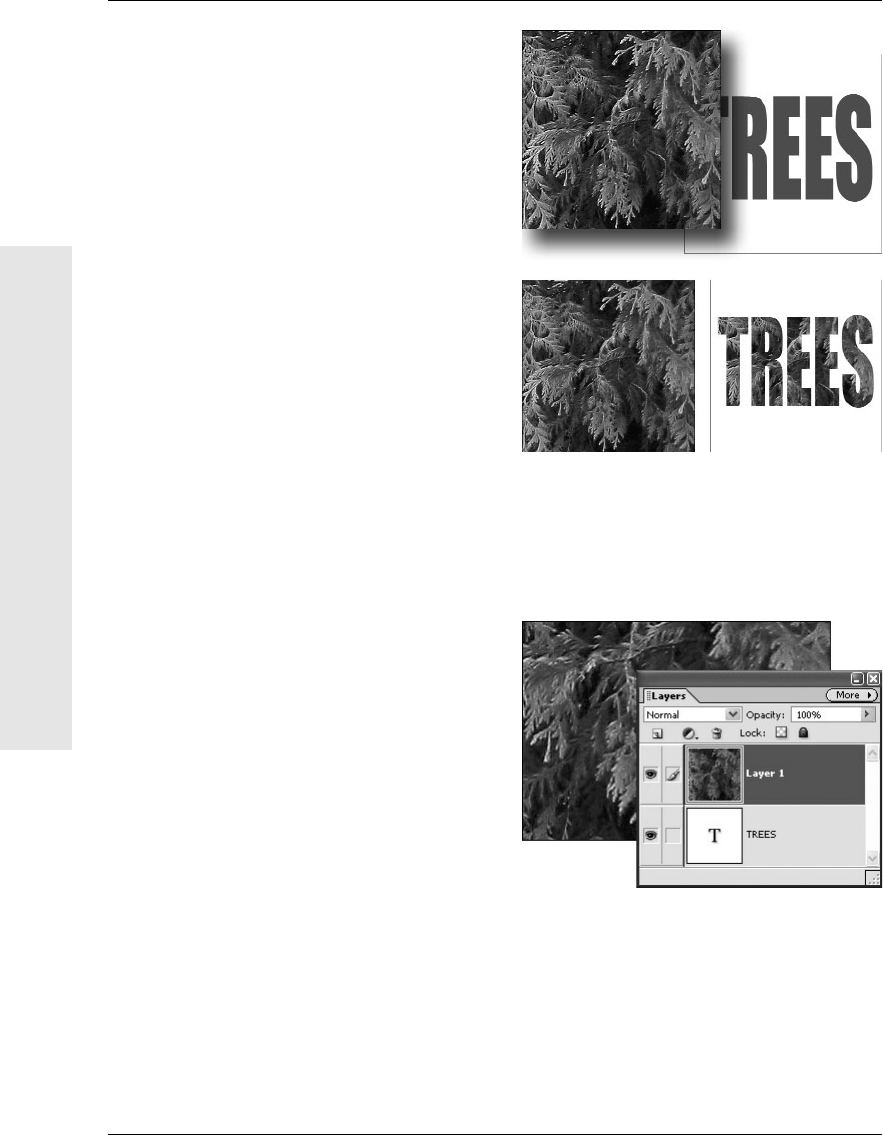
or fish, or a photograph of a forest placed
within the word TREES (Figure 5.47). Once
grouped, any layer within the group can be
repositioned independently of the others,
or the entire group can be linked and moved
as one.
Figure 5.48 In this figure, the TREES text layer serves
as the base layer. It will soon be grouped with the
branches layer (Layer 1), which is selected directly
above it.
Figure 5.47 This project is composed of two layers:
a photograph of cedar branches and the TREE text
layer. The branches photo completely covers the text
layer in the image on the left, but when grouped with
the TREES layer, the branches peek through only
where the text is visible.
146
Chapter 5
Creating Masking Effects with Layer Groups
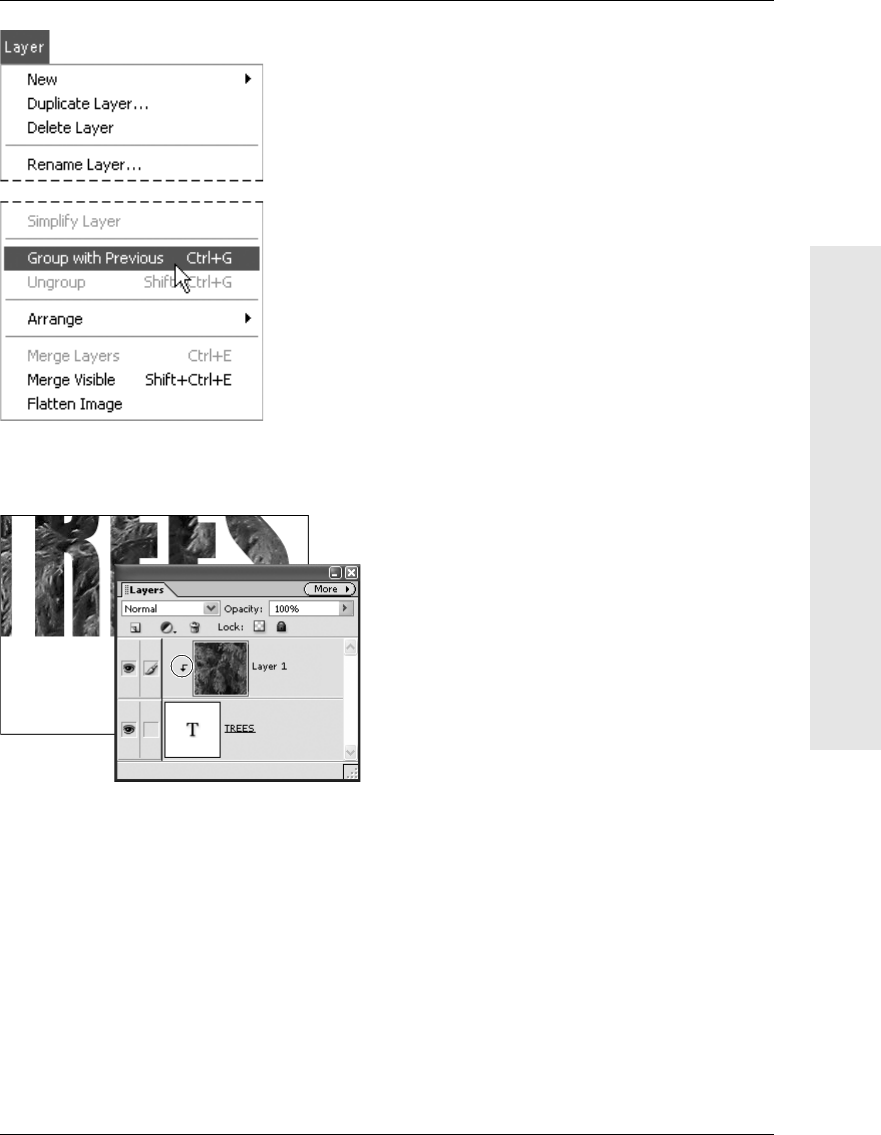
Figure 5.50 A Grouped Layer icon appears after a
layer group is created.
Figure 5.49 Choose Group with
Previous to create a layer group.
To create a layer group:
1.
On the Layers palette, identify the layer
that you want to use as your base layer
(Figure 5.48).
Your layers must be arranged so that the
layer (or layers) you want to group are
directly above the base layer.
2.
Still on the Layers palette, select the
layer above the base layer; then from
the Layer menu choose Group with
Previous (Figure 5.49), or press Ctrl+G/
Command+G.
The two layers are now grouped, and the
upper layer is visible only in those areas
where the base layer object is present.
On the Layers palette, the base layer’s
name is underlined, and the grouped
layer’s name and thumbnail are indented.
An icon, placed to the left of the thumb-
nail, further identifies grouped layers
(Figure 5.50).
To ungroup layers:
1.
On the Layers palette, select the base
layer.
2.
From the Layer menu, choose Ungroup, or
press Shift+Ctrl+G/Shift+Command+G.
147
Working with Layers
Creating Masking Effects with Layer Groups
Get Photoshop Elements 3 for Windows and Macintosh: Visual QuickStart Guide now with the O’Reilly learning platform.
O’Reilly members experience books, live events, courses curated by job role, and more from O’Reilly and nearly 200 top publishers.

