Using the Undo History
Palette
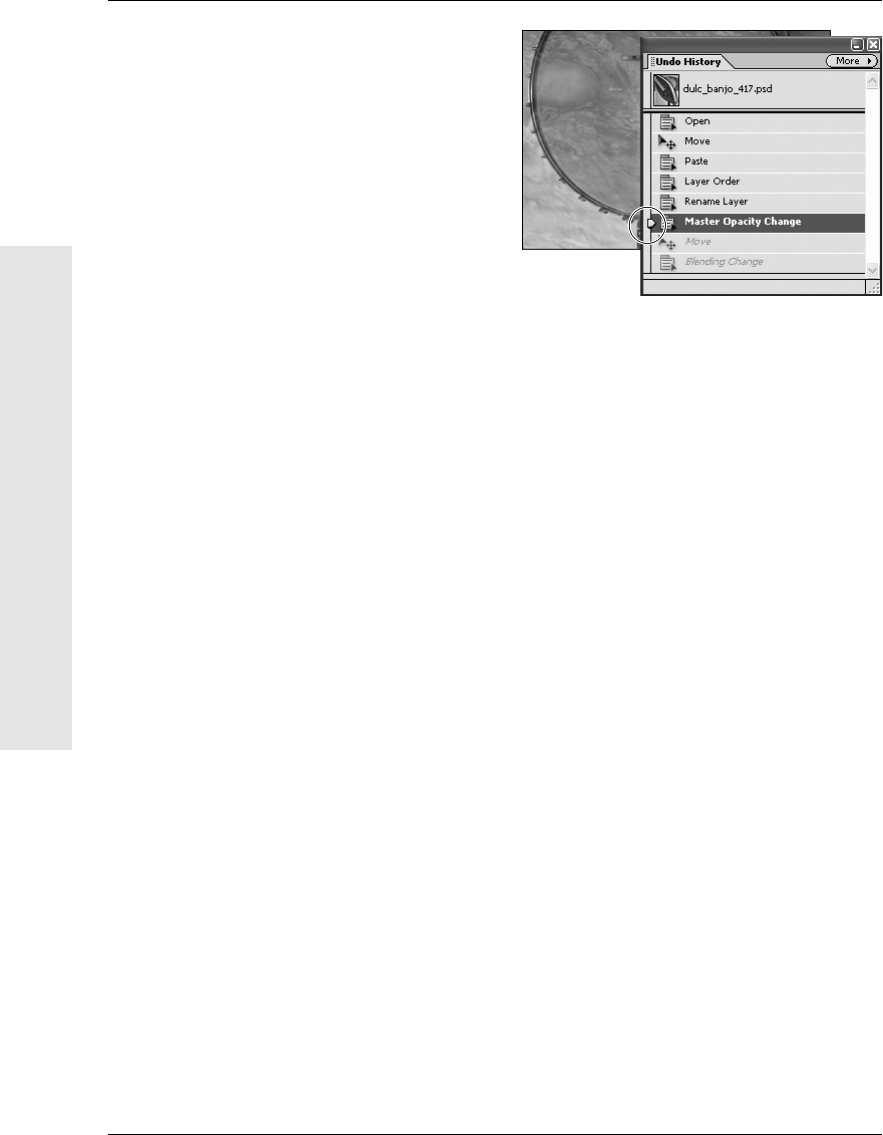
The Undo History palette lets you move
backward and forward through a work ses-
sion, allowing you to make multiple undos
to any editing changes you’ve made to your
image. Photoshop Elements records every
change and then lists it as a separate entry,
or state, on the palette. With one click, you
can navigate to any state and then choose to
work forward from there, return again to the
previous state, or select a different state from
which to work forward.
To navigate through the
Undo History palette:
1.
To open the Undo History palette, do one
of the following:
▲
From the Window menu, choose
Undo History.
▲
From the palette well, click the arrow
on the Undo History palette tab.
2.
To move to a different state in the Undo
History palette, do one of the following:
▲
Click the name of any state.
▲
Drag the palette slider up or down to a
different state (Figure 5.66).
✔ Tips
■
The default number of states that the
Undo History palette saves is 20. After 20,
the first state is cleared from the list,
and the palette continues to list just the
20 most recent states. The good news is
that, at any time, you can bump the num-
ber of saved states up to 100, provided
that your computer has enough memory.
From the Edit menu, choose Preferences >
General, then in the Preferences dialog
box enter a larger number in the Undo
History States field.
Figure 5.66 Use the palette slider to move to virtually
any point in time in the creation of your project.
156
Chapter 5
Using the Undo History Palette
■
If, on the other hand, memory is at a
premium (and you’d rather Photoshop
Elements wasn’t clogging up your pre-
cious RAM by remembering your last
20 selections and brush strokes and filter
effects), set the number in the Undo
History States field to 1. You can still
undo and redo your last action as you
work along, but for all practical purposes,
the Undo History palette is turned off.
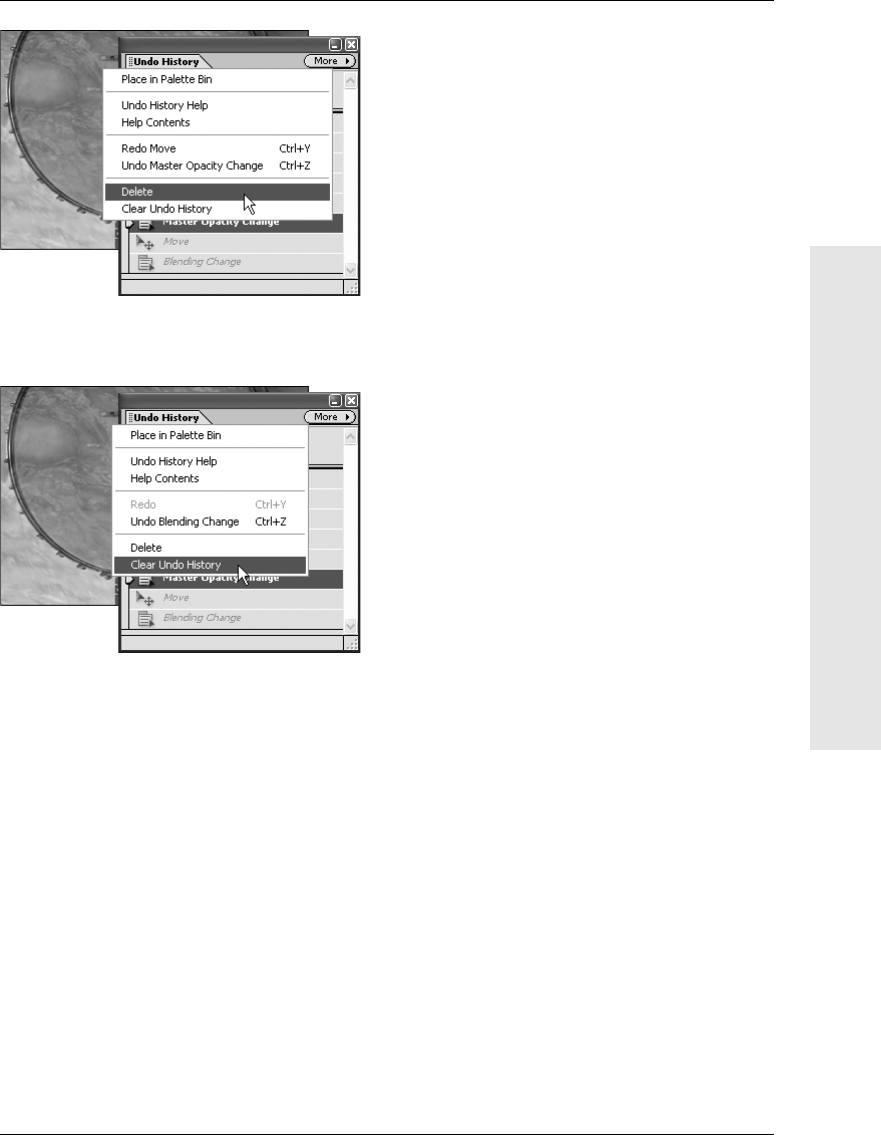
Figure 5.68 If system memory is a concern, you can
periodically clear the palette of all states.
Figure 5.67 Delete any state by selecting it and
choosing Delete from the palette menu.
To delete a state:
◆
Click the name of any state; then
choose Delete from the palette menu
(Figure 5.67) or click the Trash button.
The selected state and all states following
it are deleted.
✔ Tips
■
Deletion of a state can be undone, but
only if no changes are applied to the
image in the interim. If you make a
change to the image that creates a new
state on the palette, then all deleted
states are permanently lost.
■
Sometimes—when you’re working on an
especially complex piece, for instance—
the Undo History palette may become
filled with states that you no longer need
to manage or return to or that begin to
take their toll on your system’s memory.
At any time, you can clear the palette’s
list of states, without changing the image.
To clear the Undo History palette:
Do one of the following:
◆
From the palette menu, choose Clear
Undo History (Figure 5.68).
This action can be undone, but it doesn’t
reduce the amount of memory used by
Photoshop Elements.
◆
Hold down Alt/Option; then choose Clear
History from the palette menu.
This action cannot be undone, but it does
purge the list of states from the memory
buffer. This can come in handy if a mes-
sage appears telling you that Photoshop
Elements is low on memory.
157
Working with Layers
Using the Undo History Palette
Get Photoshop Elements 3 for Windows and Macintosh: Visual QuickStart Guide now with the O’Reilly learning platform.
O’Reilly members experience books, live events, courses curated by job role, and more from O’Reilly and nearly 200 top publishers.

