Cropping an Image
The one thing that you’ll want to do with
nearly every image is crop it. In spite of all the
wonderful advances in film and digital cam-
eras, rarely is a picture taken with its subjects
perfectly composed or its horizon line set at
just the proper height. More often than not,
subjects are off-center, and unwanted objects
intrude into the edge of the picture frame.
Take a hint from professional photographers,
who almost always use cropping techniques to
arrive at that perfect composition. Photoshop
Elements offers two simple and quick meth-
ods for cropping your images.
To crop an image using the Crop tool:
1.
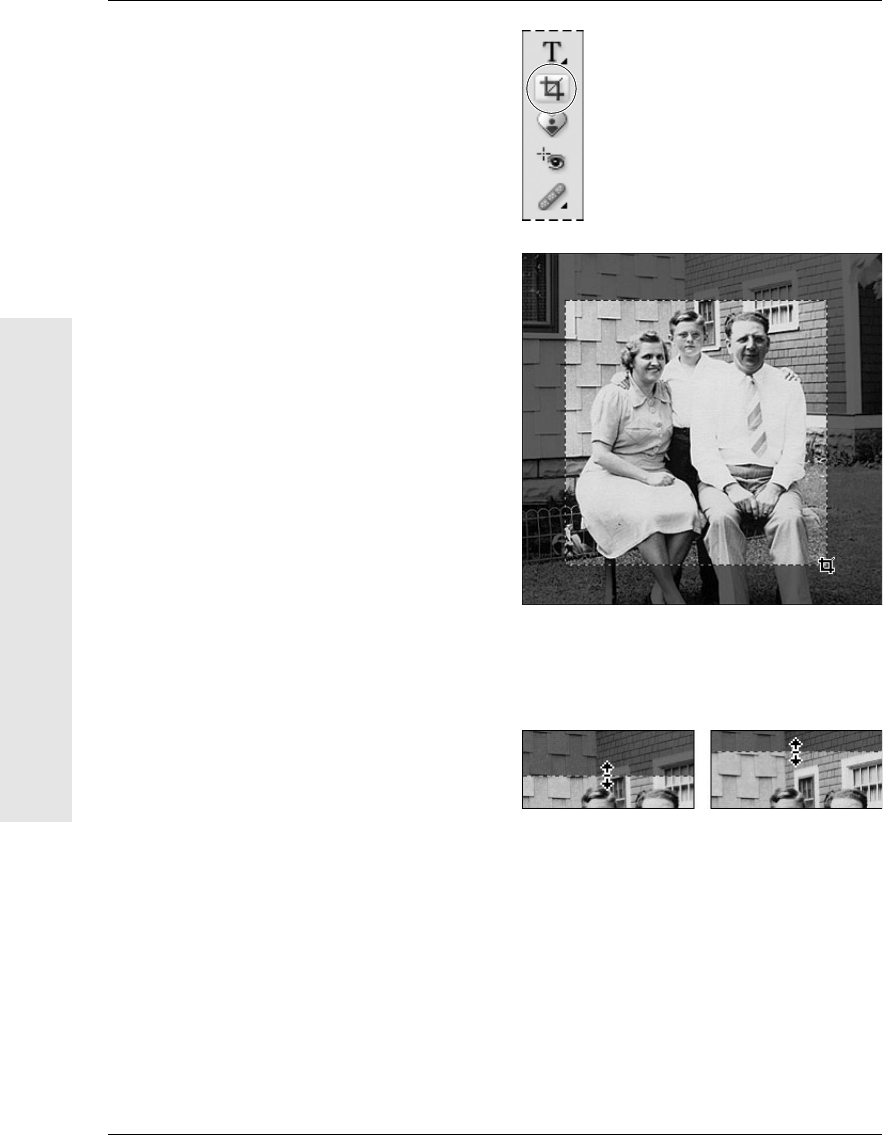
Select the Crop tool from the toolbox (C)
(Figure 6.1).
When you move the pointer over your
image, it becomes the Crop tool.
2.
In the image window, drag to define the
area of the image you want to keep
(Figure 6.2).
The image outside the selected area will
be dimmed to indicate the portions that
will be deleted.
3.
If you want to modify your selection,
move the pointer over one of the eight
handles on the edges of the selection;
then drag the handle to resize the selec-
tion (Figure 6.3).
Figure 6.3 You can easily move and resize the area
you choose to crop by dragging the handles around
the perimeter of the cropping selection.
Figure 6.2 When you crop using the Crop tool,
Photoshop Elements gives you visual feedback by
highlighting the image that will be preserved and
dimming the portions that will be deleted.
Figure 6.1 The Crop tool.
160
Chapter 6
Cropping an Image
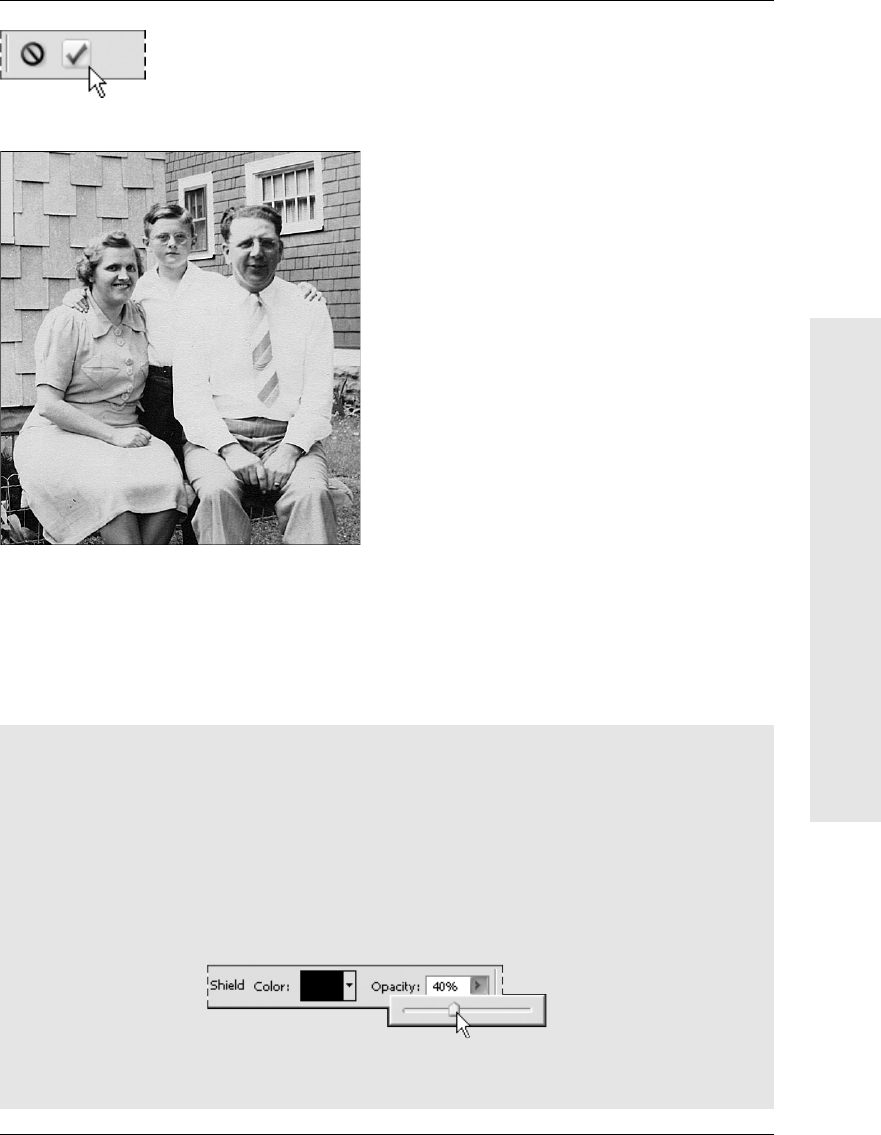
Figure 6.5 The final, cropped image.
Figure 6.4 The Cancel
and Commit current crop
operation buttons are
located below the palette
well in the options bar.
4.
When you’re satisfied with your selection,
double-click the pointer inside the selec-
tion, press Enter/Return, or click the
Commit current crop operation button
in the options bar (Figure 6.4).
The image is cropped to the area you
selected (Figure 6.5).
If you’re just not satisfied with your selec-
tion and want to start over, click the
Cancel current crop operation button.
161
Fixing and Retouching Photos
Cropping an Image
The Cropping Shield Display Options
In addition to the Cancel and Commit current crop operation buttons, three additional crop-
ping options appear once a selection has been made with the Crop tool, and all allow you to
control the display of the dimmed area, or shield, around your cropped selection (Figure 6.6).
Clicking the Shield check box toggles the dimmed area off and on. A single click in the Color
box opens the Color Picker, where you can change the color of the dimmed area. The default
color is black. Lastly, you can use the Opacity slider to change the strength of the dimmed area
from its default of 75 percent.
Figure 6.6 Once you make a cropping selection, the
Shield display options appear in the options bar.
To crop an image using the
Rectangular Marquee tool:
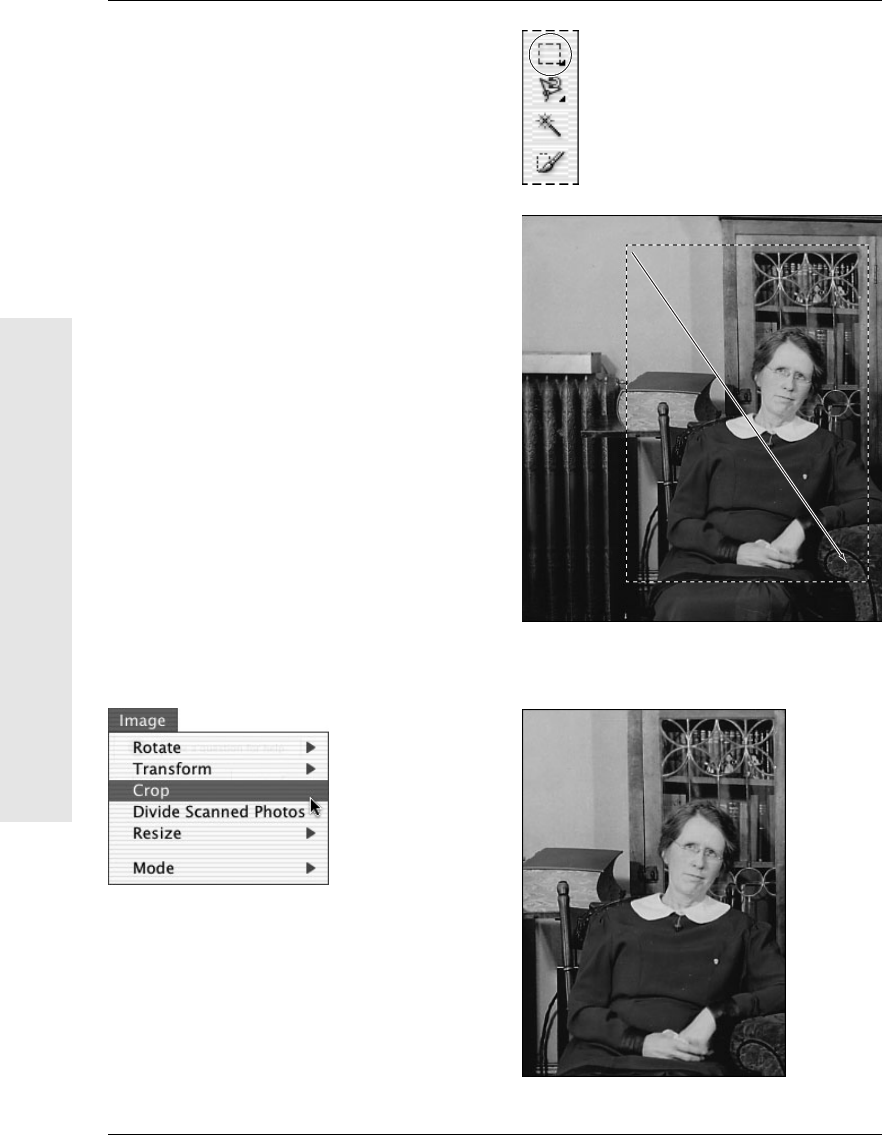
1.
Select the Rectangular Marquee tool
from the toolbox or press M (Figure 6.7).
2.
In the image window, drag to define the
area of the image you want to keep
(Figure 6.8).
3.
From the Image menu, choose Crop
(Figure 6.9).
The image is cropped to the area you
selected (Figure 6.10).
Figure 6.10 The final, cropped image.
Figure 6.8 Drag with the Rectangular Marquee tool to
define the part of the image you want to crop.
Figure 6.7 The Rectangular
Marquee tool.
162
Chapter 6
Cropping an Image
Figure 6.9 You can crop in one
simple action by choosing crop
from the Image menu.
Get Photoshop Elements 3 for Windows and Macintosh: Visual QuickStart Guide now with the O’Reilly learning platform.
O’Reilly members experience books, live events, courses curated by job role, and more from O’Reilly and nearly 200 top publishers.

