Chapter 3. Rotating and Resizing Your Photos
In the last chapter, you learned how to get your photos into Elements. Now it’s time to look at how to trim off unwanted areas and straighten crooked photos. You’ll also learn how to change the overall size of your images and how to zoom in and out to get a better look at things while you’re editing.
Straightening Scanned Photos
Anyone who’s scanned old photos can testify to the hair-pulling frustration you feel when your carefully-placed pictures come out crooked onscreen. Whether you’re feeding in precious memories one at a time or scanning batches of photos to save time, Elements can help straighten things out.
Straightening Two or More Photos at a Time
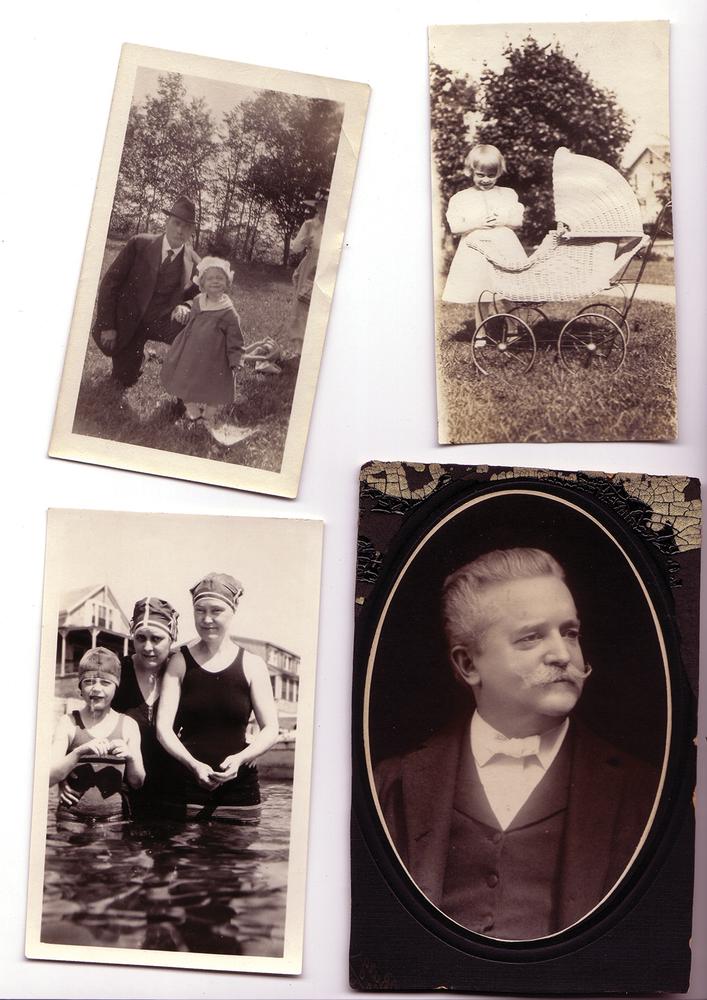
If you have a pile of photos to scan, save yourself some time and lay as many of them as you can fit on your scanner. Thanks to Elements’ wonderful Divide Scanned Photos command, you’ll have individual images in no time. The only limit is how many photos fit on your scanner at once.
Start by scanning in the photos (Figure 3-1). It doesn’t matter whether you scan directly into Elements or use your scanner’s own software. (See Working with PDF Files for more about scanning images into Elements.)
Tip
Sometimes it pays to be crooked: Divide Scanned Photos does its best work if your photos are fairly crooked, so don’t waste time trying to be precise when placing your pictures on the scanner.
Get Photoshop Elements 8 for Mac: The Missing Manual now with the O’Reilly learning platform.
O’Reilly members experience books, live events, courses curated by job role, and more from O’Reilly and nearly 200 top publishers.

