045
PURPOSEFUL PLAY
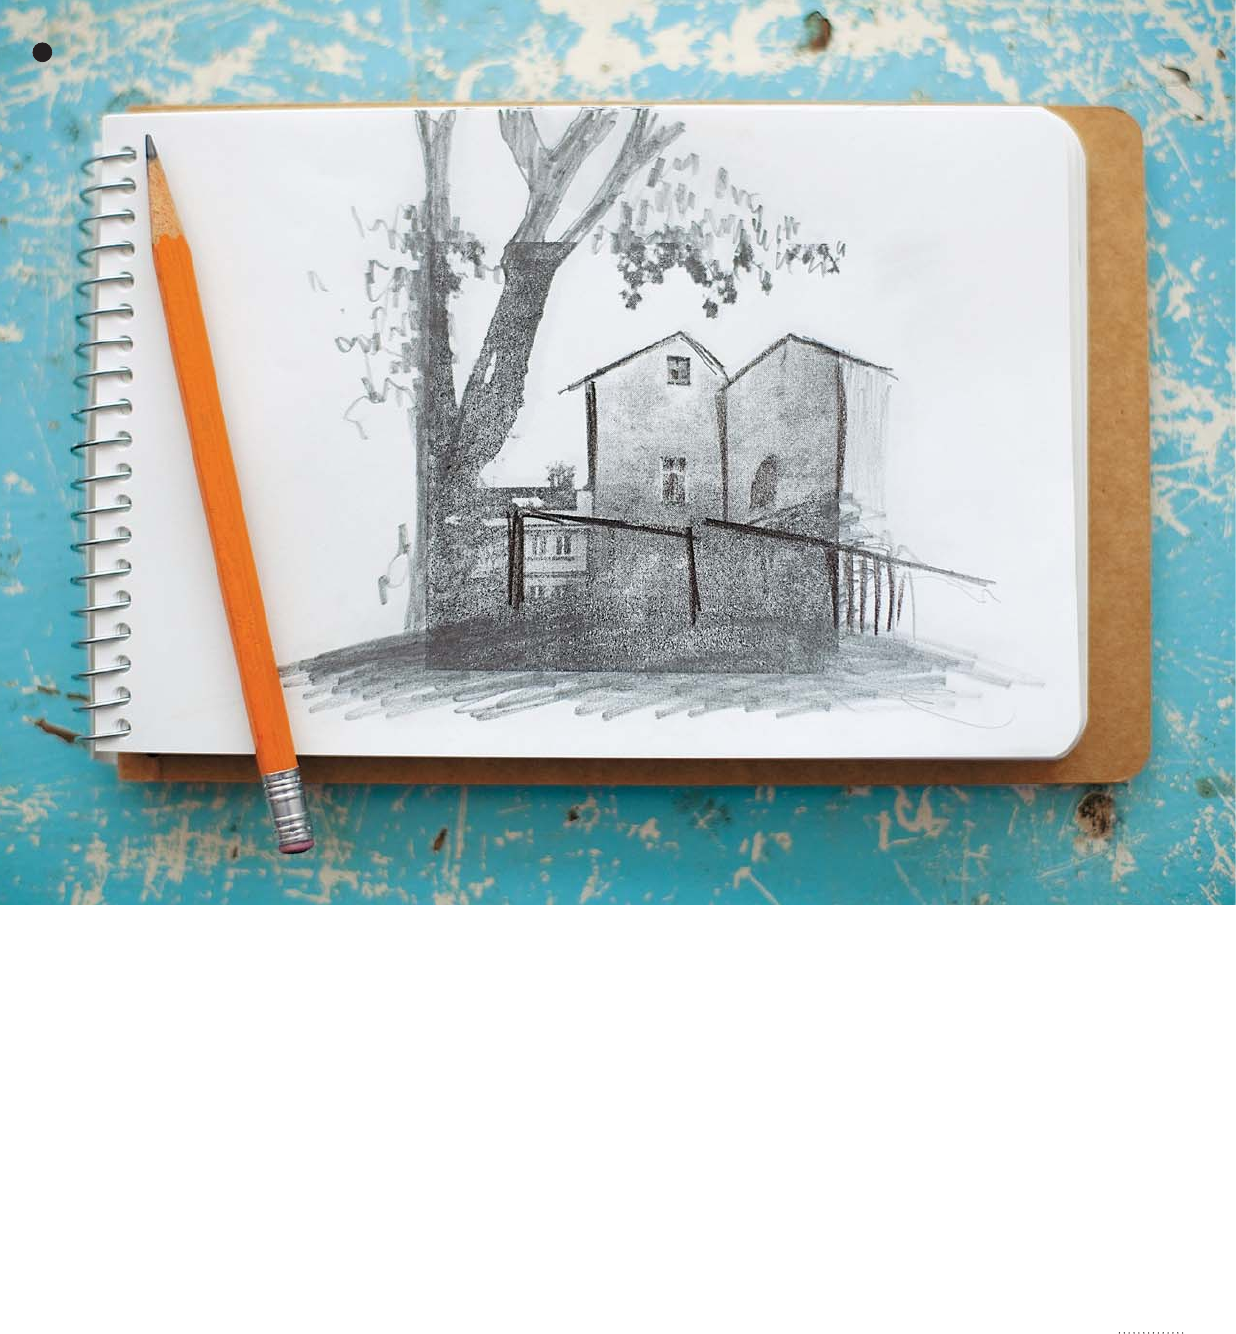
1
Place the photocopy face
down onto the sketchbook
page. “Color” the back of the
photocopy with the blender pen.
Without moving the photocopy,
burnish completely with a
bone folder. Lift a corner to
ensure you’ve transferred the
image evenly. Repeat steps
as necessary and remove the
photocopy once you are satisfied.
(See A.)
2
Using a graphite pencil,
extend lines from your image
onto the surrounding page. It’s
easy to start with obvious lines
such as buildings, horizon lines,
and branches. (See B.)
3
Fill in the sketch with
texture using graphite
pencil. Continue to build on
the existing image by adding
color, starting with light shades
first. You can take this as far as
you like, using the transfer as
a base and creating your own
composition from there. Unlike
collage, which leaves an edge, a
transfer is seamless, which really
allows you to make this sketch
entirely your own. (See C.)
C
Twinkling
Landscape
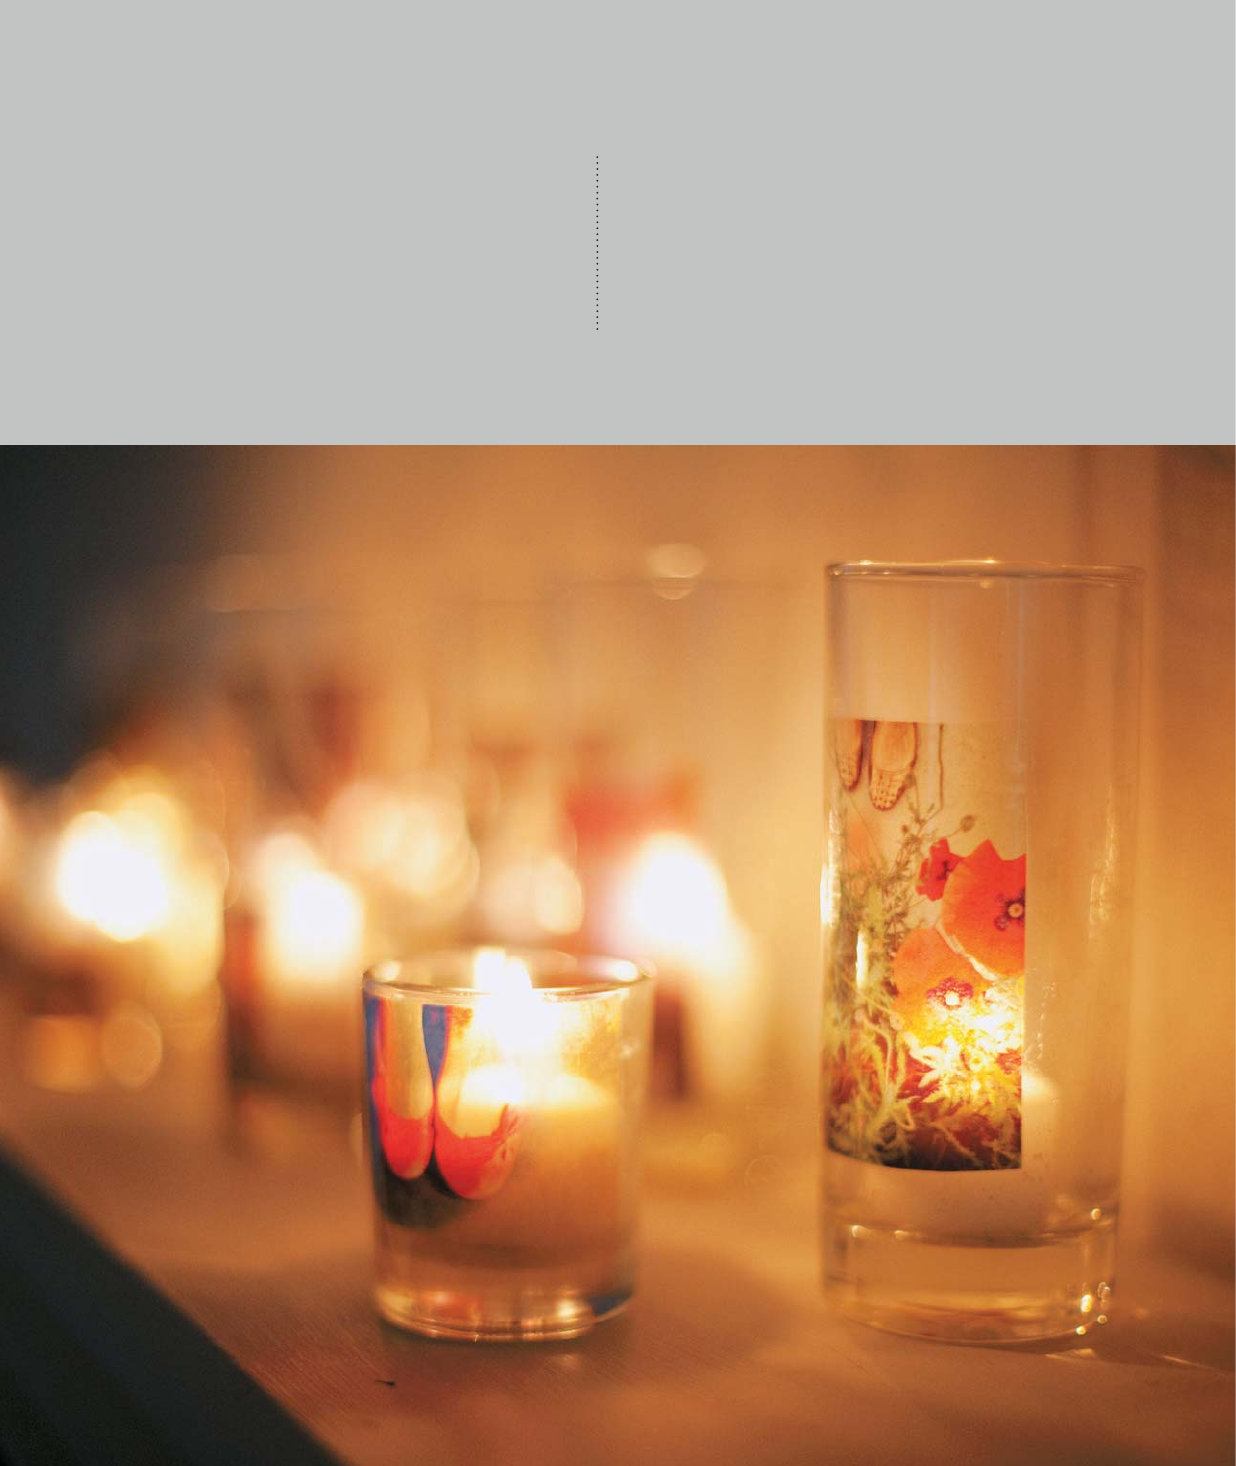
A
dd a photo to a simple
glass votive to create a
dreamy and atmospheric
image lit from within.
047
PURPOSEFUL PLAY
Tip
Packing tape transfers with lots
of light, white, or open space,
especially images of skin, can
look a little ghostly when lit. Opt
for landscapes, architectural
images, and high-contrast
black-and-white images or
bright colors, which look best
when lit. Votives with straight
sides work best.
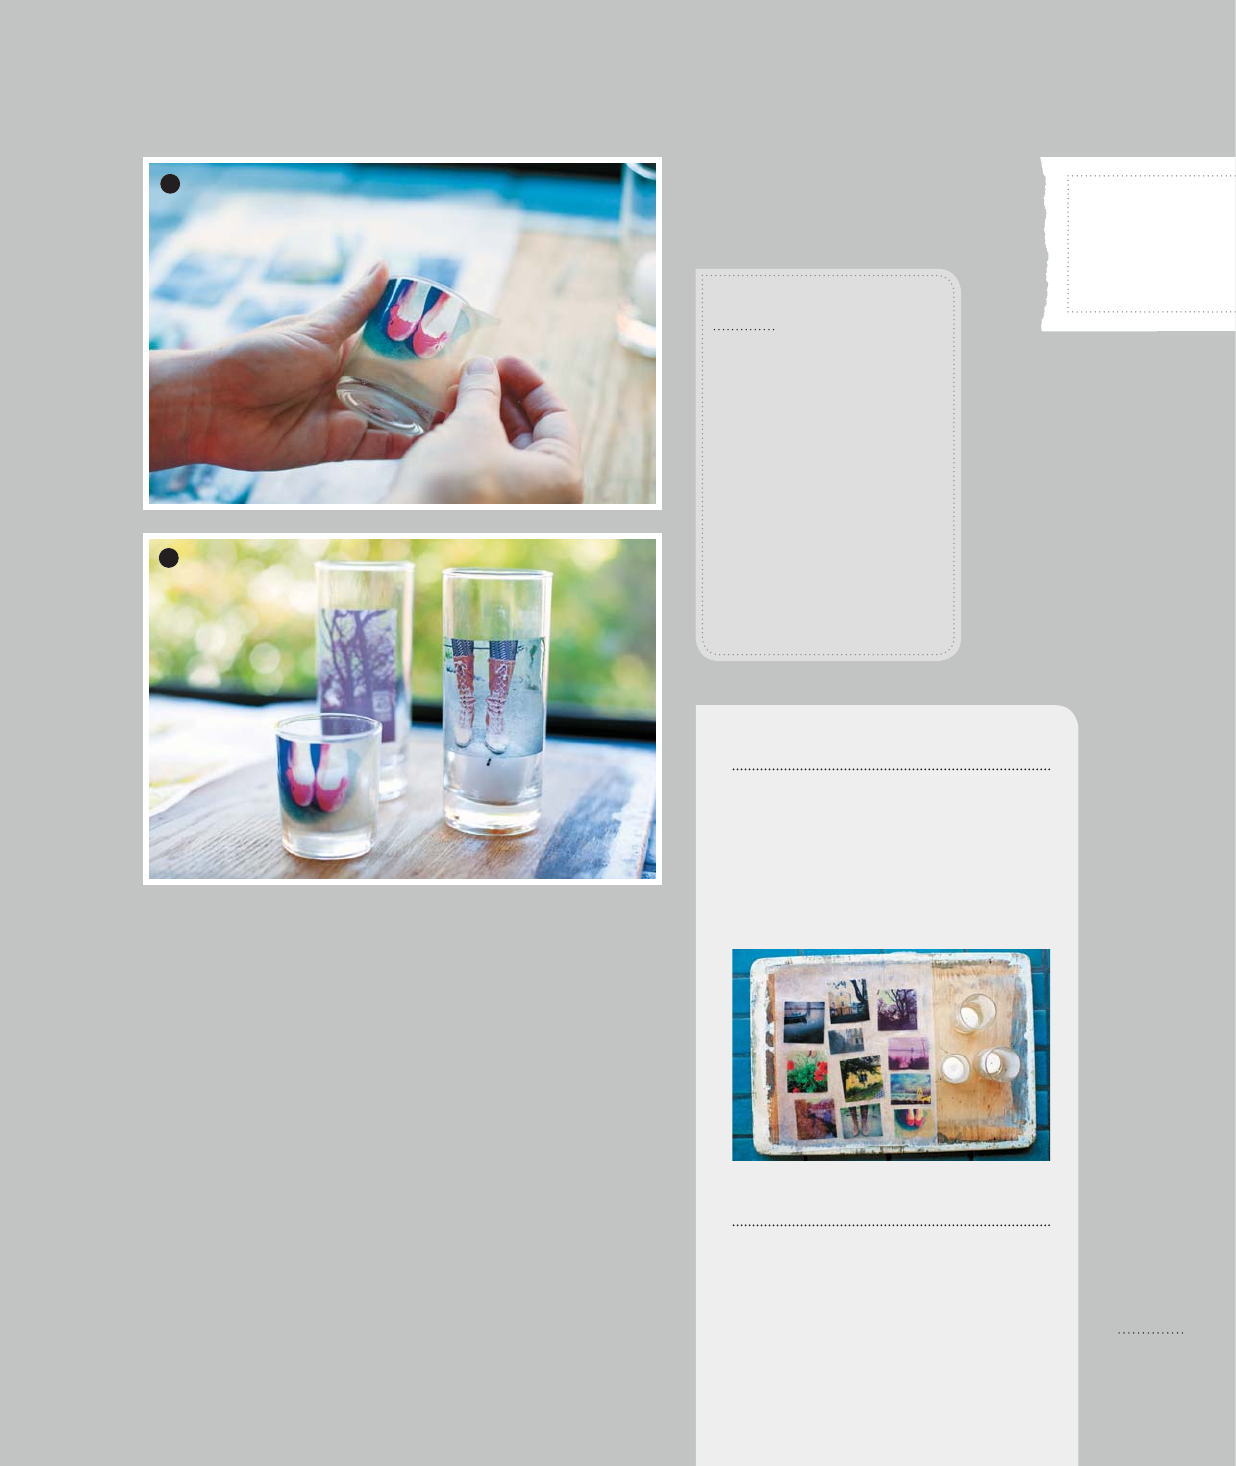
PROJECT
5
MATERIALS
DMethod: Packing Tape Transfer
(see page 20)
Dglass votive holders with straight sides in
various sizes
Dbone folder or burnishing tool
Dwax votive candles in various sizes
CONSIDERATIONS
Place a grouping of votives on a mantle for
instant décor or create a tablescape for an
intimate dinner.
1
Place your packing tape
transfer onto the outer
surface of the glass votive. Align
and burnish out any bubbles with
your fingers. Repeat this step for
multiple votives. (See A.)
2
Place the candle inside the
votive and watch your transfer
light up. (See B.)
A
B
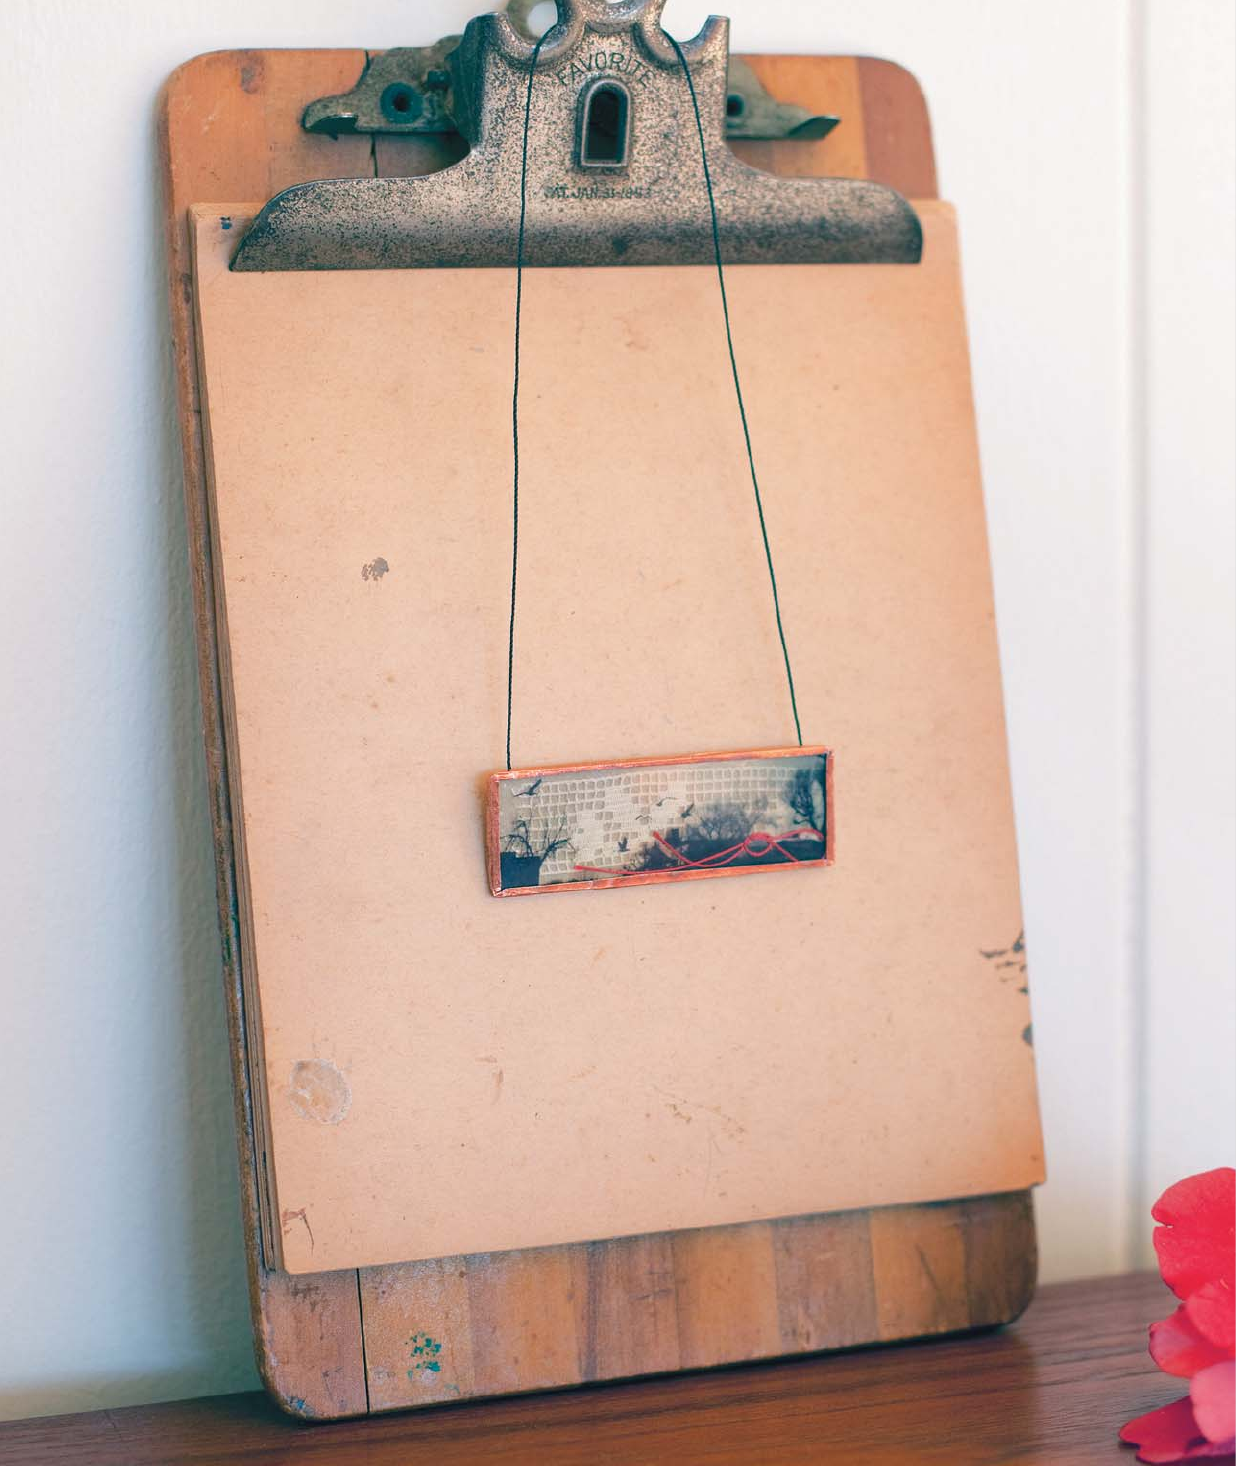
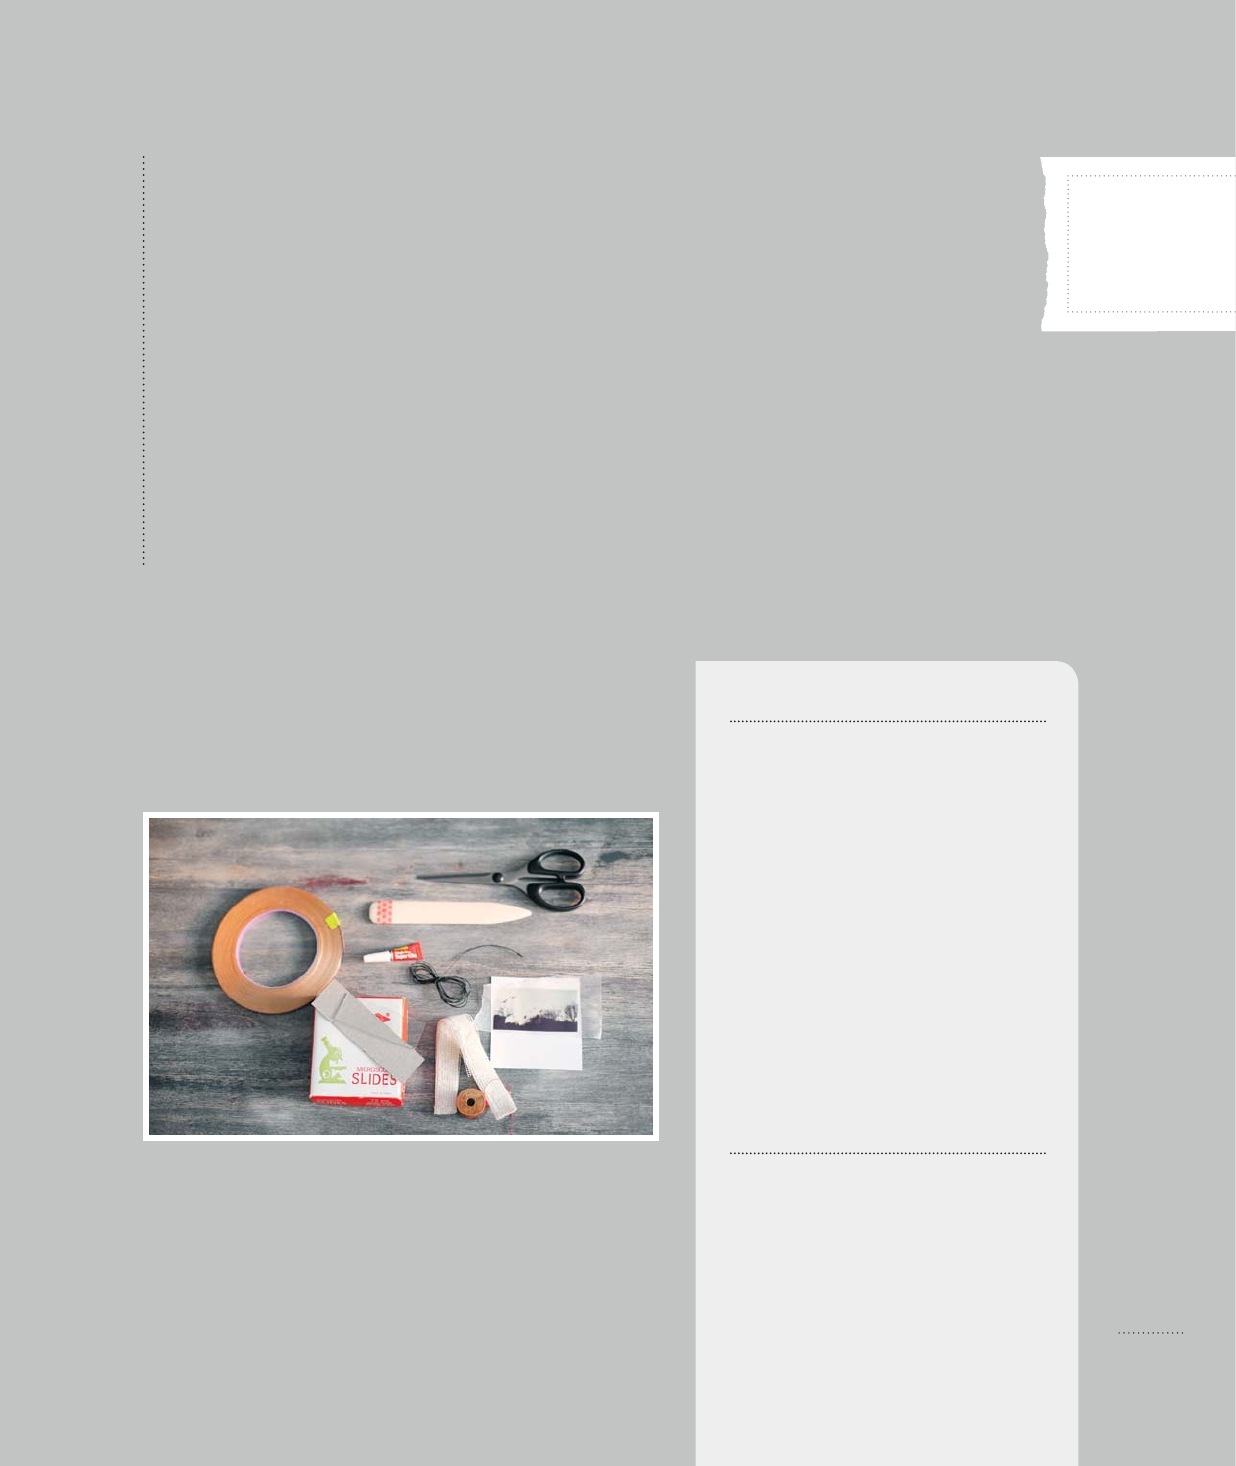
MATERIALS
DMethod: Packing Tape Transfer (see page 20)
Dscissors or craft knife
Dsmall piece of book board or lightweight
cardboard
Dmicroscope slide
Dpacking tape transfer
Dcollage materials or flat ephemera such
as a dried leaf or flower, lace, or thread
Dpatterned paper
Dcopper tape, 1/4" (6 mm) wide
Dbone folder or burnishing tool
Dleather cord, twine, or ribbon
Dglue
CONSIDERATIONS
Use family photos, kids’ drawings, or simple
sketches for a variation on this charming
necklace. Scraps of embroidery or vintage
textiles are also great to use. Create an
ornament by using a shorter cord.
6
PROJECT
049
PURPOSEFUL PLAY
C
reate a unique pendant necklace with microscope slides
and found imagery. Layer in dried botanicals, thread,
and bers or other ndings for a lile collection you
can carry with you.
Microscope Slide
Necklace
Get Playing with Image Transfers now with the O’Reilly learning platform.
O’Reilly members experience books, live events, courses curated by job role, and more from O’Reilly and nearly 200 top publishers.

