080
PLAYING WITH IMAGE TRANSFERS
A
B
081
PURPOSEFUL PLAY
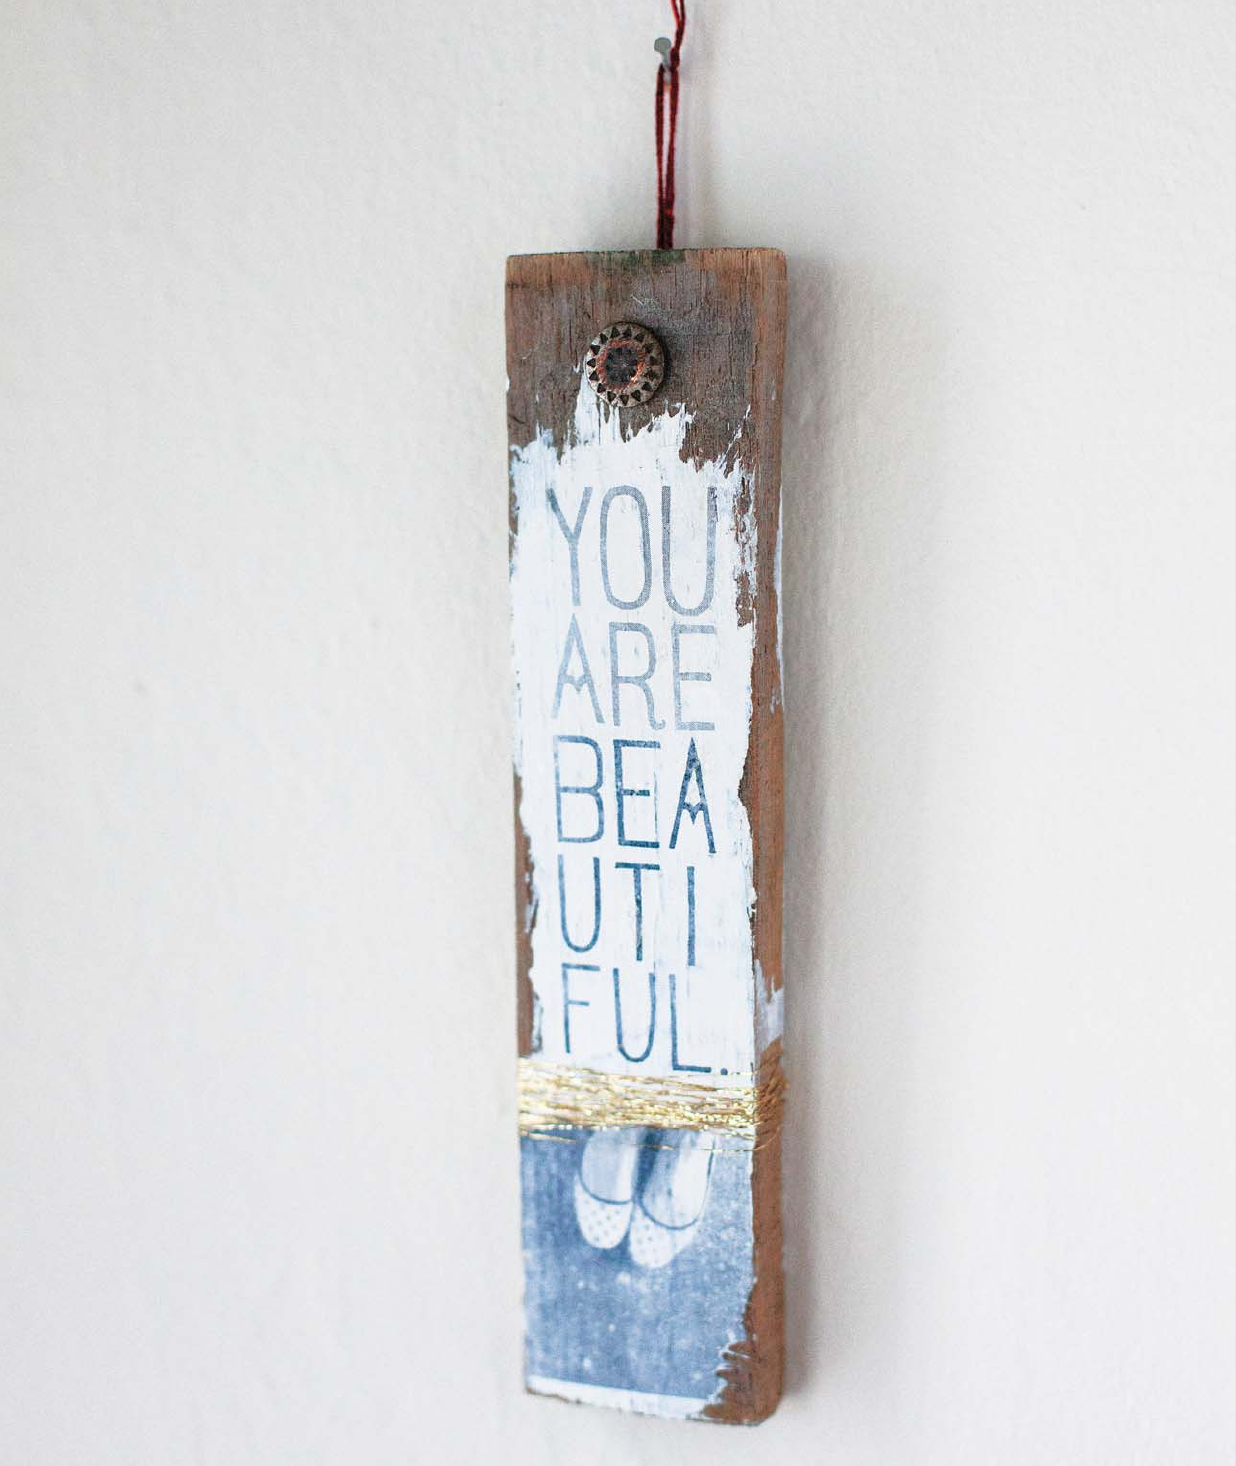
until the image is transferred. Do
the same for the envelope. I like
the continuation of design from
envelope to card, but consider
using your own drawings,
sketches, or lettering to create a
suite of impromptu enclosures.
(See D.)
1
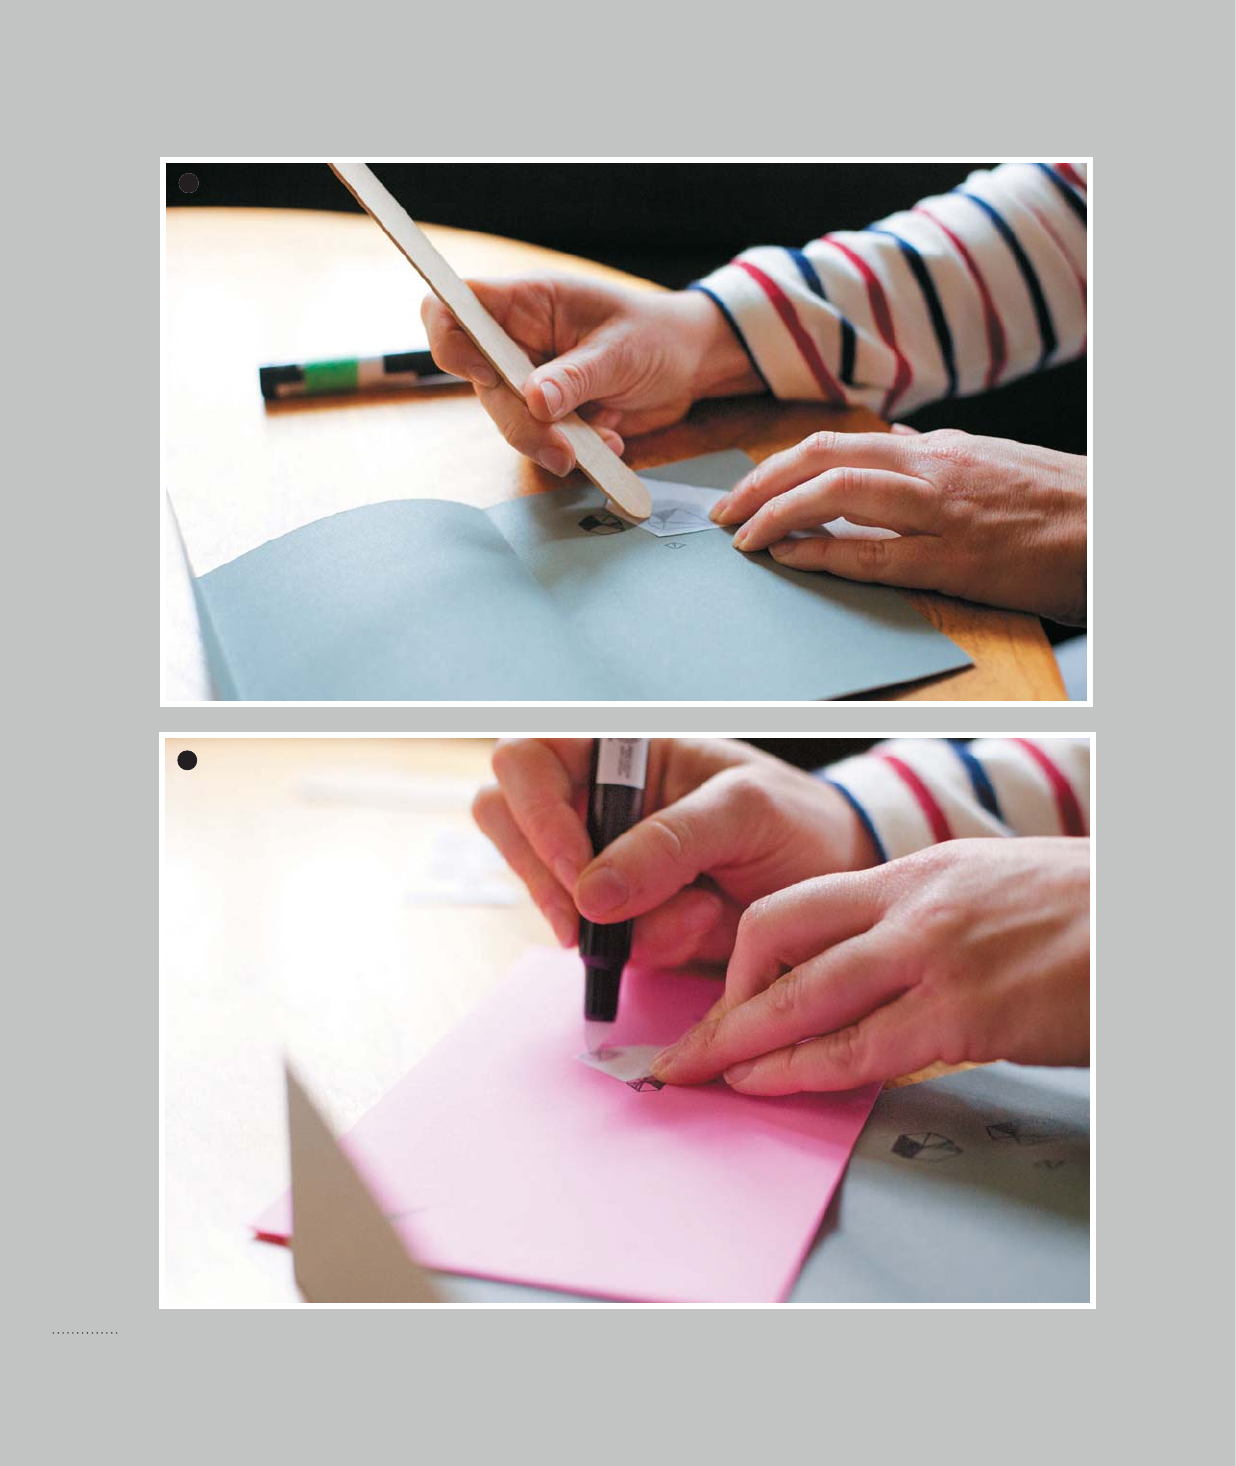
Add small graphics to a
sheet of writing paper. I
love gray paper because it’s a
neutral that I can pair with a
metallic for a glam look or with
a neon for a contemporary feel.
Place the photocopy face down
onto the sheet of stationery
and “color” the back with the
blender pen. Without shifting
the photocopy, burnish until the
image is transferred. Continue
transferring small graphics
scattered along the page. I like
to do small groupings of odd
numbers in various sizes. (See A.)
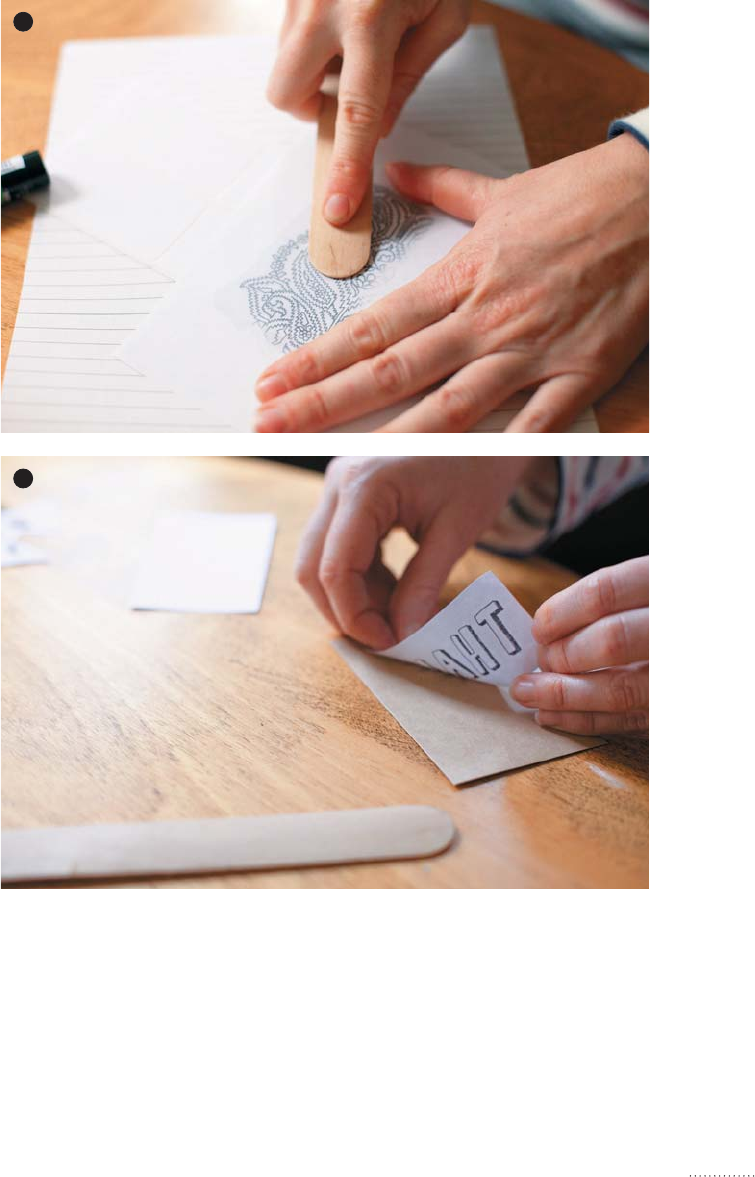
2
Create a matching envelope
by placing a few diamonds
on the front of the envelope or
on the lapel. Place the photocopy
face down onto the sheet of
paper and “color” the back with
the blender pen. Without shifting
the photocopy, burnish until the
image is transferred. Sprinkle
these diamond graphics over
the envelope for a hint of what’s
inside! (See B.)
3
To make a set of labels for
mailing, organizing, or using
as stickers, choose a large image
or graphic. I like to transfer
a single image over several
stickers at once. This allows
the image to bleed off the label,
giving it a professionally designed
look. (See C.)
4
I love the look of a
hand-drawn graphic. Make
a Thank You card with a simple
transfer. Place a reversed
photocopy face down onto the
flat card and “color” the back
with the blender pen. Without
shifting the photocopy, burnish
C
D
MATERIALS
DMethod: Acrylic Paint Transfer (see page 28)
Dpaintbrush
Dwhite acrylic paint
Ddistressed wooden scrap
Dblack-and-white photocopy of text
(reversed)
Ddamp sponge and water
Dthread
Dtacky glue
Dbutton
Dother ephemera
CONSIDERATIONS
This technique is a fun way to make signage
for any event. Use in a wedding for a Mr. &
Mrs. sign to hang on the back of a bride and
groom's chair! This would also be a great
housewarming gift.
083
PURPOSEFUL PLAY
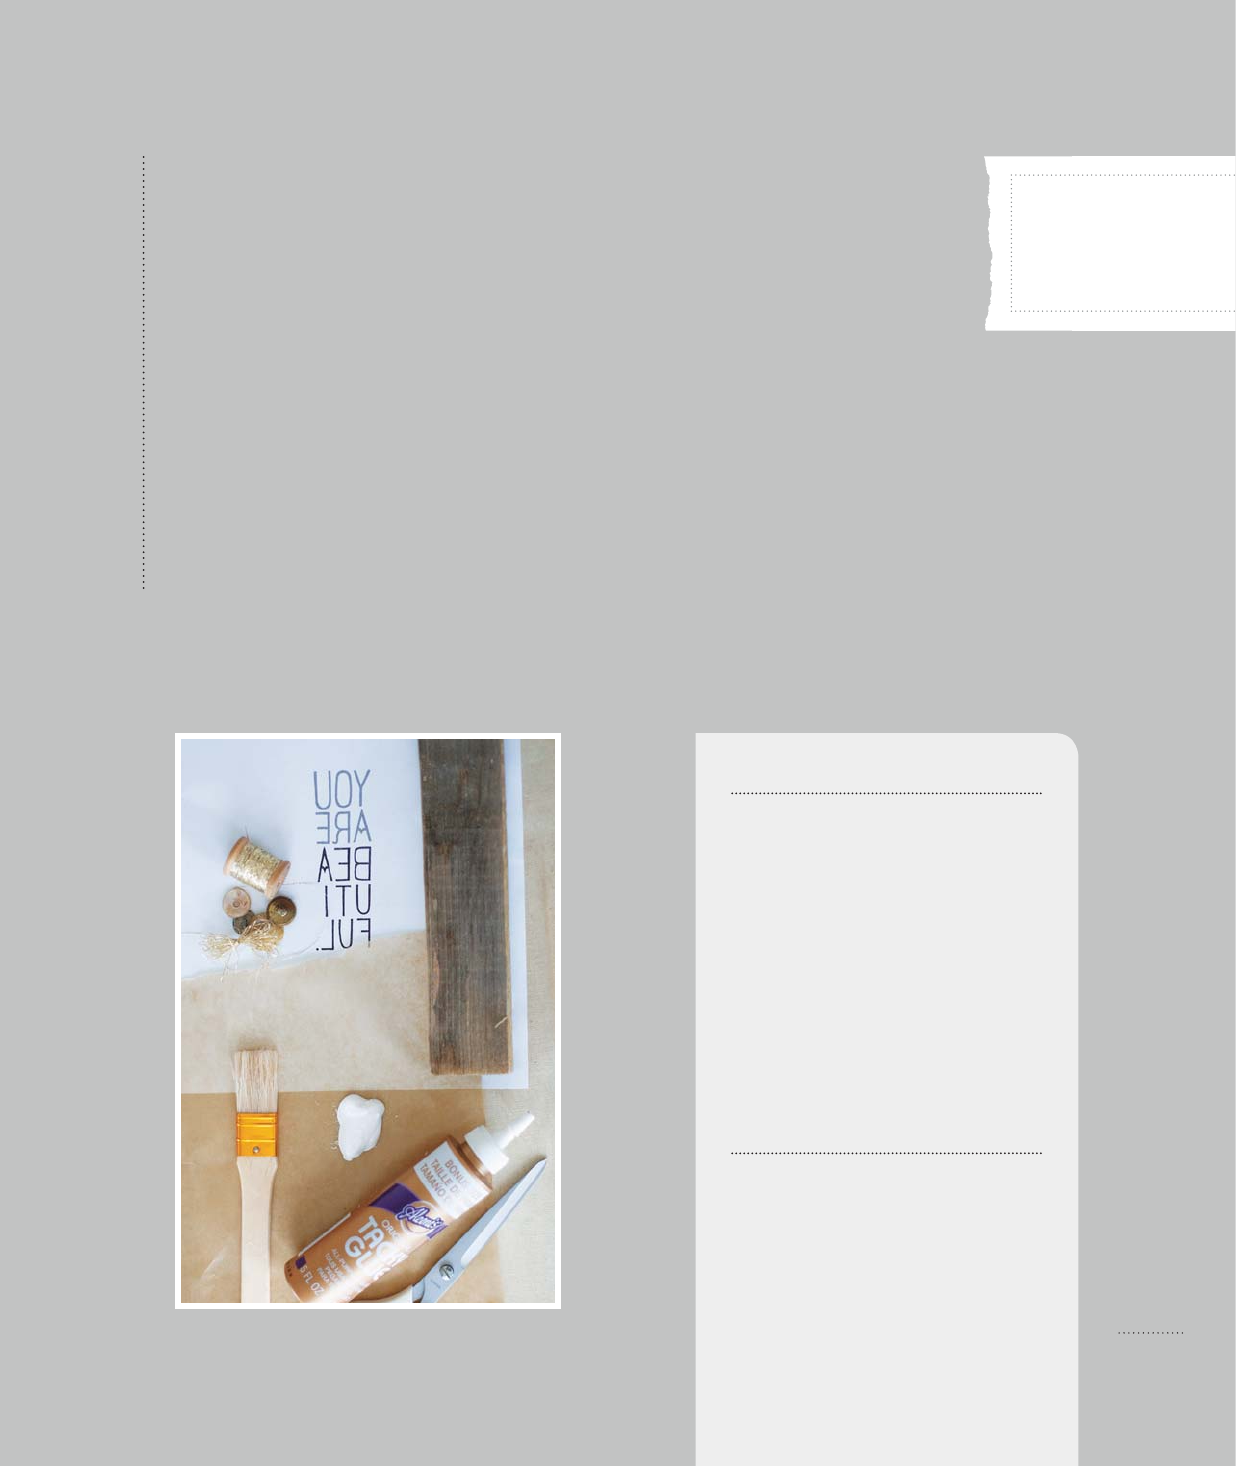
M
ake a vintage-inspired sign using rustic recycled
wood scrap. You may have a phrase or quotation
you nd inspirational. Turn that thought into
an object you can place on a shelf or hang on the wall for an
everyday reminder.
Upcycled Sign
Leering by Sam O’Leary
16
PROJECT

084
PLAYING WITH IMAGE TRANSFERS
Tip
If you're having difficulty getting a clean image, try using a
weathered piece of wood that is fairly smooth. At worst, you
can paint over a failed image and try the process again.
1
Brush an even coat of paint on
the wooden surface. Try using
a dry brush method: pounce with a
cheap bristled brush to get feathered
soft edges of paint. (See A.)
2
While the paint is wet, place
the photocopy face down and
burnish lightly with your fingers.
I placed an image of shoes below
the lettering, leaving a small gap
between the two, so I can come
back in and add thread later. Allow
to dry completely!
3
Using a damp sponge, gently
remove the paper backing
with circular motions. Continue
adding water and removing paper
pills gently until the entire image is
revealed. (See B.)
4
This is a great opportunity to
make this an object instead of
just words on wood. Wrap thread,
such as a metallic, around the wood
many times until you build up a
band of threads. Secure with a dab
of glue. (See C.)
5
Add a final element to finish. I
added a vintage metal button to
visually ground the image and add
another texture. Secure the button
in place with a dab of heavy crafting
glue. You could also hammer in
a small object like an old nail, a
milagro, or another finding. (See D.)
A
B
Get Playing with Image Transfers now with the O’Reilly learning platform.
O’Reilly members experience books, live events, courses curated by job role, and more from O’Reilly and nearly 200 top publishers.

