Grouping Tiles
The Start screen tiles aren’t scattered pell-mell; they present an attractive, orderly mosaic. Not only are they mathematically nestled among one another, but they’re actually grouped. As you can see in Figure 2-3, each cluster of related tiles can bear a name, like “Essentials” or “Casey’s Faves.”
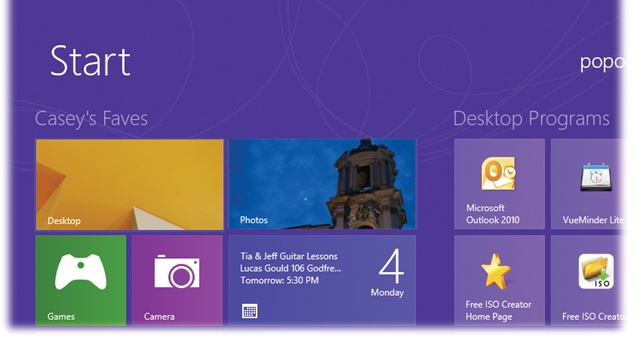
Figure 2-3. You can make sense of Tile World by putting your tiles into logically named groups.
Naming Groups
In Windows 8.1, Microsoft changed the steps for editing the names that appear over your tile groups. Now you do it by opening the App bar (swipe up from the bottom of the screen, or right-click it) and choose Customize.
A “Name group” box appears above each group. Click or tap in there and add, or edit, the names for each group. Tap the background (or press Enter) to finish up. Your group is now named.
Creating a New Group
To create a new group, start by selecting the tiles you’ll want to be in it (or some of them). See the box on Multiple Selections for details on selecting multiple tiles.
Now drag any one of the selected tiles into the small blank area in between existing groups—or all the way to the right or left of existing groups.
When you get there, you’ll see a thick vertical bar appear on your screen. That’s Windows telling you, “I get the hint. You want to create a new group right here.”
Release the tiles you’re dragging; they’re now happily setting up the homestead. ...
Get Windows 8.1: The Missing Manual now with the O’Reilly learning platform.
O’Reilly members experience books, live events, courses curated by job role, and more from O’Reilly and nearly 200 top publishers.

