430
|
Chapter 12: Setting Up Printers, Scanners, and Fax Machines
3. In the Scanners and Cameras window, click the scanner and then click Properties.
4. On the Device Settings tab, the current hostname or IP address is listed. If this
information isn’t correct, enter the correct hostname or IP address of the scan-
ner, and then click OK.
Changing Printer, Scanner, and Fax Machine Drivers
You can manage drivers for printers, scanners, and fax machines just like you can
any other drivers. To change the drivers for a printer or fax machine, follow these
steps:
1. Click Start and then click Control Panel. In the Control Panel, click Hardware
and Sound and then click Printers.
2. In the Printers window, right-click the printer you want to configure, point to
“Run as administrator,” and then select Properties.
3. On the Advanced tab, click New Driver.
4. Use the Add Printer Driver Wizard to select and install the new driver.
To change the drivers for a scanner, follow these steps:
1. Click Start and then click Control Panel.
2. In the Control Panel, click Hardware and Sound and then click Scanners and
Cameras.
3. In the Scanners and Cameras window, click the scanner and then click Properties.
4. On the Device Settings tab, click New Driver.
Setting Printer Scheduling, Prioritization, and Other Options
The Advanced tab of the Printer properties dialog box provides most of the options
you’ll want to configure. You can use these options to configure your printer by
completing the following steps:
1. Click Start and then click Control Panel. In the Control Panel, click Hardware
and Sound and then click Printers.
2. In the Printers window, right-click the printer you want to configure and then
select Properties.
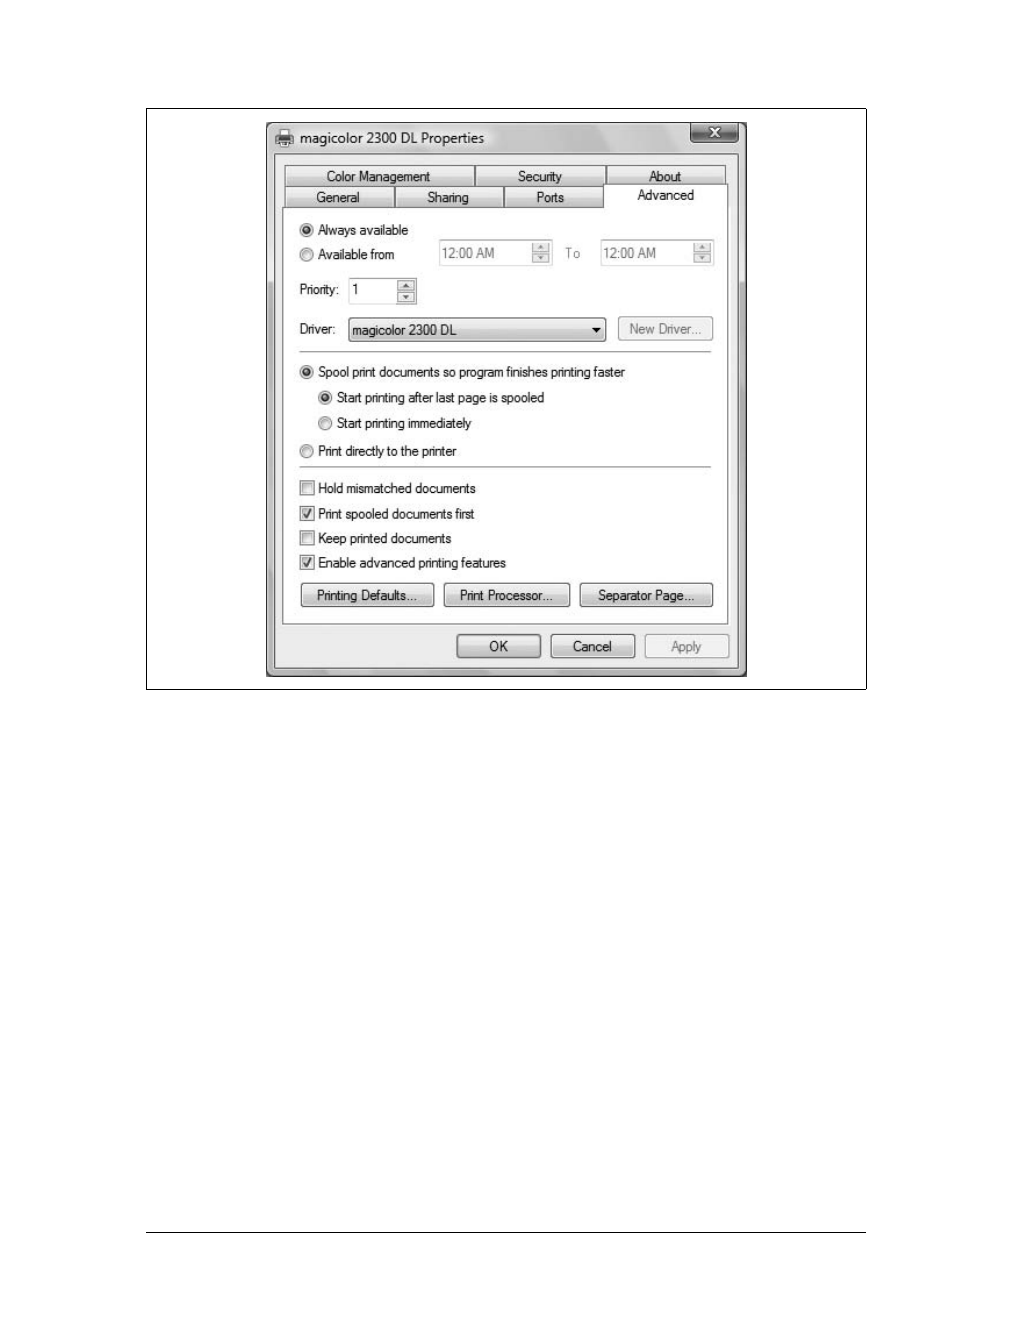
3. In the Properties dialog box, select the Advanced tab, as shown in Figure 12-14.
4. Use the following options to optimize the printer configuration:
Always available and available from
Printers are either always available or available only during the hours speci-
fied. Select “Always available” to make the printer available at all times or
select “Available from” to set specific hours of operation. Print jobs sent out-
side the designated hours are held in the printer’s queue until the scheduled
use time.
Configuring Printer, Scanner, and Fax Machine Properties
|
431
Priority
Print jobs always print in order of priority. Jobs with higher priority print
before jobs with lower priority. Use the Priority box to set the default priority.
Driver
Shows the current driver being used for the printer. If you click the Driver
list, you’ll see a list of all printer drivers being used on your computer. See
“Changing Printer, Scanner, and Fax Machine Drivers,” earlier in this chap-
ter, for more information.
Spooling options
The spooling options control whether and how a document is spooled to a
hard disk before being sent to the printer. Spooling a document before print-
ing allows applications to finish printing faster. To enable spooling, select
“Spool print documents so program finishes printing faster.” To disable
spooling, select “Print directly to the printer.” With spooling, select “Start
printing after last page is spooled” if you want to ensure that the entire doc-
ument makes it into the print queue before printing. Otherwise, select “Start
printing immediately” if you want printing to begin immediately when the
print device isn’t already in use.
Figure 12-14. Configuring the printer as necessary
Get Windows Vista Security: Praxisorientierte Sicherheit für Profis now with the O’Reilly learning platform.
O’Reilly members experience books, live events, courses curated by job role, and more from O’Reilly and nearly 200 top publishers.

