Activating and Deactivating Plugins
When you install a plugin within WordPress, the plugin must be activated, or switched on before it can be used. This simple one-click process can be done within the WordPress Dashboard.
- Log in to the WordPress Dashboard and choose Plugins.
 Make sure that you see all the plugins; if not, click the All link under the Plugins page title.
 - Scroll to the plugin you want to activate.
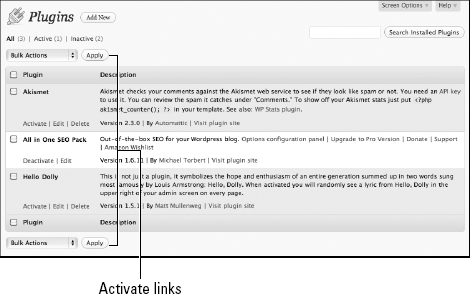
The Activate link appears beneath the name of your plugin, as shown in Figure 2-12.
Figure 2-12: List of installed plugins showing plugins that need activating.
- Click the Activate link.
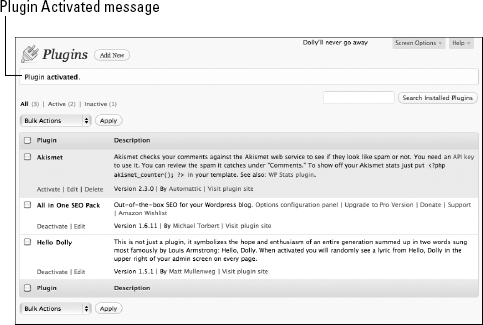
The Plugins page appears with a message confirming that the plugin was activated, as shown in Figure 2-13.
Figure 2-13: The Plugins page showing the Plugin Activated message.
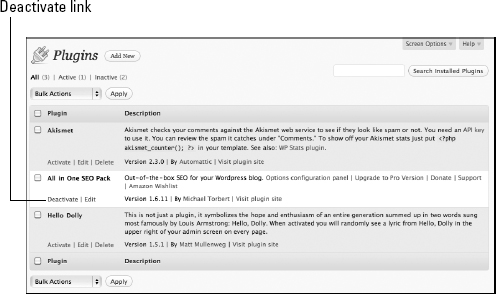
To deactivate a plugin, follow the same steps, but instead of clicking the Activate link, click the Deactivate link, as shown in Figure 2-14.
Figure 2-14: The Deactivate link on the Plugins page.
The process of activating and deactivating plugins is very simple and easy to do within the WordPress Dashboard. Remember ...
Get WordPress® All-in-One For Dummies® now with the O’Reilly learning platform.
O’Reilly members experience books, live events, courses curated by job role, and more from O’Reilly and nearly 200 top publishers.

