Exploring the Custom Fields Interface
The Custom Fields module appears on both the Write Post and Write Page (See Book IV, Chapters 2 and 3) pages in the WordPress Dashboard, below the Post text box, as shown in Figure 5-1.
Figure 5-1: The Custom Fields module on the Write Post page in the Dashboard.
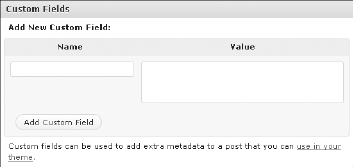
The Custom Fields module has two different text boxes:
- Name: Also known as the Key, you give this name to the Custom Field you're planning to use. The Name needs to be unique: It's used in the template tag that you can read about in the section “Adding Custom Fields to Your Template File,” later in this chapter. In Figure 5-2, you can see that Lisa's Custom Field has the name mood.
- Value: Assigned to the Custom Field name and displayed in your blog post on your site if you use the template tag that you can also read about in the section “Adding Custom Fields to Your Template File,” later in this chapter. In Figure 5-2, the Value assigned to the mood (the Custom Field name) is Happy.
Figure 5-2: Custom Fields that have Name and Value assigned.
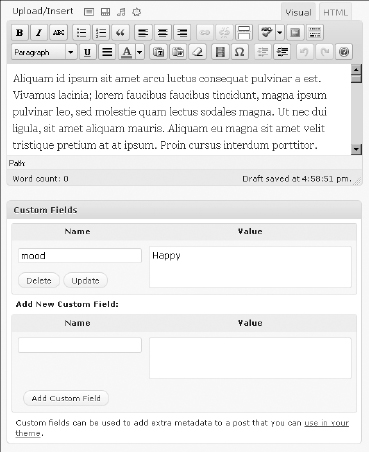
Simply fill out the Name and Value text boxes, and then click the Add Custom Field button to add the data to your post or page. Figure 5-2 shows a Custom Field that Lisa added to her post with the Name of mood and with the assigned Value Happy ...
Get WordPress® All-in-One For Dummies® now with the O’Reilly learning platform.
O’Reilly members experience books, live events, courses curated by job role, and more from O’Reilly and nearly 200 top publishers.

