 Screenshot from "How do I use curves to balance color and adjust contrast in Photoshop?" (source: O'Reilly)
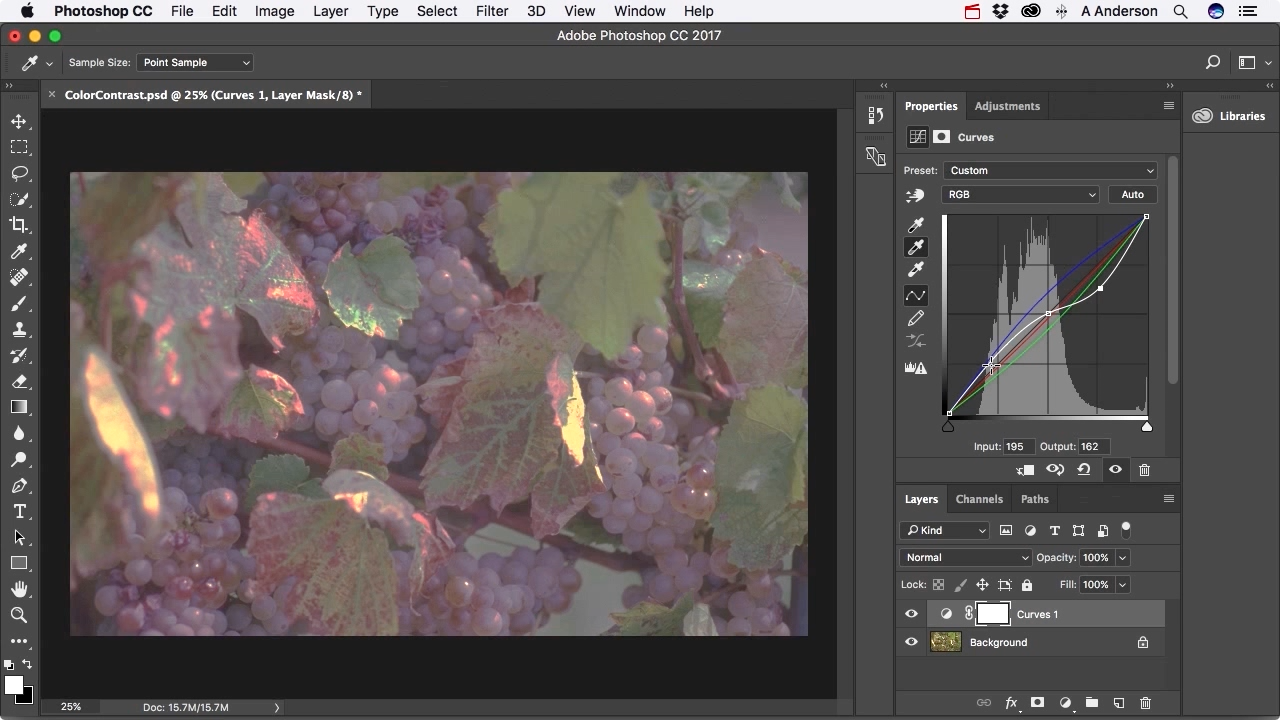
 Most photographers are familiar with the disappointment felt when the colors in their photographs don’t quite live up to what they remember seeing through their camera lens. In this video, Andy Anderson leads you through the process of applying a curves adjustment layer to a scanned color image to alter its color balance and contrast. Photoshop beginners will learn how to apply an adjustment layer and enhance color with a single click.
Access in-depth mobile design training with Safari Learning Paths.
Author of over a dozen best-selling books, Andy Anderson can be described as a renaissance man of 21st century digital design. Andy has travelled the globe lecturing on the power of creative design and has trained thousands of students in applications such as Adobe Creative Suite, Maya, and Final Cut Pro. Andy has also provided training to high-profile organizations such as Disney, Universal Studios, Boeing, K-Mart, and Southwestern Bell, as well as the White House. Andy’s teachings emphasize proper workflow and efficiency, allowing more time for true creative freedom.