
3
Leadership Shield
Objective
To have each participant share some information about their background,
values, philosophy of life, and leadership experience
Group Size
Up to 20 participants
Estimated Time
30 minutes
Training Methods
z
Art project
z
Reflection
z
Discussion
Materials
z
Handout 3.1: Leadership Shield
z
Sample family coat of arms crest/shield, if possible
Equipment and Supplies
z
Several sets of colored markers for participants to share
z
Flipchart paper
z
Four prepared posters on colored paper, each bearing a different term from
this list:
z
background
z
philosophy of life
z
values
z
leadership
9

50 Activities for Developing Leaders
10
Room Set-up
z
Move furniture away from the walls, so there is space for participants to
hang up large pieces of paper and then stand next to them during the discus-
sion part of the activity.
z
Post the four posters as you get ready to open the activity.
Comments
Use this activity when you have sufficient space on the walls to post the shields. An
alternative is to have participants complete their shields on copy paper. This is a
popular activity; participants are able to work with categories of information that
are interesting to them.
11
Leadership Shield
Trainer’s Notes for Activity 3
Step-by-Step Procedure
Step 1: Ask which participants have a family coat of arms, crest, or shield.
Ask those who have one to describe it or draw a picture. Explain
that the purpose of the activity is to develop a new symbol that
emphasizes leadership.
Step 2: Distribute one sheet of flipchart paper and several colored markers
to each participant. Ask participants to draw the outline of a crest
or shield on the paper. Demonstrate by drawing the outline of a
shield on your flipchart. (or distribute Handout 3.1)
Step 3: Explain that four categories of information have been selected for
representation on the shield or coat of arms. Announce one cate-
gory at a time, and remind participants to leave space on their
shield for all four. Allow them about two minutes to draw each
response.
Here are the categories, one for each quadrant of the shield:
a. Draw a picture that represents two of your leadership skills.
b. Draw a picture representing the part of your current work that
you like best.
c. Draw a picture representing two values that influence how you
lead others.
d. Draw a picture to represent a recent success or accomplishment.
Step 4: Ask the participants to complete their coat of arms by writing their
family name somewhere on the shield and then adding a personal
motto they try to exemplify. They can embellish their shield with
other graphics or designs if they wish.
Step 5: Ask each person to explain what they have included on their shield,
and why. Allow about one minute per person. (Participants might
only have time to explain one part of it.)
Step 6: Briefly discuss how our background, values, and personal philoso-
phy affects the ways we interact and lead. Tie what is shared by the
participants into the content of your leadership program.
Variations
z
Take a picture of each participant and affix it to their shield.
z
If you have more than 20 people or you need to save time, form groups of
5–6 for Step 5.
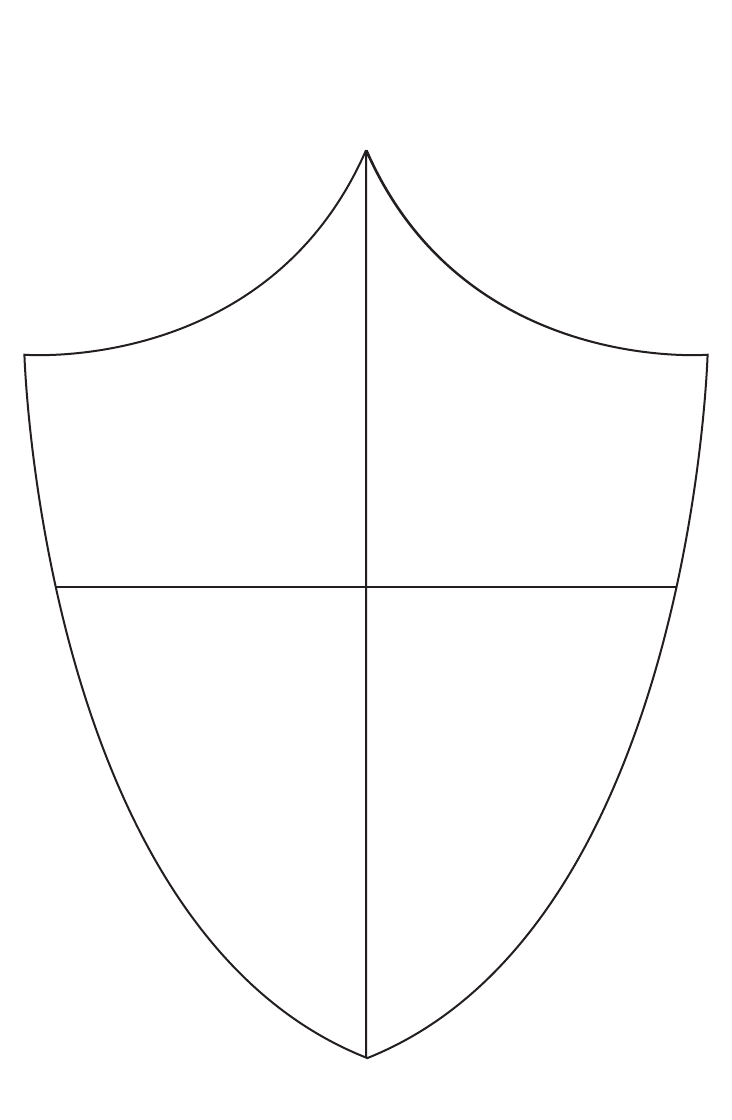
Handout 3.1: Leadership Shield
13
Get 50 Activities for Developing Leaders, Vol. II now with the O’Reilly learning platform.
O’Reilly members experience books, live events, courses curated by job role, and more from O’Reilly and nearly 200 top publishers.

