Titles, Transitions, and Other Options
Windows Movie Maker also lets you add some neat bells and whistles to your video
movies. For example, you can add
■ Titles and credits (select Tools, Titles and Credits)
■ Transitions between clips (select Tools, Transitions)
■ Special effects, such as blurs, fades, film-aging, sepia tones, and double-speed
and half-speed effects (select Tools, Effects)
■ Background music (insert an audio clip the same way you insert a video clip)
■ Narration (select Tools, Narrate Timeline)
Saving—And Watching—Your Movie
When you’re finished editing, save your project by selecting File, Save Project. This
does not save a movie file, however—it only saves the component parts of your
project.
When your project is absolutely, positively finished, you actually make the movie.
Select File, Save Movie to launch the Publish Movie Wizard. From here, you select
where to save the movie file, the name for the movie file, and the quality of the
saved file. When you finish the wizard, WMM creates your movie and saves it as
either an AVI- or WMV-format file. (AVI is the preferred format if you’ll be burning
the movie to DVD.) Be patient—creating a movie can take some time!
Burning Your Movie to DVD
After you’ve created your final movie file, you probably want to share it with friends
and family. There are a number of ways to do this.
You can always email the movie file as an attachment to an email message. The
problem with this method is that movie files are large, which makes them difficult
to send and download. You might not want to go this route.
An easier approach is to burn your movie to a DVD, which can then be played in
any DVD player. All you need is a DVD burner drive in your PC and a DVD creation
software program.
Choosing a DVD Creation Program
Chances are, if your PC came with a DVD burner, it also came with some DVD cre-
ation software preinstalled. If so, great! If not, you can check out some of the many
third-party programs you can use to burn your own DVDs. Here are some of the
most popular:
408
ABSOLUTE BEGINNER’S GUIDE TO COMPUTER BASICS

■ Easy Media Creator (www.roxio.com)
■ Sonic MyDVD (www.sonic.com)
■ Ulead MovieFactory (www.ulead.com)
Burning a DVD with Windows DVD Maker
If your PC is running Windows Vista, you have a
DVD creation program already installed. Windows
DVD Maker is a new program that lets you quickly
and easily create DVDs from the movies you make
with Windows Movie Maker. Burning a DVD, com-
plete with custom menus, is as easy as working
your way through a wizard.
When you launch Windows DVD Maker, click the
Choose Photos and Videos button. The next screen
appears, as shown in Figure 38.3. Click the Add
Items button to select which videos you want to
include on your DVD. The videos you add now
appear in the window; you can change the order of
the videos by using your mouse to drag them up or
down the list.
CHAPTER 38 MAKING YOUR OWN DIGITAL HOME MOVIES
409
Windows DVD Maker is
available only for Windows
Vista. No Windows XP version is
available.
FIGURE 38.3
Adding videos to
your DVD list.
When you click the Next button, you can choose which types of menus you want for
your DVD. As you can see in Figure 38.4, available menu styles are listed in the
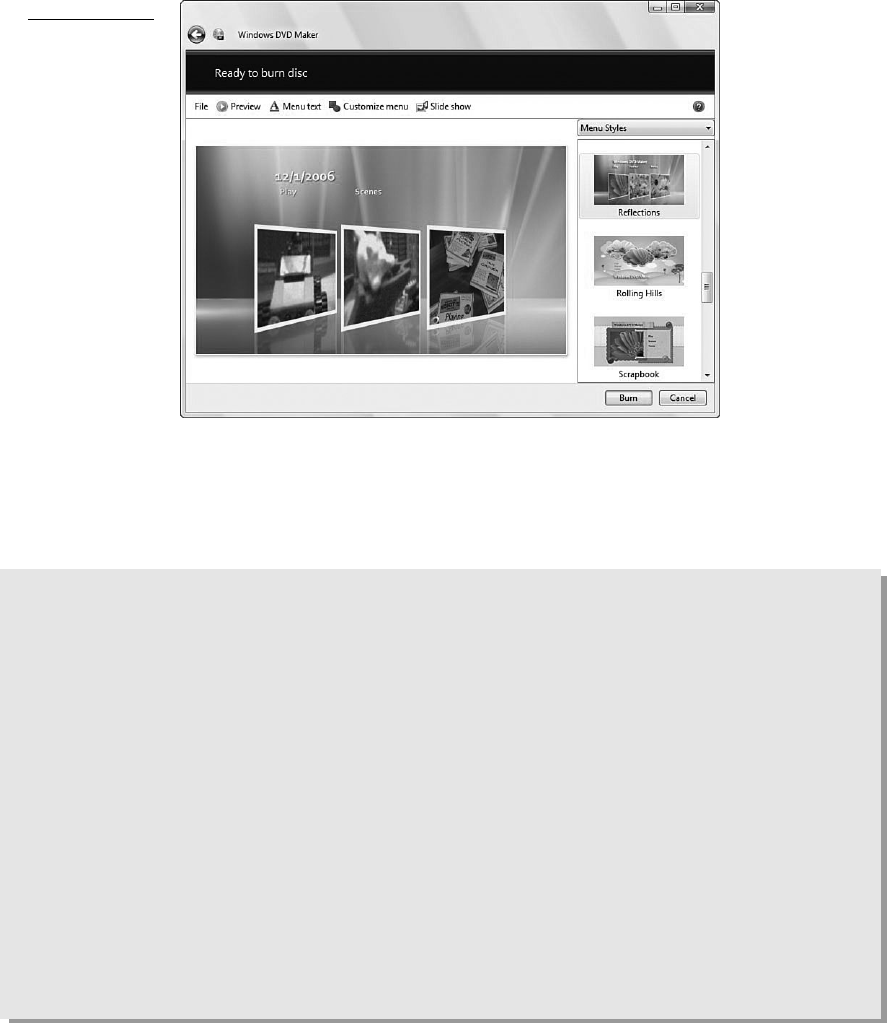
right pane; scroll through the list and click the style you want. You can also, if you
want, click the Menu Text button to select different fonts and font sizes.
410
ABSOLUTE BEGINNER’S GUIDE TO COMPUTER BASICS
FIGURE 38.4
Choosing a menu
style for your
DVD.
These choices made, it’s time to burn the DVD. Insert a blank DVD into your PC’s
DVD drive; then click the Burn button. Your selected videos and menus are now
burned to DVD. Know, however, that the burning process can be lengthy; go get a
pizza or something while you wait!
The Absolute Minimum
Here are the key points to remember from this chapter:
■ For the best results, stay all-digital throughout the entire video editing
process; this means recording your original movie on a camcorder that
records to MiniDV tape, DVD, or hard disk.
■ Windows Movie Maker is a digital video editing program included with
Windows that you can use to edit your home movies on your computer.
■ In Windows Movie Maker, the bits and pieces of your project are called clips;
you put together your movie by dragging clips into the Workspace area at
the bottom of the Movie Maker window.
■ Windows Movie Maker saves your movie in a WMV-format file; you can then
use a DVD-burning program to copy the movie to DVD for playback.
■ If you have Windows Vista, you can use the new Windows DVD Maker pro-
gram to burn your movie to DVD.
Get Absolute Beginner’s Guide to Computer Basics, Fourth Edition now with the O’Reilly learning platform.
O’Reilly members experience books, live events, courses curated by job role, and more from O’Reilly and nearly 200 top publishers.

