ADOBE PREMIERE ELEMENTS 7 CLASSROOM IN A BOOK 271
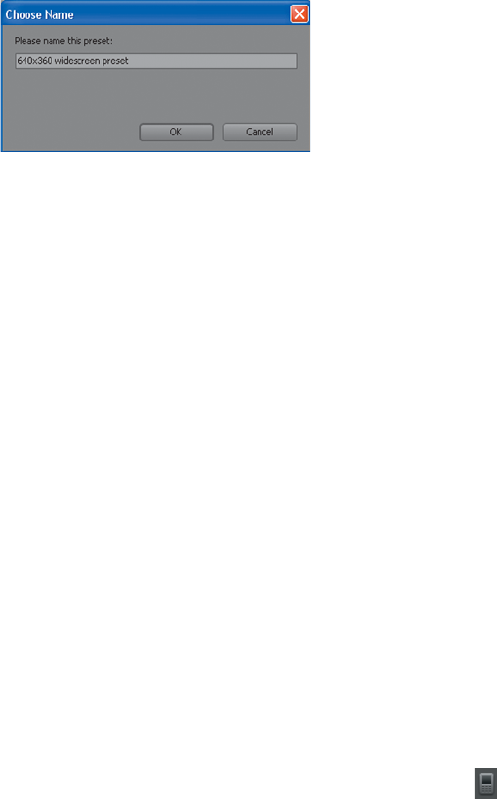
7 Type 640x360 widescreen preset, then click OK to return to the Share
workspace. When sharing future projects, you can access this preset from the
Presets list box.
8 Check the File Name text box, and if changed, re-enter Lesson12_SharePC.
9 If desired, select the Share WorkArea Bar Only checkbox.
10 To start exporting your movie, click Save.
Adobe Premiere Elements begins rendering the video, and displays a progress
bar in Share view and an estimated time to complete each phase of the
rendering process. Click Cancel at any time to stop the exporting process.
Otherwise, you will see a Save Complete! message in Share view, once the
rendering is complete.
11 Click Save As Quick Share to save the preset, or click Done to return to the
Share workspace.
Exporting to mobile phones and players
Use this option to produce a fi le for a mobile phone or player like the Apple iPod
or iPhone, the Creative Zen or the Microsoft Zune. Note that most of these devices
have very specifi c and infl exible fi le requirements, so you shouldn’t change any
parameters in the Export Settings window, since you may produce a fi le that’s
unplayable on the target device.
In this lesson, you’ll learn how to create a fi le for the iPod; if producing for a diff er-
ent device, just choose that device and preset in the appropriate steps.
1 In Share view, click the Mobile Phones and Players button (
).
2 In the list at the top of Share view choose “Apple iPod and iPhone.”
3 In the Presets list box, choose iPod and iPhone – High Quality to produce a
high-quality fi le compatible with iPods, iPhones, the iPod touch, and similar,
newerMP3 devices, keeping in mind that this fi le won’t play on some older MP3
Get Adobe Premiere Elements 7 Classroom in a Book now with the O’Reilly learning platform.
O’Reilly members experience books, live events, courses curated by job role, and more from O’Reilly and nearly 200 top publishers.

