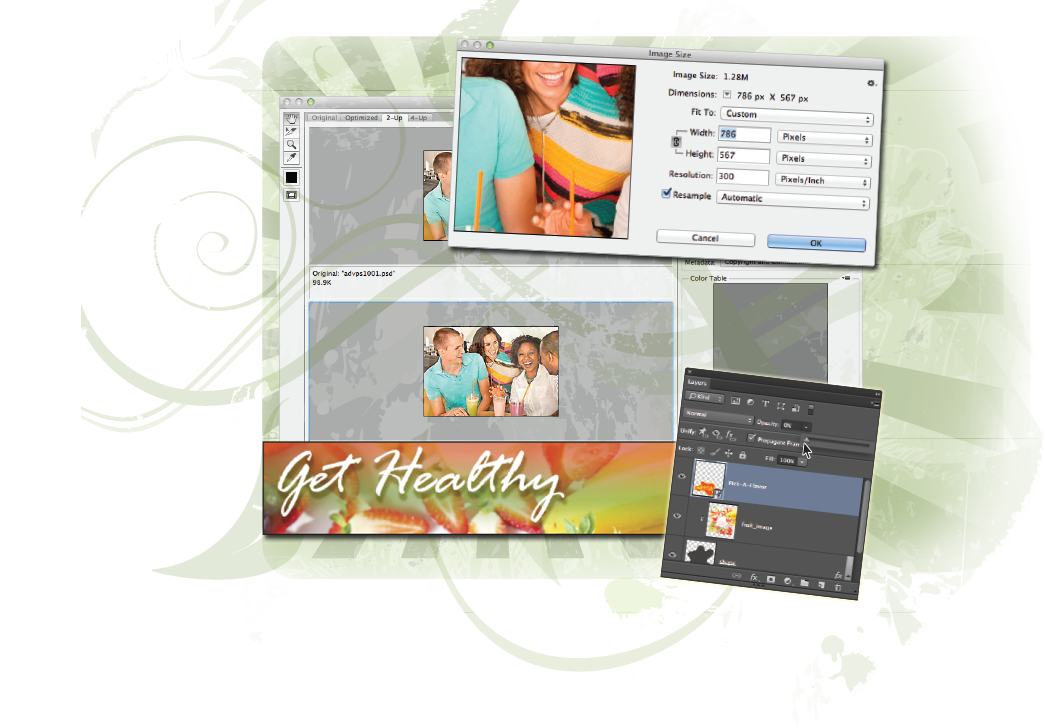
Lesson 10: Creating Images for the Web and Application Design

What you’ll learn in this lesson:
- • Determining the optimum file size
- • Deciding on the best format
- • Exporting optimized images from Photoshop
- • Slicing images in Photoshop
In this lesson, you’ll learn how to optimize images for display on screen, whether in a web browser or on a device. By learning about the different image formats, you’ll be able to export files that contain accurate colors and transparency if needed. You’ll also discover image slicing and how you can choose different formats for parts of a single image.
Starting up
Before starting, make sure that your tools and panels are consistent by resetting your preferences. See “Resetting Adobe Photoshop CC preferences” in the Starting up section of this book. You will work with several files from the advps10lessons folder in this lesson. Make sure that you have loaded the advpslessons folder onto your hard drive from www.digitalclassroombooks.com/cc/advphotoshop. For more information, see “Loading lesson files” in the Starting up section of this book.
Optimizing graphics for on-screen presentation
Optimizing refers to the preparation of images for use as assets for applications or in websites. The goal of optimization is to reduce the file size of the image for faster downloading, without compromising the quality of the image. Ultimately, you might have ...
Get Advanced Photoshop CC for Design Professionals Digital Classroom now with the O’Reilly learning platform.
O’Reilly members experience books, live events, courses curated by job role, and more from O’Reilly and nearly 200 top publishers.

