Opening and closing the lock
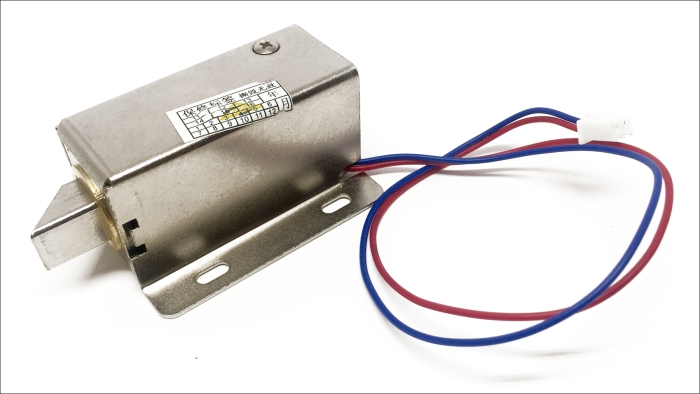
Now that we managed to actually control the relay and the LED by sending text messages to the FONA shield, we can connect the actual lock. This last step of the project is optional as you already tested the main functionality of the project and connecting the electronic door lock is a bit more technical. This is an image of the lock that I used:

First, you'll need to cut the JST connector from the electronic lock in order to be able to connect it the breadboard. I soldered some 2-pin header at the end of the electronic lock to make it compatible with my breadboard.
Then, you'll need to assemble the remaining optional components ...
Get Arduino: Building exciting LED based projects and espionage devices now with the O’Reilly learning platform.
O’Reilly members experience books, live events, courses curated by job role, and more from O’Reilly and nearly 200 top publishers.

