Setting up additional UV layers
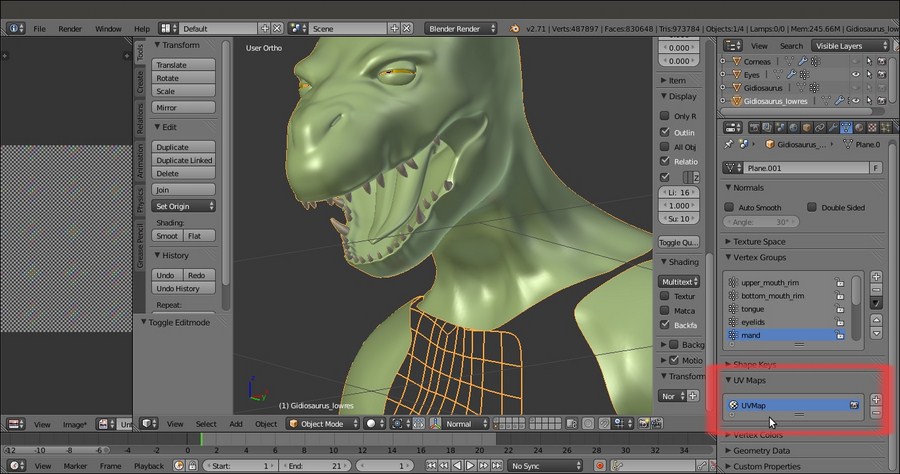
Up until now, we have set just one UV layer whose name is, by default, UVMap (go to the Object Data window and look under the UV Maps subpanel):

The UV Maps subpanel with the UV Map coordinates layer
Actually, in Blender, it is possible to set more than one UV coordinates layer on the same object in order to mix different UV projections that can eventually also be baked into a single image map.
The names of the UV layers under the UV Maps subpanel are important, because they specify which one of the projections a material has to use for the mapping of a texture. By clicking on the + icon to the side of the UV Maps subpanel, ...
Get Blender 3D: Characters, Machines, and Scenes for Artists now with the O’Reilly learning platform.
O’Reilly members experience books, live events, courses curated by job role, and more from O’Reilly and nearly 200 top publishers.

