The following are the steps to be performed:
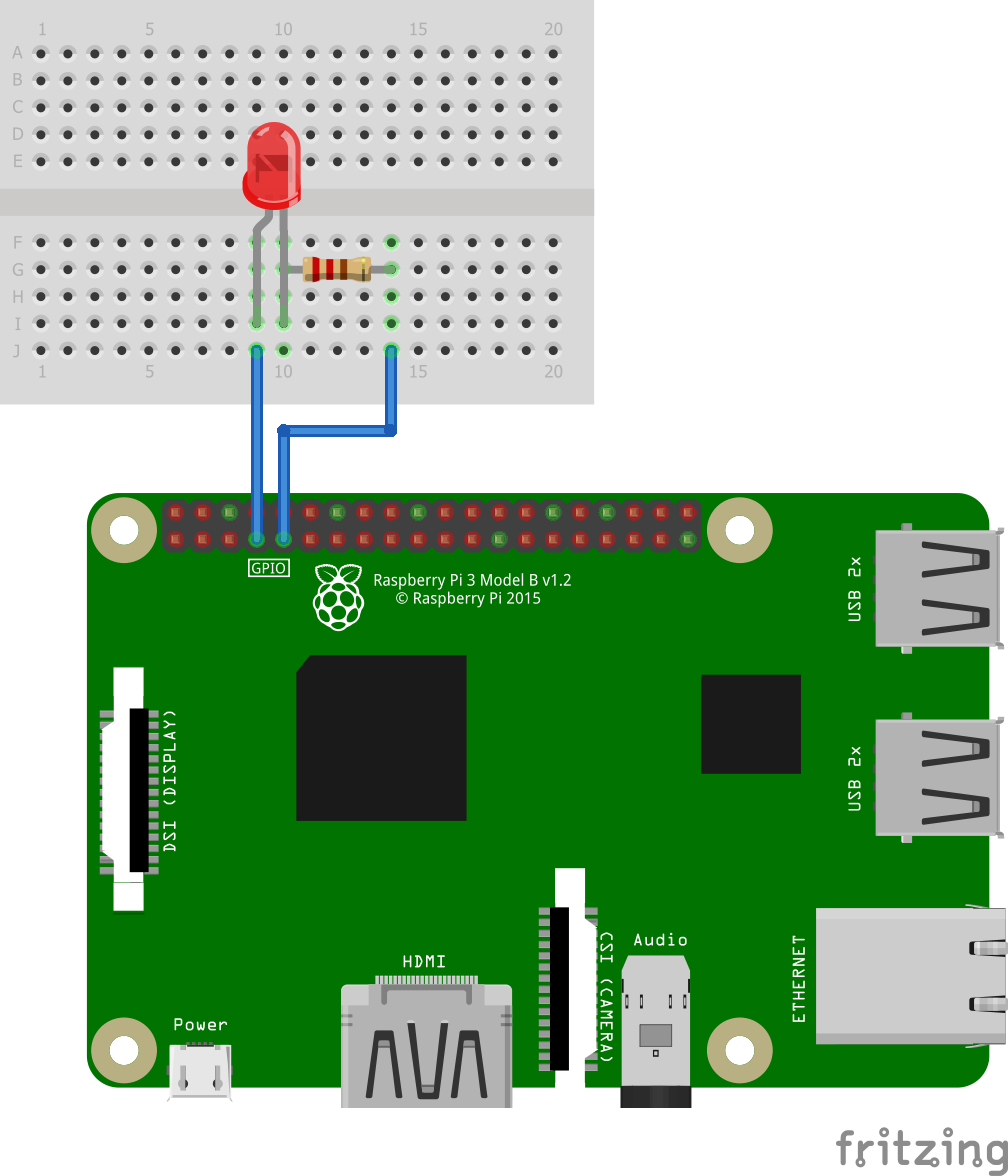
- Wire the Raspberry Pi with the resistor and LED using GPIO 4 and GND. Be sure to connect GPIO 4 to the positive end of the LED (the longer leg):
- The next step is to install the OpenCV library onto our Raspberry Pi. At the time of writing this book, the only way I could get the library installed on my Raspberry Pi was by building it by following the steps from https://pimylifeup.com/raspberry-pi-opencv/. For Raspberry Pi Desktop users (refer to the previous tip), installing OpenCV is a simple as using the Manage packages tool in Thonny and searching on opencv-python and installing ...


