
Chapter 6. WebSphere Portal: IBM AIX V5.2 installation 299
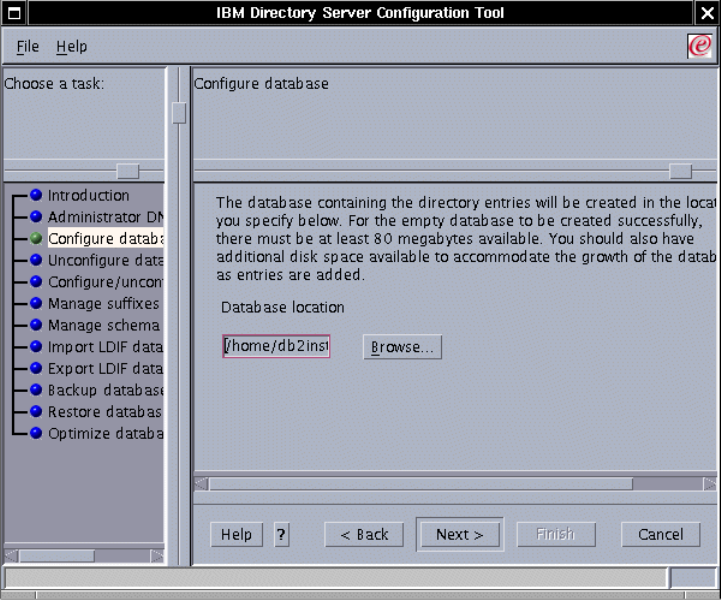
Figure 6-28 Enter the database location
8. If you are satisfied with the settings, just click Finish.
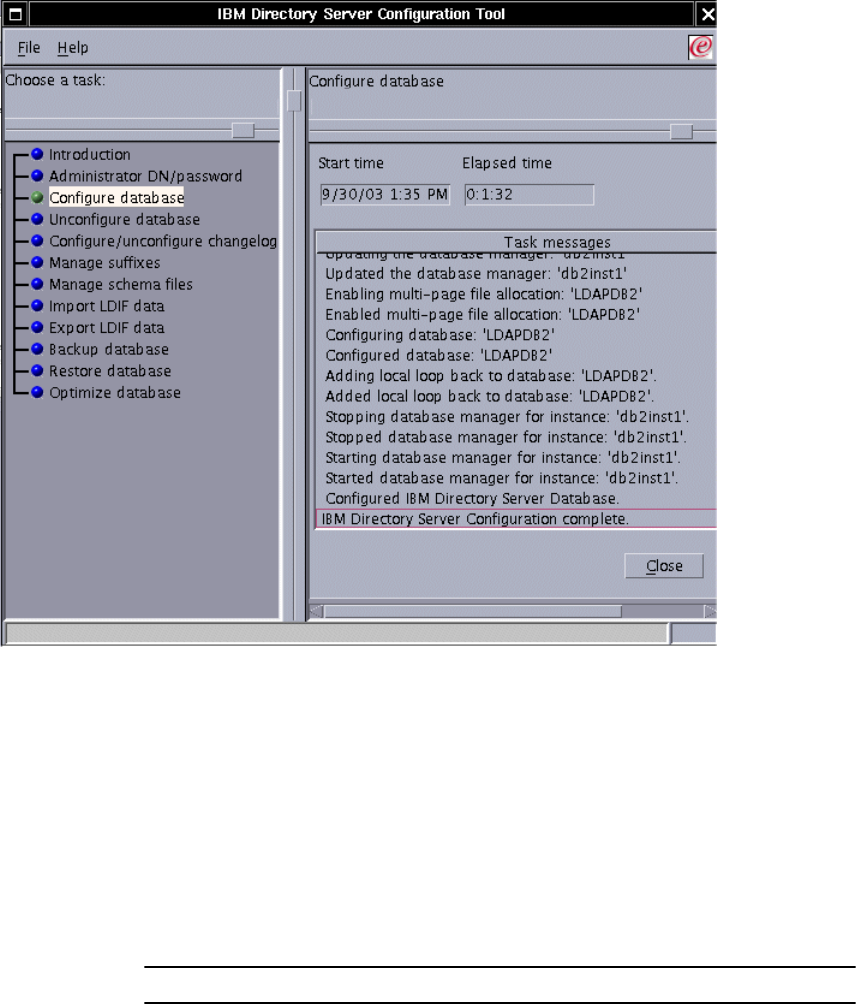
9. Read the messages and check if the database was created and configured
successfully. You will see a window similar to Figure 6-29 on page 300.
300 IBM WebSphere Portal for Multiplatforms V5 Handbook
Figure 6-29 The database was created successfully
10.Start the LDAP server by running the command below on just one line:
#ibmdirctl -h ldap_svr_hostname -D admin_DN -w admin_DN_pwd -p
ldap_admin_port_number start
Where ldap_svr_hostname is the fully qualified host name of your LDAP server,
admin_DN and admin_DN_pwd are the one you created on “Configure the
Administrator DN” on page 292 and ldap_admin_port_number is the LDAP
Administration port number, it can be 3538 for non-SSL or 3539 for SSL
accesses. See Example 6-5
Example 6-5 Starting LDAP server
#ibmdirctl -h m10df5ff.itso.ibm.com -D cn=root -w abc123 -p 3538 start
11.Validate the LDAP configuration:
Get IBM WebSphere Portal for Multiplatforms V5 Handbook now with the O’Reilly learning platform.
O’Reilly members experience books, live events, courses curated by job role, and more from O’Reilly and nearly 200 top publishers.

