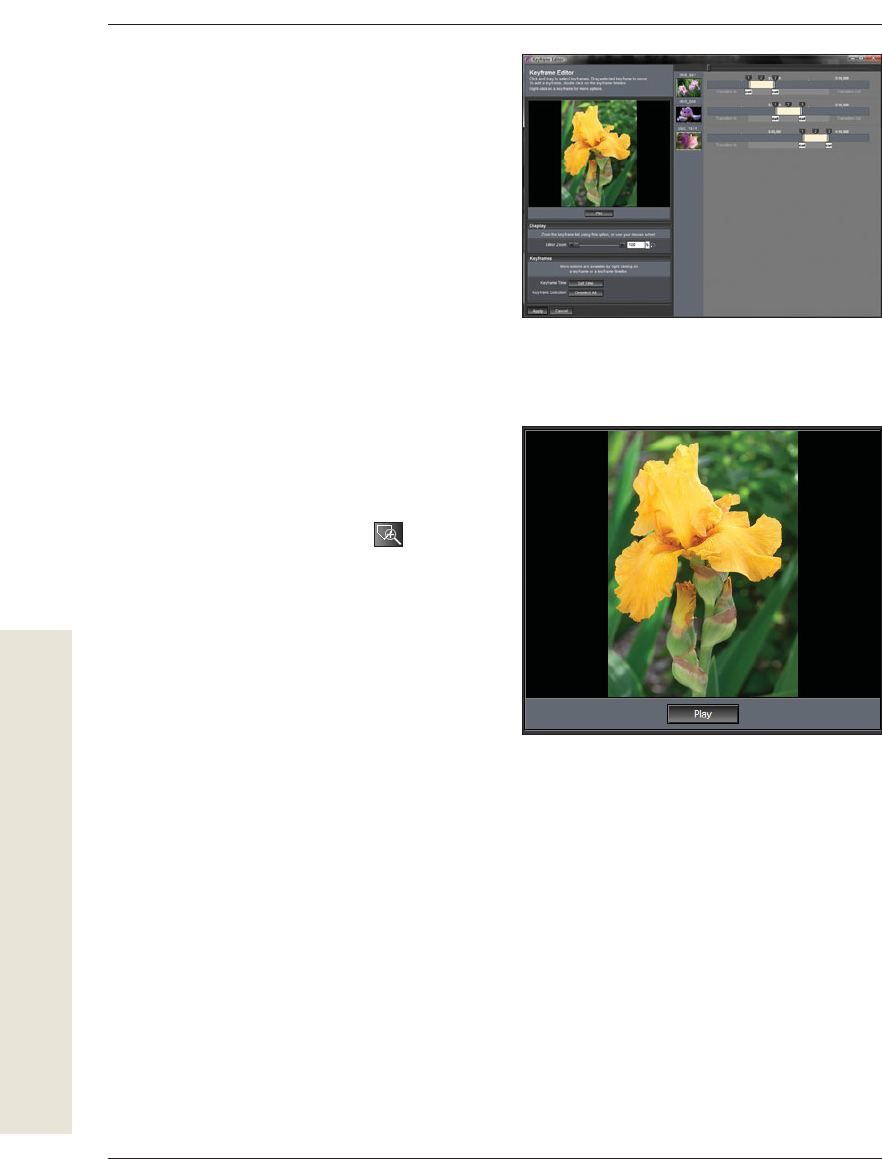
Editing Images in ProShow
93
ProShow Producer Adjustments
Figure 5.50 To apply the blur as an adjustment effect,
select the Effects tab, and then select the Adjustment
Effects tab.
Figure 5.49 Increasing the Blur amount will add a
soft-focus effect to your image.
ProShow Producer
Adjustments
ProShow Producer adds a number of more
advanced editing e ects to give you even
more control over how your images are
presented to the viewer. Along with blur-
ring and vignetting, there are very powerful
chroma key and adjustment layer e ects that
can raise your show quality to an entirely new
level of sophistication.
Blur
e Blur control does exactly what you might
imagine—it softens the focus on your image,
from subtle to complete (Figure 5.48).
To add blur to your image, drag the selection
handle to the right. Alternatively, you can use
the arrows to adjust the e ect by 1 percent,
or you can enter a value directly into the Blur
eld (Figure 5.49).
One e ective use of the Blur control is to cre-
ate an adjustment e ect with the slide going
from blurred to in-focus. To do this, select the
E ects tab, and then select the Adjustment
E ects tab that appears (Figure 5.50).
Figure 5.48 You can fi nd the Blur control in the
Adjustments controls of the Slide Options dialog’s
Layers Editing tab.
continues on next page
94
Chapter 5
ProShow Producer Adjustments
In the Starting Position adjustments panel,
increase the Blur control to the desired
amount (50 percent in the example shown
in Figure 5.51). Leave the Blur control in the
Ending Position adjustments panel at 0 per-
cent. When the slide is played, it will begin
with a blur and fade into sharp focus during
the duration of the slide.
You can  nd an example of this and other
adjustment e ects on the companion Web
site at www.proshowbook.com in Chapter 5.
Tip
I use the selection handle to get the e ect
roughly where I want it and then  ne-
tune the adjustment with the arrow keys.
Vignette
e Vignette control is a powerful way to add
a soft edge to your image layers (Figure 5.52).
To use the Vignette control, click the Vignette
button in the Editing Tools panel.
Figure 5.51 Use the Starting Positions and Ending
Positions settings to control how the effect is used
during the playback of the slide. Here, I’m going from
blurred to focused.
Figure 5.52 Use the Vignette control to add soft edge
effects to layers on your slides.
Editing Images in ProShow
95
ProShow Producer Adjustments
Figure 5.54 By adjusting the size of the shape, you
can mask more or less of the image. This mask is
covering 43 percent of the layer.
Figure 5.53 The Vignette dialog offers a number of
ways to create soft masking effects for images.
With the Vignette control, you can create a
rectangular or elliptical mask with varying
degrees of soft blending (Figure 5.53).  is
is a useful way to view multiple layers on
your slide without the hard edge of a normal
image layer.
For the  rst example, I’ve set Shape to
Rounded Rectangle and set Type to
Transparent. By adjusting the size to 43
percent, I’ve masked o more of the image
(Figure 5.54).
e Border Size control adjusts the size of
the shape, with smaller numbers creating a
rectangle or ellipse and with larger numbers
making the shape smaller (Figure 5.55).
Figure 5.55 Using a larger Border size setting results
in a smaller visible area with a larger vignette border
applied.
continues on next page
96
Chapter 5
ProShow Producer Adjustments
Figure 5.58 Using a rounded rectangle with a solid
color gives the image more of a cutout look.
Figure 5.57 Using a rounded rectangle with a gradient
border offers a completely different feel to the
vignette.
Figure 5.56 An ellipse with transparent border is
perhaps the most common vignette type.
e di erent types will give your vignette
a completely di erent look. In Figure 5.56,
an ellipse shape with a Transparent setting
masks out everything outside the ellipse.
A Rounded Rectangle shape with a Gradient
setting works well when you want to blend
the vignette with a range of colors or tones
(Figure 5.57).
Finally, a Rounded Rectangle shape with a
Solid Color setting lets you create a vignette
that has more of a cutout appearance by
overlaying a solid color on the layer outside
the shape area (Figure 5.58).

Get Photodex ProShow: Visual QuickStart Guide now with the O’Reilly learning platform.

O’Reilly members experience books, live events, courses curated by job role, and more from O’Reilly and nearly 200 top publishers.