Adding and Customizing Menus
128
Chapter 6
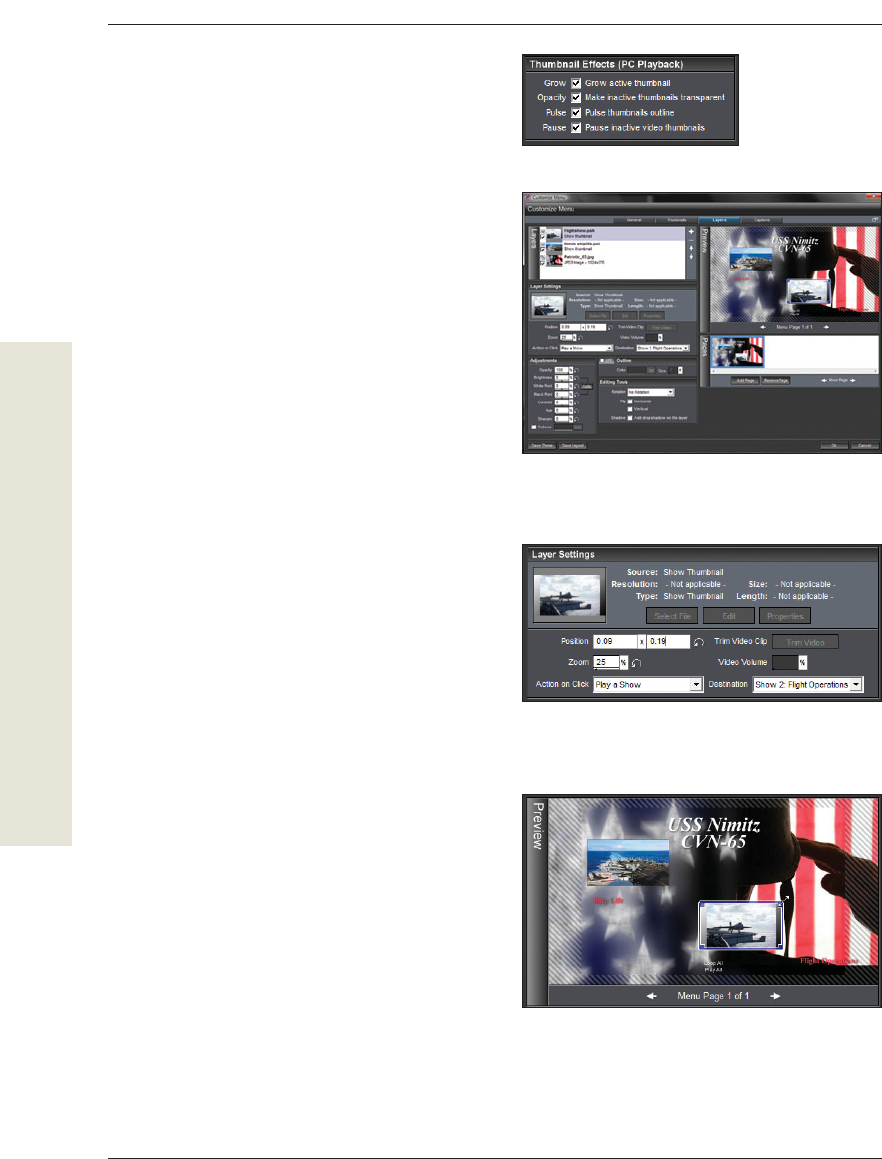
Figure 6.74 As an alternative to the Zoom control,
drag one of the image handles in the Preview panel
to change the image size.
Figure 6.73 You can change the size of an image by
entering a value in the Zoom fi eld.
Figure 6.72 Use the Layers tab to confi gure your layer
settings, such as image size and position.
Figure 6.71 Use the
Thumbnail Effects
options for shows
that will play on a
computer.
e umbnail E ects controls function only
when a menu is displayed on a computer (it’s
not available for shows played on TV or on
Web sites). With these controls, you can ani-
mate the thumbnails to grow, change ...


