Sharpening in Camera Raw
Camera Raw’s sharpening capabilities are incredible. Sharpening in Camera Raw affects your image’s luminosity (lightness or brightness values) but leaves the color alone so you shouldn’t see any unexpected color shifts.
But should you use Camera Raw for sharpening? The answer is yes—if you’re not going to edit the image much in Photoshop. If you are going to do a lot of editing in Photoshop, you should make sharpening the very last step (after resizing and retouching) and then use one of the methods described earlier in this chapter instead.
You don’t want to sharpen in both programs—at least, not the whole image. Sharpening in Camera Raw is a global process, meaning it affects the entire image (though you can wield a little control using Camera Raw’s Adjustment Brush, discussed later in this section). It’s also a somewhat automatic process: The image gets sharpened the minute you open it in Camera Raw (unless you turn off automatic sharpening as described in the next section). If you let Camera Raw sharpen your image, you’ll need to practice local or selective sharpening (Combining Layers into a Smart Object) once the image is in Photoshop to avoid over-sharpening it and introducing artifacts (The Shake Reduction Filter).

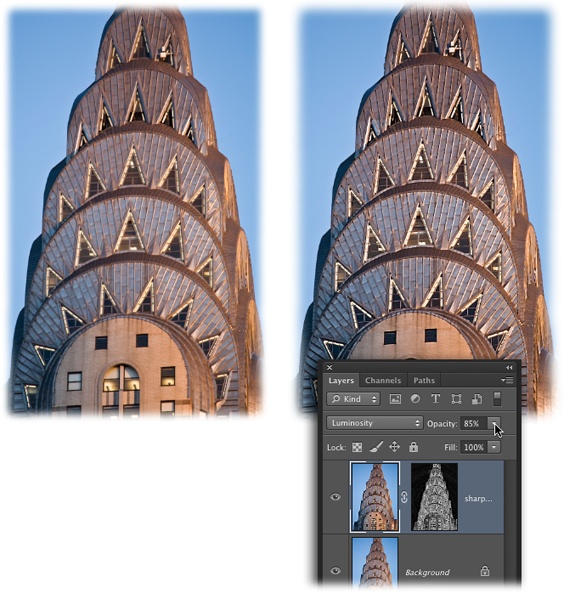
Figure 12-12. Left: The original, unsharpened photo of the Chrysler Building in New York City looks pretty soft and lacks detail. Right: Sharpening ...
Get Photoshop CC: The Missing Manual now with the O’Reilly learning platform.
O’Reilly members experience books, live events, courses curated by job role, and more from O’Reilly and nearly 200 top publishers.

