8.3. Adjustment Layers
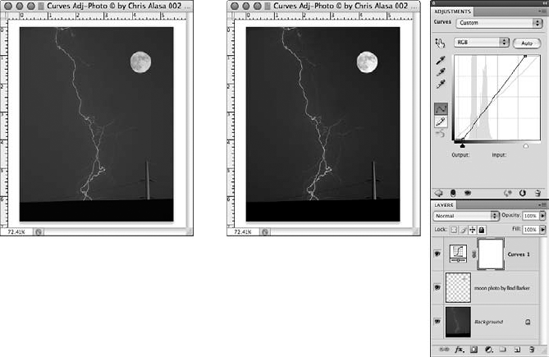
Adjustment layers are layers that don't contain pixels but that can be used to alter how pixels on underlying layers appear. They can increase saturation, lighten and darken, make changes to colors, and more. The great thing is that you can double-click an adjustment layer's thumbnail in the Layers palette to change the adjustment at any time, or you can hide or delete an adjustment layer at any time. Figure 8.25 shows a Curves adjustment layer, which is being used to increase the contrast of the image.
NOTE
All adjustment layers are available in RGB mode and most are available in CMYK and Lab modes. Many adjustment layers are not available in Grayscale mode, and none are available in Indexed Color and Multichannel modes.
By default, adjustment layers have masks, and adjustment layers are linked to their layer masks. You can see a link symbol between an adjustment layer thumbnail and its mask thumbnail. This means that if you move the contents of the layer, the contents of the mask move along with it, and vice versa. If you have added black or gray to the mask to hide part of the adjustment and want to move the mask contents separately from the adjustment, click the link symbol in between the adjustment layer thumbnail and its mask thumbnail to unlink them.
Figure 8.25. A Curves adjustment layer is used to increase the contrast of the image.
To create ...
Get Photoshop® CS4 Bible now with the O’Reilly learning platform.
O’Reilly members experience books, live events, courses curated by job role, and more from O’Reilly and nearly 200 top publishers.

