19.2. Brushes Panel
Up until this point, you've been learning about the painting tools and what they do on a relatively basic level. Now it's time to step it up and learn where their real power lies — in customizing them. The Brushes panel is the place to do that.
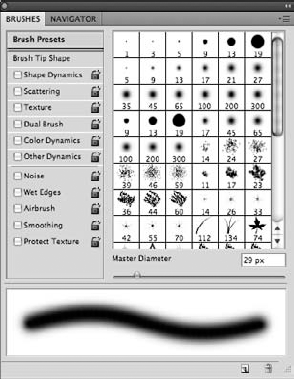
Open the Brushes panel (shown in Figure 19.10) if it's not already visible by choosing Windows![]() Brushes, or by pressing the F5 key on your keyboard, and click on Brush Presets at the top left of the Brushes panel if it's not already selected.
Brushes, or by pressing the F5 key on your keyboard, and click on Brush Presets at the top left of the Brushes panel if it's not already selected.
On the right of the Brushes panel, you'll see thumbnails of all the preset brushes that come with Photoshop, and below that, a preview of what brush strokes made with each brush tip looks like. On the left side of the Brushes panel is a list of brush attributes that you can enable or disable with check boxes, as well as tweak in innumerable ways to adjust the effect of each brush tip.
Figure 19.10. The Brushes panel is the place to customize every aspect of the painting tools' behavior.
The Brushes panel's fly-out menu offers you options on customizing the appearance of the Brushes panel, as well as controls for loading additional custom brushes and saving your own brush customizations. I cover customizing brushes shortly, but first take a closer look at all those brush tip options ...
Get Photoshop® CS4 Bible now with the O’Reilly learning platform.
O’Reilly members experience books, live events, courses curated by job role, and more from O’Reilly and nearly 200 top publishers.

