
Sending Images by E-mail
With the Attach to E-mail feature, Photoshop
Elements streamlines the process of sending
digital photos to family and friends. If your
photo is too large or is in the wrong file for-
mat, Photoshop Elements can automatically
resize your image and save it as a JPEG file, if
you prefer. But it’s all up to you—you can
send photos and images in any file size or for-
mat, so long as you have the bandwidth for it.
To attach a photo to e-mail
(Windows):
1.
Open the photo or image you want to
send.
2.
From the File menu, choose Attach to
Email (Figure 10.39).
Photoshop Elements automatically
launches the Elements Organizer, and
the Attach to E-mail dialog box appears
(Figure 10.40).
3.
In the Attach to E-mail dialog box,
choose a name from the Select Recipients
window list (Figure 10.41).
If you’re using the Attach to E-mail
function for the first time, your Select
Recipients window will probably be
empty, and you’ll want to create a recip-
ient list.
Figure 10.41 You can select a single person,
or multiple persons to receive your image.
Figure 10.40 The Attach to E-mail dialog box gives you
options for attaching and sending your images.
Figure 10.39 From the File menu,
choose Attach to Email.
320
Chapter 10
Sending Images by E-mail
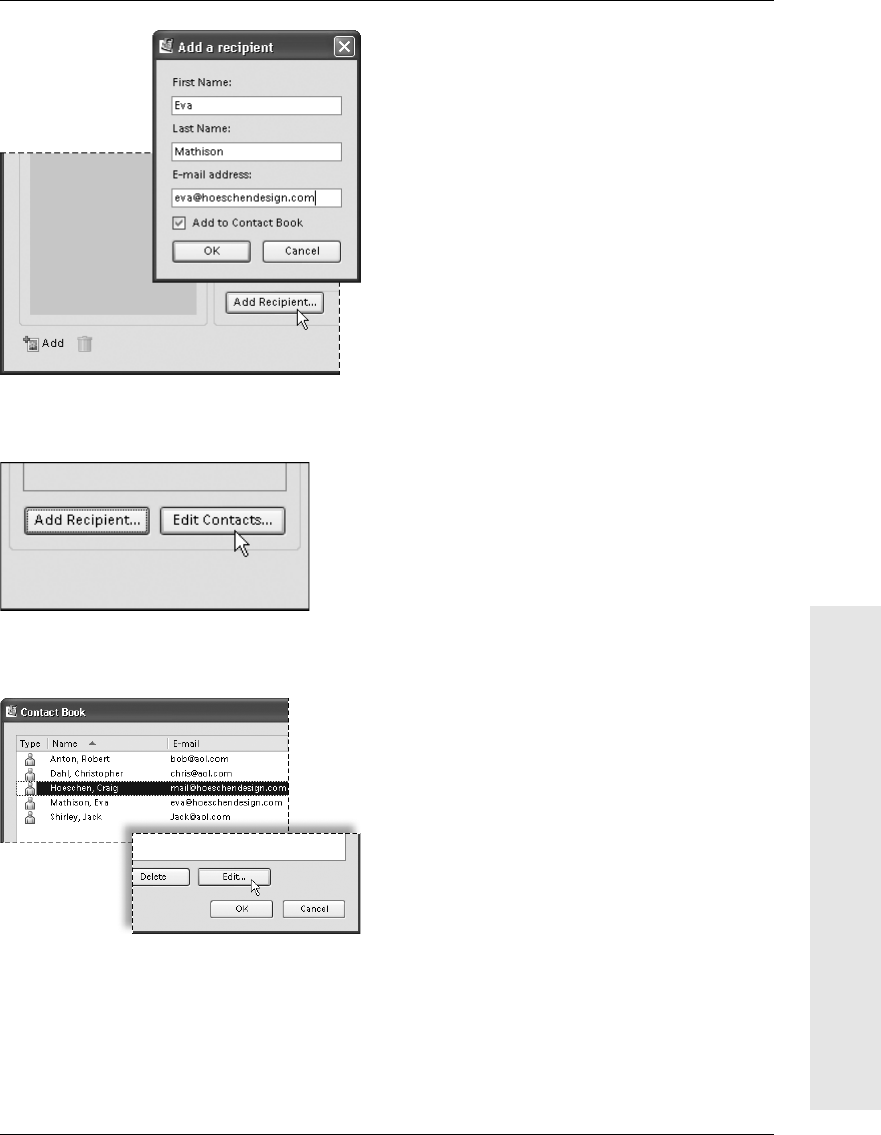
Figure 10.44 Select a contact to edit in the Contact
Book dialog box.
Figure 10.43 You can also add or edit recipient
names by clicking the Edit Contacts button.
Figure 10.42 You can add new names to your
recipients list at any time.
4.
To quickly create a new recipient, click
the Add Recipient button, and then enter
the name and e-mail address of the new
recipient (Figure 10.42).
You can edit your recipient list or add
even more detailed contact information
from the Contact Book dialog box.
5.
To create a new contact/recipient, or to
edit a recipient’s contact information, click
the Edit Contacts button in the Attach to
E-mail dialog box (Figure 10.43).
6.
In the Contact Book dialog box, click
New Contact, or select an existing con-
tact, and then click the Edit button
(Figure 10.44).
continues on next page
321
Preparing Images for the Web
Sending Images by E-mail
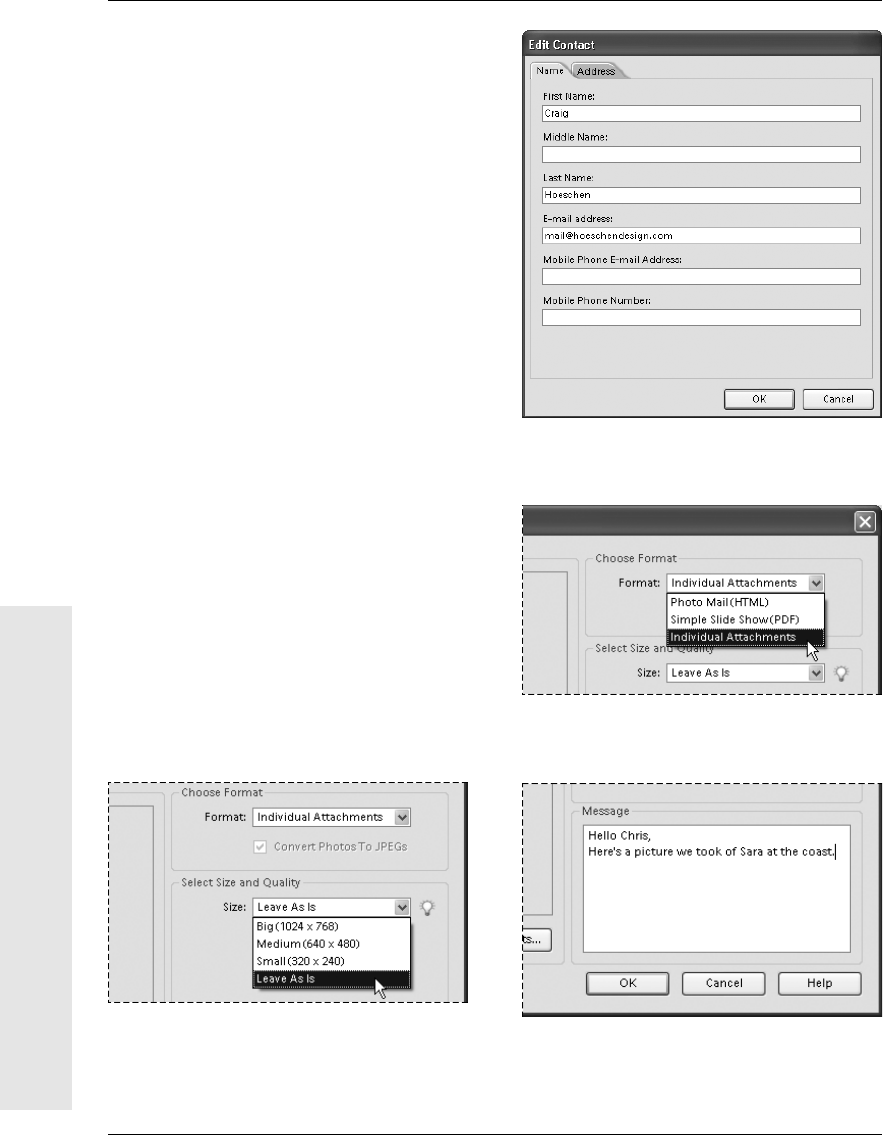
7.
In the Edit Contact window, you can add
detailed telephone and mailing address
information (Figure 10.45).
8.
When you’ve finished editing your contact
information, click OK to close the Edit
Contact window. Then click OK again to
close the Contact Book dialog box.
9.
From the Format pop-up menu in the
Attach to E-mail dialog box, check that
Individual Attachments is selected
(Figure 10.46).
Refer to Photoshop Elements online help
to learn more about the other options
available in the Format pop-up menu.
10.
From the Select Size and Quality pop-up
menu, you can choose to change the size
of your attachment or leave it unchanged
(Figure 10.47).
11.
If you like you can enter a message in the
Message area in the lower-right corner of
the dialog box (Figure 10.48).
12.
Once you’re satisfied with your settings,
click OK.
Your default e-mail program opens auto-
matically and attaches a copy of your
photo to your e-mail.
Figure 10.48 You can type an e-mail message directly
in the Attach to E-mail dialog box.
Figure 10.46 To e-mail a single photo, check that
Individual Attachments is selected.
Figure 10.45 Enter detailed contact information for
each of your recipients in the Edit Contact window.
322
Chapter 10
Sending Images by E-mail
Figure 10.47 You can change the size of your image
attachment without affecting the original image file.
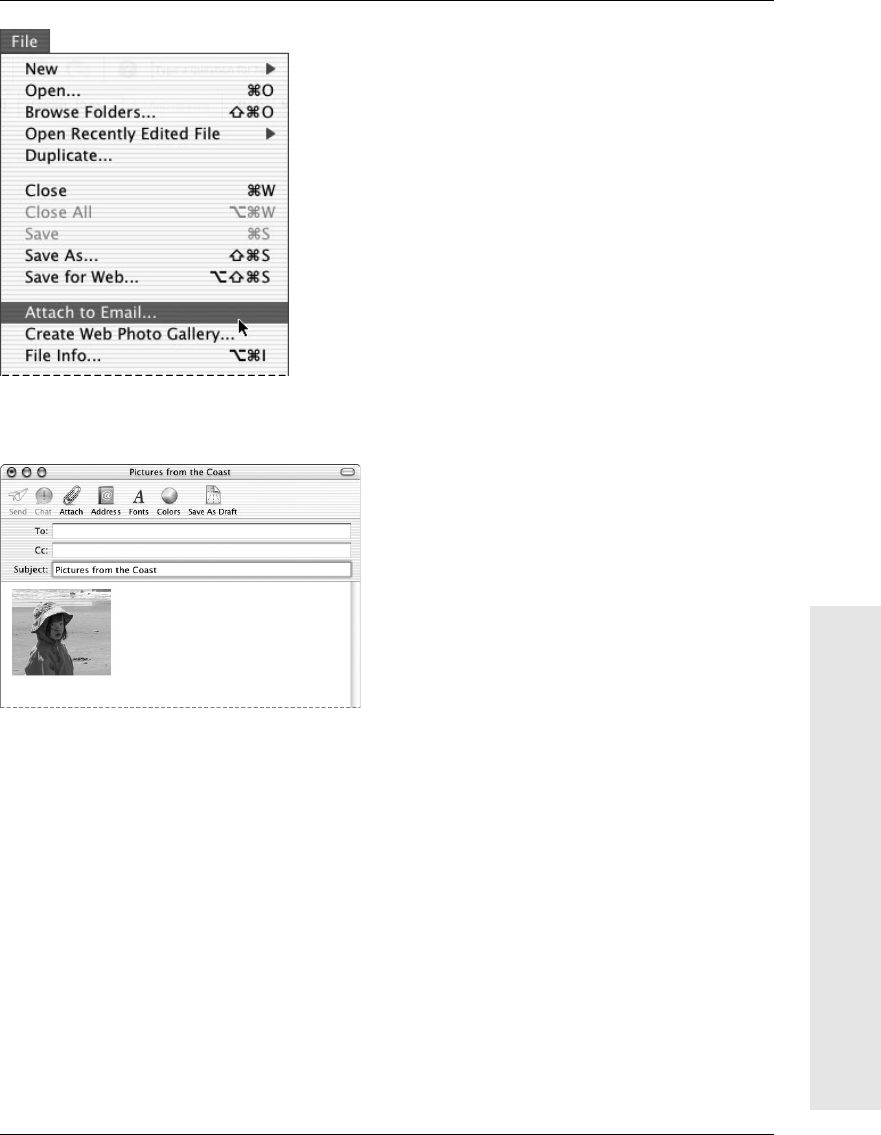
Figure 10.50 If Photoshop Elements determines that
your image is an acceptable size and format, your
default e-mail program launches, then attaches a
copy of your photo to an outgoing e-mail message.
Figure 10.49 From the File menu, choose
Attach to Email.
To attach a photo to e-mail (Mac OS):
1.
Open the photo or image you want to send.
2.
From the File menu, choose Attach to
Email (Figure 10.49).
If Photoshop Elements determines
that your photo is ready to send, it auto-
matically launches your default e-mail
program (if it’s not already open) and
attaches a copy of your photo to a new
e-mail (Figure 10.50).
If a warning dialog box appears on the
screen, skip to step 4.
3.
Type a recipient’s e-mail address in your
e-mail program’s To field; then click the
Send or Send Now button on your e-mail
program’s toolbar.
Every e-mail program is slightly different,
so check your e-mail program’s Help
menu or user instructions if you’re not
sure how to send your e-mail.
continues on next page
323
Preparing Images for the Web
Sending Images by E-mail
Get Photoshop Elements 3 for Windows and Macintosh: Visual QuickStart Guide now with the O’Reilly learning platform.
O’Reilly members experience books, live events, courses curated by job role, and more from O’Reilly and nearly 200 top publishers.

