Chapter 4
The Visual Studio Workspace
WHAT’S IN THIS CHAPTER?
- Using the code editor
- Exploring the core Visual Studio tool windows
- Reorganizing your workspace
So far you have seen how to get started with Visual Studio 2012 and how to customize the IDE to suit the way that you work. In this chapter, you’ll learn to take advantage of some of the built-in commands, shortcuts, and supporting tool windows that can help you to write code and design forms.
THE CODE EDITOR
As a developer you’re likely to spend a considerable portion of your time writing code, which means that knowing how to tweak the layout of your code and navigating it effectively are particularly important. The WPF-based code editor provides numerous features, including navigating, formatting, using multiple monitors, creating tab groups, searching, and more.
The Code Editor Window Layout
When you open a code file for editing you are working in the code editor window, as shown in Figure 4-1. The core of the code editor window is the code pane in which the code displays.
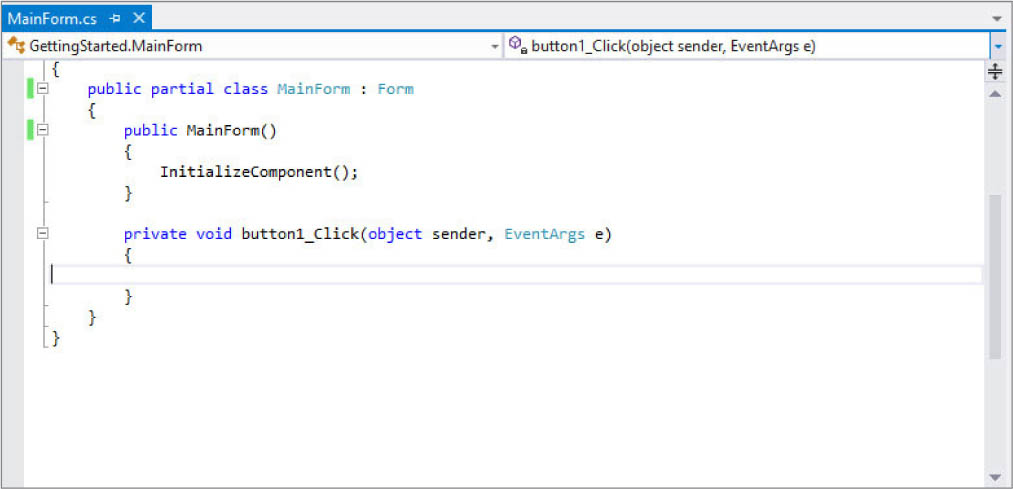
Above the code pane are two drop-down lists that can help you navigate the code file. The first drop-down lists the classes in the code file, and the second one lists the members of the selected class in the first drop-down. These are listed in alphabetical order, making it easier to find a method or member definition within the file.
Get Professional Visual Studio 2012 now with the O’Reilly learning platform.
O’Reilly members experience books, live events, courses curated by job role, and more from O’Reilly and nearly 200 top publishers.

