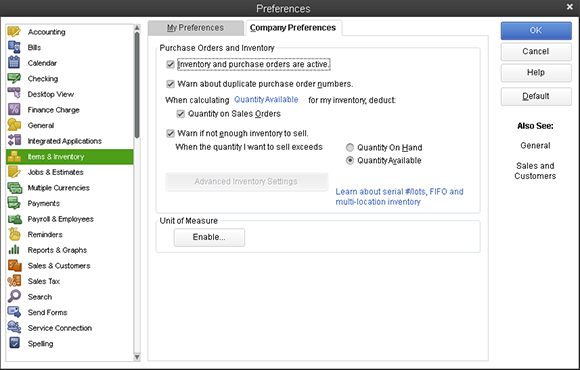
Figure 7-1: The Preferences dialog box for Items & Inventory.
Setting Up Inventory Items
Before you can track your inventory, you need to do two things. First, you need to tell QuickBooks that you want to track inventory. To do this, choose Edit⇒Preferences. When QuickBooks displays the Preferences dialog box, click the Items & Inventory icon in the list on the left. Your screen should look remarkably similar to the one in Figure 7-1. (You might have to click the Company Preferences tab first.) Make sure that the Inventory and Purchase Orders Are Active check box is marked and that one of the Warn If Not Enough Inventory to Sell option buttons is marked.
Here’s the second thing that you need to do: Create an Item list. This list is a description of all items that you might conceivably put on an invoice. In other words, all items that you order and sell belong on the Item list.
 You should’ve set up your initial Item list in the QuickBooks Setup, as I describe in Chapter 2. If you need to add an item to your list, choose Lists⇒Item List. Then click the Item button, choose New from the drop-down list, and fill in the New Item window. If you want the blow-by-blow, go to Chapter 3 and get it straight from the horse’s mouth.
After you turn on the inventory stuff and set up (or update) ...
Get QuickBooks 2013 For Dummies now with the O’Reilly learning platform.
O’Reilly members experience books, live events, courses curated by job role, and more from O’Reilly and nearly 200 top publishers.

