Figure 10-1: The Printer Setup dialog box.
Getting the Printer Ready
Before you can start printing checks, you have to make sure that your printer is set up to print them. You also have to tell QuickBooks what to put on the checks: your company name, address, logo, and so on. And you might try running a few sample checks through the wringer to see whether they come out all right.
Follow these steps to set up the printer:
1. Choose File⇒Printer Setup.
After you choose this command, you see the Printer Setup dialog box, as shown in Figure 10-1.
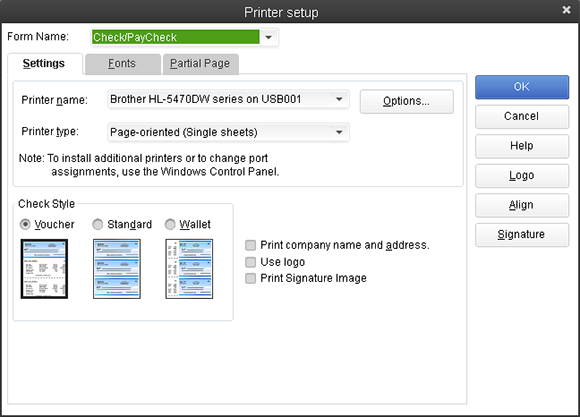
2. Select Check/PayCheck from the Form Name drop-down list.
QuickBooks sets your printing options differently depending on which form you want to print. For printing checks, you want to select the Check/PayCheck form from the Form Name drop-down list at the top of the dialog box.
3. From the Printer Name drop-down list, select your printer.
From the Printer Name drop-down list, click the down arrow and look at the printer names. When you installed QuickBooks, it had a frank, software-to-software talk with Windows to find out what kind of printer(s) you have, among other things. Your printer is probably already selected; if it isn’t, select the correct printer.
4. Set the correct Printer Type option, if necessary.
This box is probably already filled in, too, thanks to that frank discussion that I mention in Step 3. But if it isn’t, ...
Get QuickBooks 2013 For Dummies now with the O’Reilly learning platform.
O’Reilly members experience books, live events, courses curated by job role, and more from O’Reilly and nearly 200 top publishers.

