Chapter 1. Hello World
Let’s get started on the journey to mastering application development using React. In this chapter, you will learn how to set up React and write your first “Hello World” web app.
Setup
First things first: you need to get a copy of the React library. Luckily, this process is as simple as it can be.
Go to http://reactjs.com (which should redirect you to the official GitHub page), then click the “Download” button, then “Download Starter Kit,” and you’ll get a copy of a ZIP file. Unzip and copy the directory contained in the download to a location where you’ll be able to find it.
For example:
mkdir ~/reactbook
mv ~/Downloads/react-0.14.7/ ~/reactbook/react
Now your working directory (reactbook) should look like Figure 1-1.
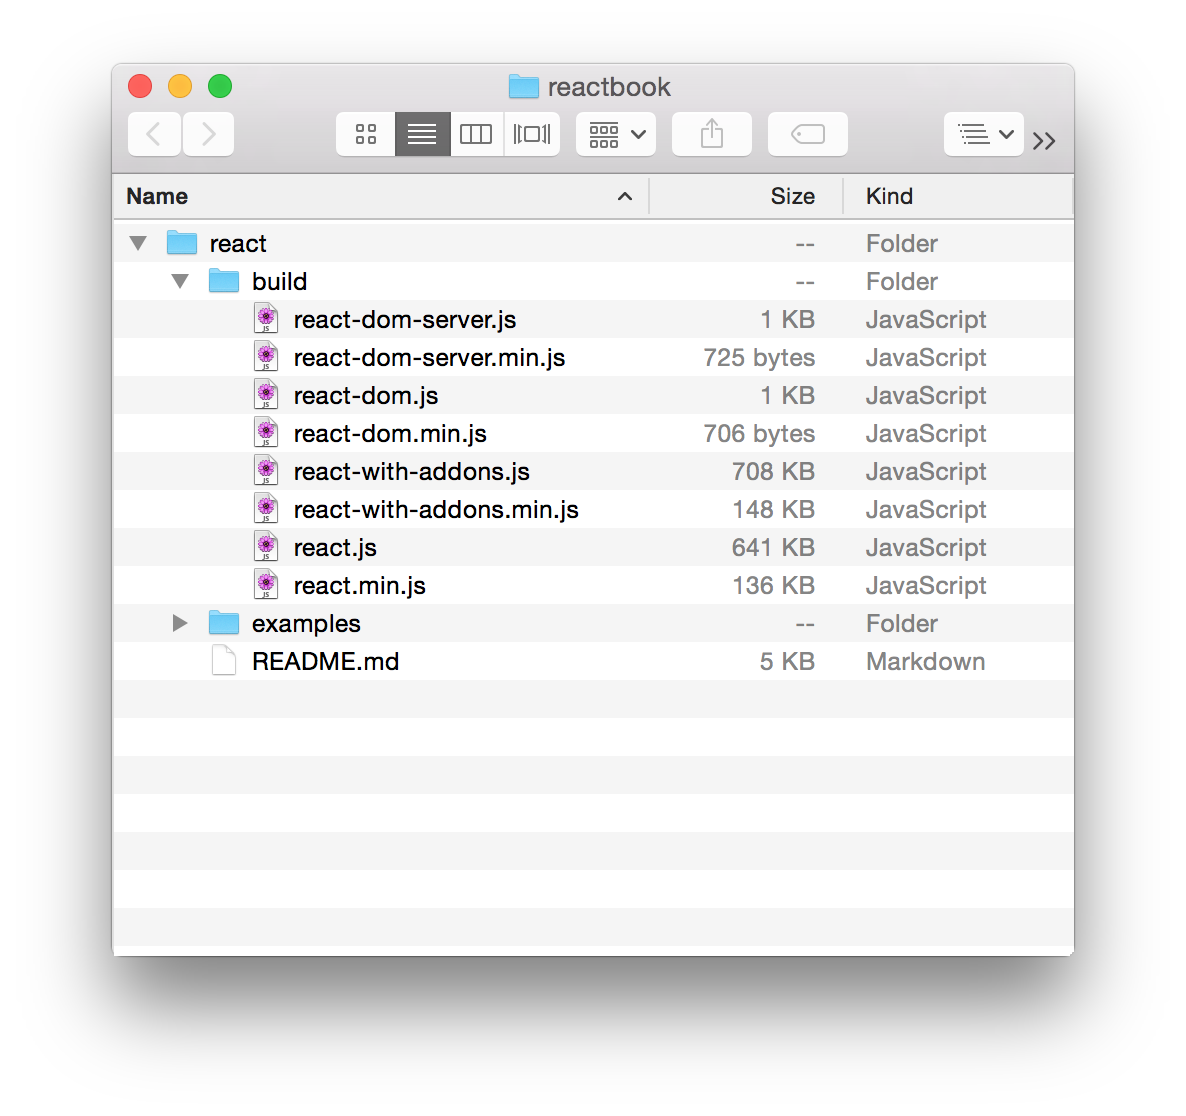
Figure 1-1. Your React directory listing
The only file you need to get started is ~/reactbook/react/build/react.js. You’ll learn about the others as you go along.
Note that React doesn’t impose any directory structure; you’re free to move to a different directory or rename react.js however you see fit.
Hello React World
Let’s start with a simple page in your working directory (~/reactbook/01.01.hello.html):
<!DOCTYPE html><html><head><title>Hello React</title><metacharset="utf-8"></head><body><divid="app"><!-- my app renders here --></div><scriptsrc="react/build/react.js"></script><scriptsrc="react/build/react-dom.js"></script><script>// my app's code</script></body></html>
Note
You can find all the code from this book in the accompanying repository.
There are only two notable things happening in this file:
-
You include the React library and its DOM add-on (via
<script src>tags) -
You define where your application should be placed on the page (
<div id="app">)
Note
You can always mix regular HTML content as well as other JavaScript libraries with a React app. You can also have several React apps on the same page. All you need is a place in the DOM where you can point React to and say “do your magic right here.”
Now let’s add the code that says “hello”—update 01.01.hello.html and replace // my app's code with:
ReactDOM.render(React.DOM.h1(null,"Hello World!"),document.getElementById("app"));
Load 01.01.hello.html in your browser and you’ll see your new app in action (Figure 1-2).
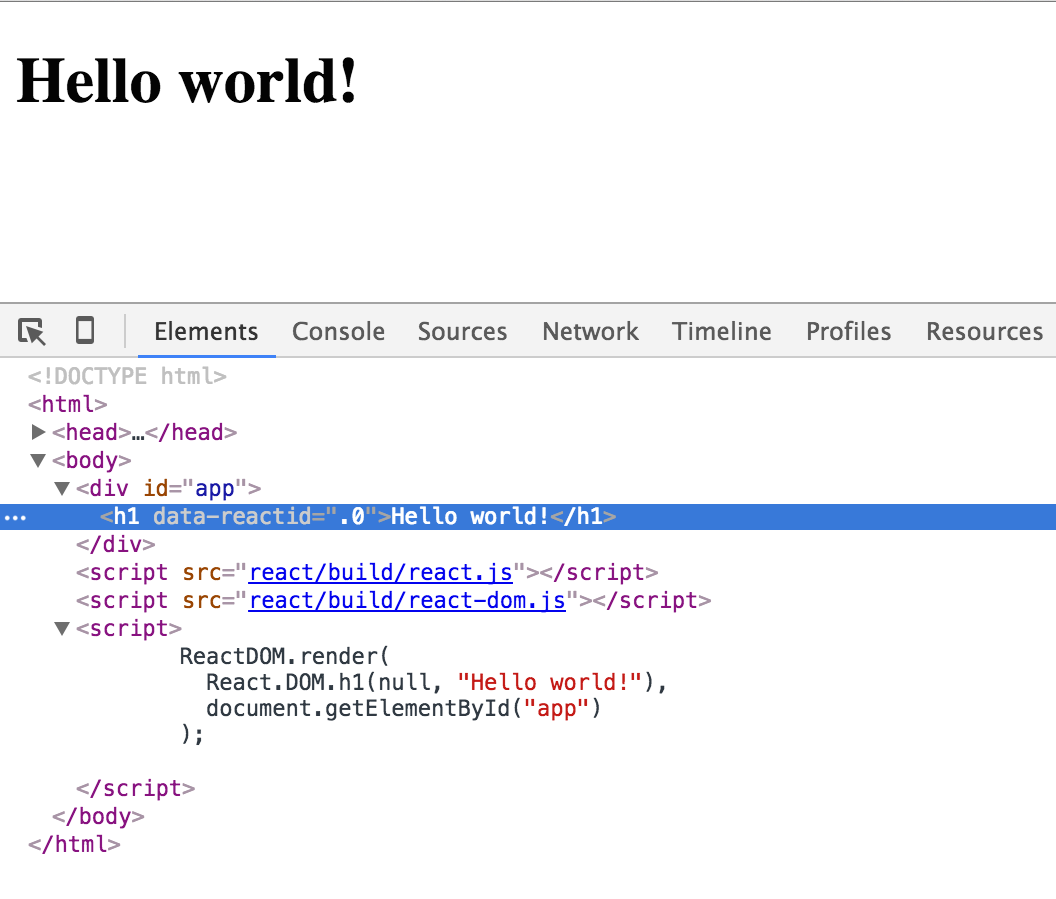
Figure 1-2. Hello World in action
Congratulations, you’ve just built your first React application!
Figure 1-2 also shows the generated code in Chrome Developer Tools where you can see that the contents of the <div id="app"> placeholder was replaced with the contents generated by your React app.
What Just Happened?
There are a few things of interest in the code that made your first app work.
First, you see the use of the React object. All of the APIs available to you are accessible via this object. The API is in fact intentionally minimal, so there are not a lot of method names to remember.
You can also see the ReactDOM object. It has only a handful of methods, render() being the most useful. These methods were previously part of the React object, but since version 0.14, they are separated to emphasize the fact that the actual rendering of the application is a separate concern. You can create a React app to render in different environments—for example, HTML (the browser DOM), canvas, or natively in Android or iOS.
Next, there is the concept of components. You build your UI using components and you combine these components in any way you see fit. In your applications, you’ll end up creating your own custom components, but to get you off the ground, React provides wrappers around HTML DOM elements. You use the wrappers via the React.DOM object. In this first example, you can see the use of the h1 component. It corresponds to the <h1> HTML element and is available to you using a call to React.DOM.h1().
Finally, you see the good old document.getElementById("app") DOM access. You use this to tell React where the application should be located in the page. This is the bridge crossing over from the DOM manipulation as you know it to React-land.
Note
Once you cross the bridge from DOM to React, you don’t have to worry about DOM manipulation any more, because React does the translation from components to the underlying platform (browser DOM, canvas, native app). You don’t have to worry about DOM, but that doesn’t mean you cannot. React gives you “escape latches” if you want to go back to DOM-land for any reason you may need.
Now that you know what each line does, let’s take a look at the big picture. What happened is this: you rendered one React component in a DOM location of your choice. You always render one top-level component and it can have as many children (and grandchildren, etc.) components as you need. In fact, even in this simple example, the h1 component has a child—the “Hello World!” text.
React.DOM.*
As you know now, you can use a number of HTML elements as React components via the React.DOM object (Figure 1-3 shows you how to get a full list using your browser console). Let’s take a close look at this API.
Note
Note the difference between React.DOM and ReactDOM. The first is a collection of ready-made HTML elements, and the second is a way to render the app in the browser (think ReactDOM.render()).
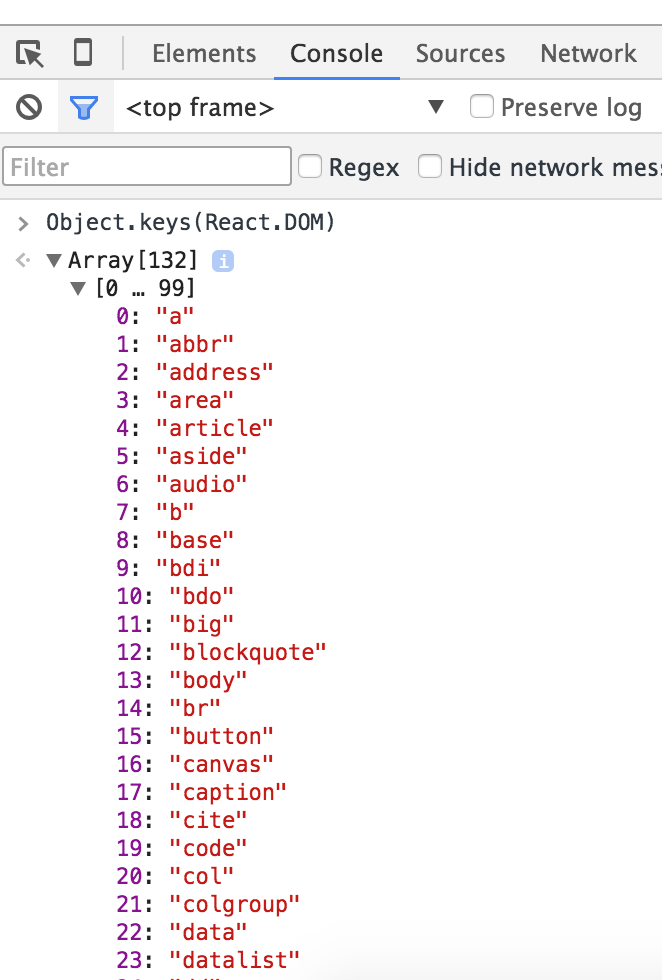
Figure 1-3. List of React.DOM properties
Let’s take a look at the parameters all the React.DOM.* methods take. Remember the “Hello World!” app looked like this:
ReactDOM.render(React.DOM.h1(null,"Hello World!"),document.getElementById("app"));
The first parameter to h1() (which is null in this case) is an object that specifies any properties (think DOM attributes) that you want to pass to your component. For example, you can do:
React.DOM.h1({id:"my-heading",},"Hello World!"),
The HTML generated by this example is shown in Figure 1-4.
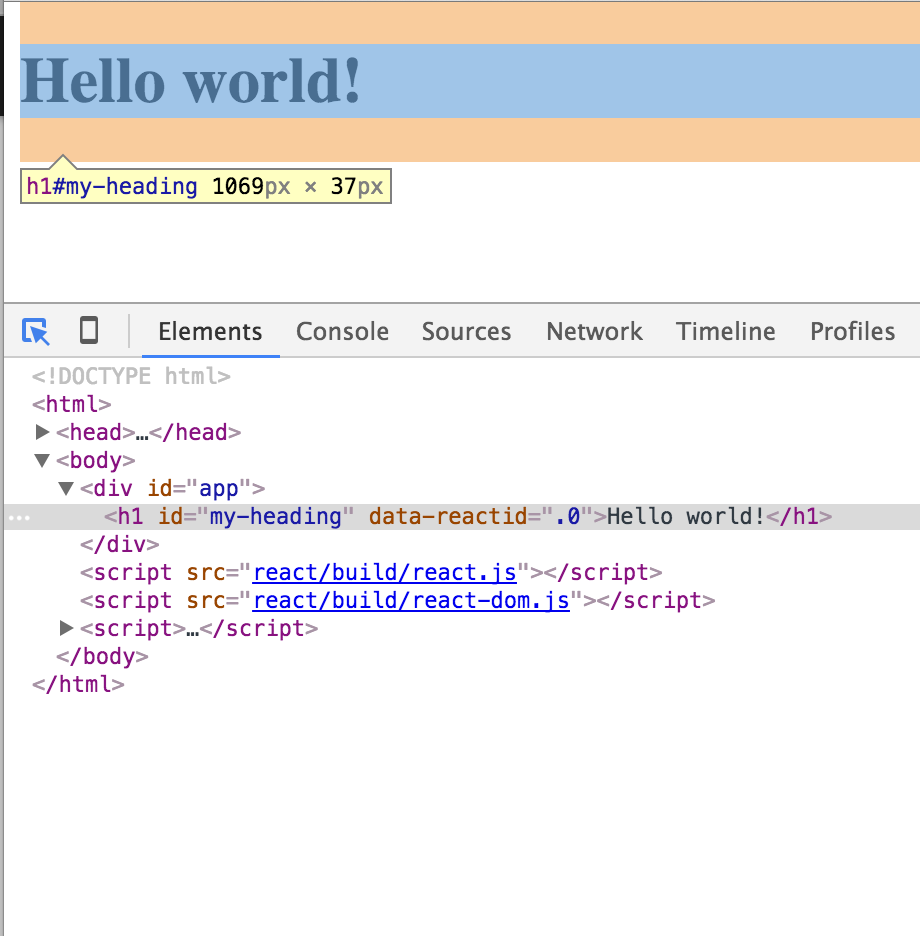
Figure 1-4. HTML generated by a React.DOM call
The second parameter ("Hello World!" in this example) defines a child of the component. The simplest case is just a text child (a Text node in DOM-speak) as you see in the preceding code. But you can have as many nested children as you like and you pass them as additional function parameters. For example:
React.DOM.h1({id:"my-heading"},React.DOM.span(null,"Hello")," World!"),
Another example, this time with nested components (result shown in Figure 1-5) is as follows:
React.DOM.h1({id:"my-heading"},React.DOM.span(null,React.DOM.em(null,"Hell"),"o")," world!"),
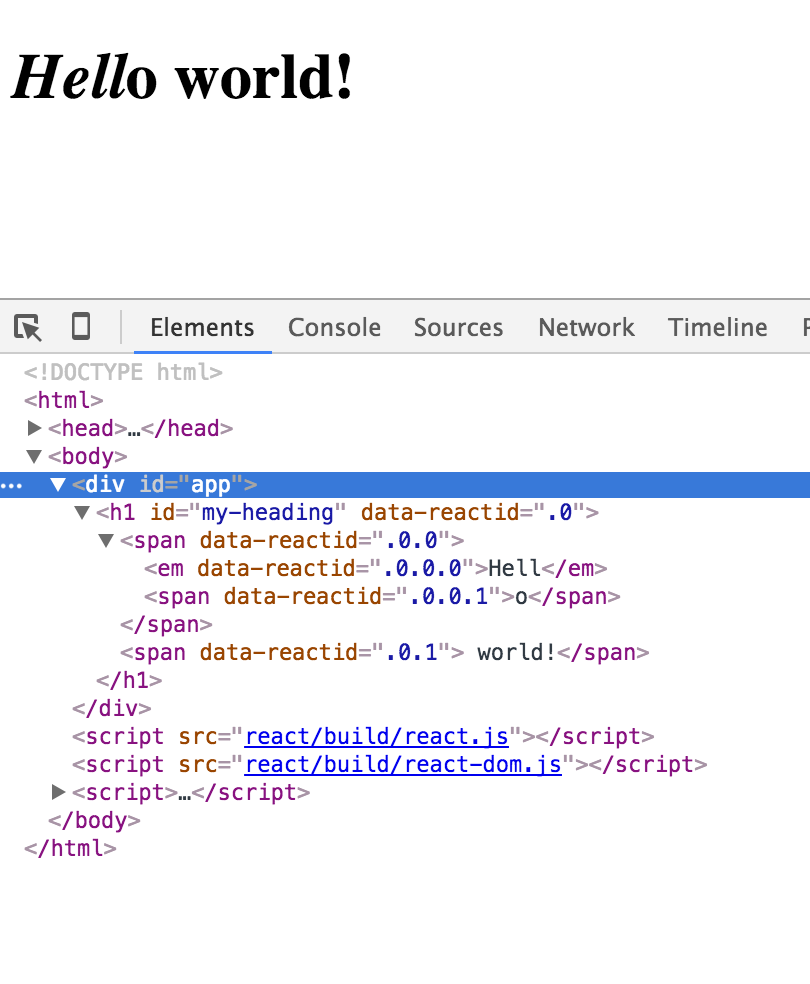
Figure 1-5. HTML generated by nesting React.DOM calls
Note
As you can see when you start nesting components, you quickly end up with a lot of function calls and parentheses to keep track of. To make things easier, you can use the JSX syntax. JSX is a topic of a separate discussion (Chapter 4), but for the time being let’s suffer through the pure JavaScript syntax. The reason is that JSX is a little controversial: people often find it repulsive at first sight (ugh, XML in my JavaScript!), but indispensable after. Just to give you a taste, here’s the previous snippet using JSX syntax:
ReactDOM.render(<h1id="my-heading"><span><em>Hell</em>o</span>world!</h1>,document.getElementById("app"));
Special DOM Attributes
A few special DOM attributes you should be aware of are class, for, and style.
You cannot use class and for because these are reserved words in JavaScript. Instead, you need className and htmlFor:
// Counterexample// this doesn't workReact.DOM.h1({class:"pretty",for:"me",},"Hello World!");// Proper example// this worksReact.DOM.h1({className:"pretty",htmlFor:"me",},"Hello World!");
When it comes to the style attribute, you cannot use a string as you normally do in HTML, but you need a JavaScript object instead. Avoiding strings is always a good idea to reduce the risks of cross-site scripting (XSS) attacks, so this is a welcome change.
// Counterexample// this doesn't workReact.DOM.h1({style:"background: black; color: white; font-family: Verdana",},"Hello World!");// Proper example// this worksReact.DOM.h1({style:{background:"black",color:"white",fontFamily:"Verdana",}},"Hello World!");
Also notice that you need to use the JavaScript API names when dealing with CSS properties; in other words, use fontFamily as opposed to font-family.
React DevTools Browser Extension
If you opened your browser console while trying some of the examples in this chapter, you would’ve seen a message that says “Download the React DevTools for a better development experience: https://fb.me/react-devtools.” Following the URL, you’ll find links to install a browser extension that can prove helpful when debugging React applications (Figure 1-6).
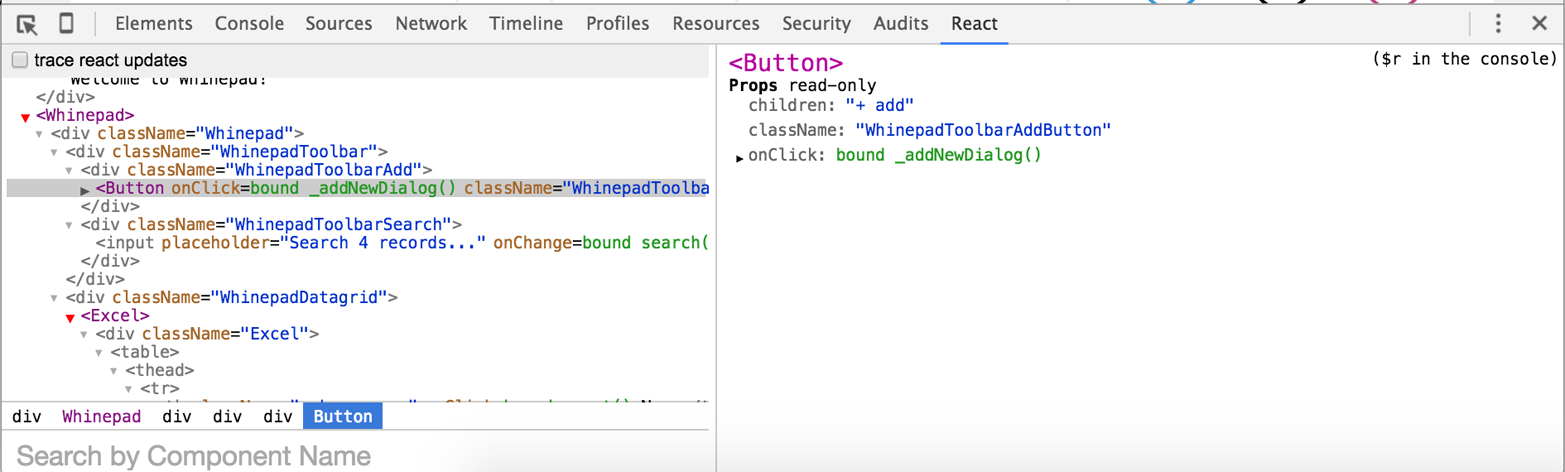
Figure 1-6. React DevTools extension
It may look overwhelming at first, but by the time you get to Chapter 4 it will make perfect sense.
Next: Custom Components
At this point, you’re done with the bare-bones “Hello World” app. Now you know how to:
-
Install, set up, and use the React library (it’s really just a question of two
<script>tags) -
Render a React component in a DOM location of your choice (e.g.,
ReactDOM.render(reactWhat, domWhere)) -
Use built-in components, which are wrappers around regular DOM elements (e.g.,
React.DOM.div(attributes, children))
The real power of React, though, comes when you start using custom components to build (and update!) the UI of your app. Let’s learn how to do just that in the next chapter.
Get React: Up & Running now with the O’Reilly learning platform.
O’Reilly members experience books, live events, courses curated by job role, and more from O’Reilly and nearly 200 top publishers.

