(RAY)
(Fogra 39) Job:02-28051 Title:RP-Textile Artist Handbook
#175 DTP:225 Page:106
104-121_28051.indd 106 3/6/12 8:50 PM
(RAY)
(Fogra 39) Job:02-28051 Title:RP-Textile Artist Handbook
03-C66286 #175 DTP:225 Page:107
104-121_C66286.indd 107 3/27/12 8:57 AM
(Text)
THE T E X T ILE ART IST 'S STUDIO HANDBOOK
106
P RINT ING
Inks Stock an assortment of fabric inks for printing on
fabric and paper inks for printing on paper in the prima-
ry colors, plus black and white. You can use oil-based
or water-based ink, but water-based ink is far easier to
clean up. You can also save most water-based inks for
a very long time in plastic storage containers.
Glass Plate, Brayers, and Burnishing Tool A glass
plate without nicks or scratches is the ideal surface for
rolling out the ink. A brayer, available in many sizes, is
used to roll out the ink on the plate and on the carved
block. A burnishing tool is used to rub the back of your
paper or fabric to help press the ink consistently over
the textile surface.
Layers and Registration
If you are working with one color, registration is sim-
ple because you don’t have to worry about aligning
multiple layers. You simply apply paint on the block
and then apply the block onto the fabric.
When you are working with multiple color layers,
each color needs its own block, and each block needs
some type of clear registration marking to align the
blocks on top of each other to create the design as in-
tended. Apply the different color blocks, starting with
the lightest color and moving to the darkest. Though
there are many ways of registering images, including
fancy tools, you can simply mark the corner where the
block should align with a pencil, fabric marker, or tape.
If you are using the same exact size block for each
layer, you can use the same mark to align each block
so that the images are aligned.
If you don’t want to make a separate block for each
color, you can create what is called a reductive print.
Begin by carving the lightest color layer and use it to
print as many copies as desired (a full edition) or as
much yardage as desired. Then carve your next color
layer in the same block. In effect, you are reducing
the same block to your final layer. With this method,
you cannot go back to print more because each layer
is destroyed as you carve the next successive layer.
Carving your Block
Block printing, or any kind of relief printing, can be
used to print negative or positive images. A positive
image means that you are carving away the negative
space to print the image. Negative printing means that
you are carving out the image you want to create in
white by leaving the negative image to print. It is very
important in block and relief printing that you carve
your image in reverse.
Inking your Block
and Printing
Apply ink with the brayer onto a glass plate or directly
on the carved surface. If the ink is on the plate, press
the carved block into the ink to transfer it onto the
block.
You can print by either placing the block face down
onto the printing fabric (or other surface) or place the
printing fabric on top of the block. If you are placing the
block face down on the surface, apply even pressure
from above the block. If you are placing the block face
up, with the fabric or paper over it with the right side
down, use a burnishing tool to rub the entire surface in
a circular motion to ensure the transfer of the ink.
Watch Your Fingers
Be very careful to keep your hands out of the
tool’s path. A good way to do this is to hold
your arms and hands with your elbows out-
wards. Always keep the hand holding the carv-
ing block behind the tool, never in front in case
you slip forward. You can also use a carving
board, which helps keep your carving surface
in place so your arms don’t have to!
tip
(RAY)
(Fogra 39) Job:02-28051 Title:RP-Textile Artist Handbook
#175 DTP:225 Page:106
104-121_28051.indd 106 3/6/12 7:31 PM
(Text)
THE T E X T ILE ART IST 'S STUDIO HANDBOOK P RINT ING
107
PROJECT:
Tools for Printing
• Pencil
• Paper
• Blank rubber block for carving
• Brayer, at least as wide at the printing image
• Glass plate
• Carving tools of various sizes and shapes
Materials for Printing
• 1 yard (0.9 m) of 45" (114.3 cm)-wide plain
or colored cotton or muslin fabric
• Water-based fabric ink
Tools for Sewing
• Sewing machine
• Scissors
• Iron and ironing board
• Measuring tape
Materials for Sewing
• Thread
• 6" (15.2 cm) strip of 1" (2.5 cm)-wide Velcro
Block-Printed
Pillow Cover
Depending on your level of interest in block print-
ing, you can keep it very simple or increase your
precision and skill to get highly intricate designs
using fine tools. The very textured affect can be
a nice addition.
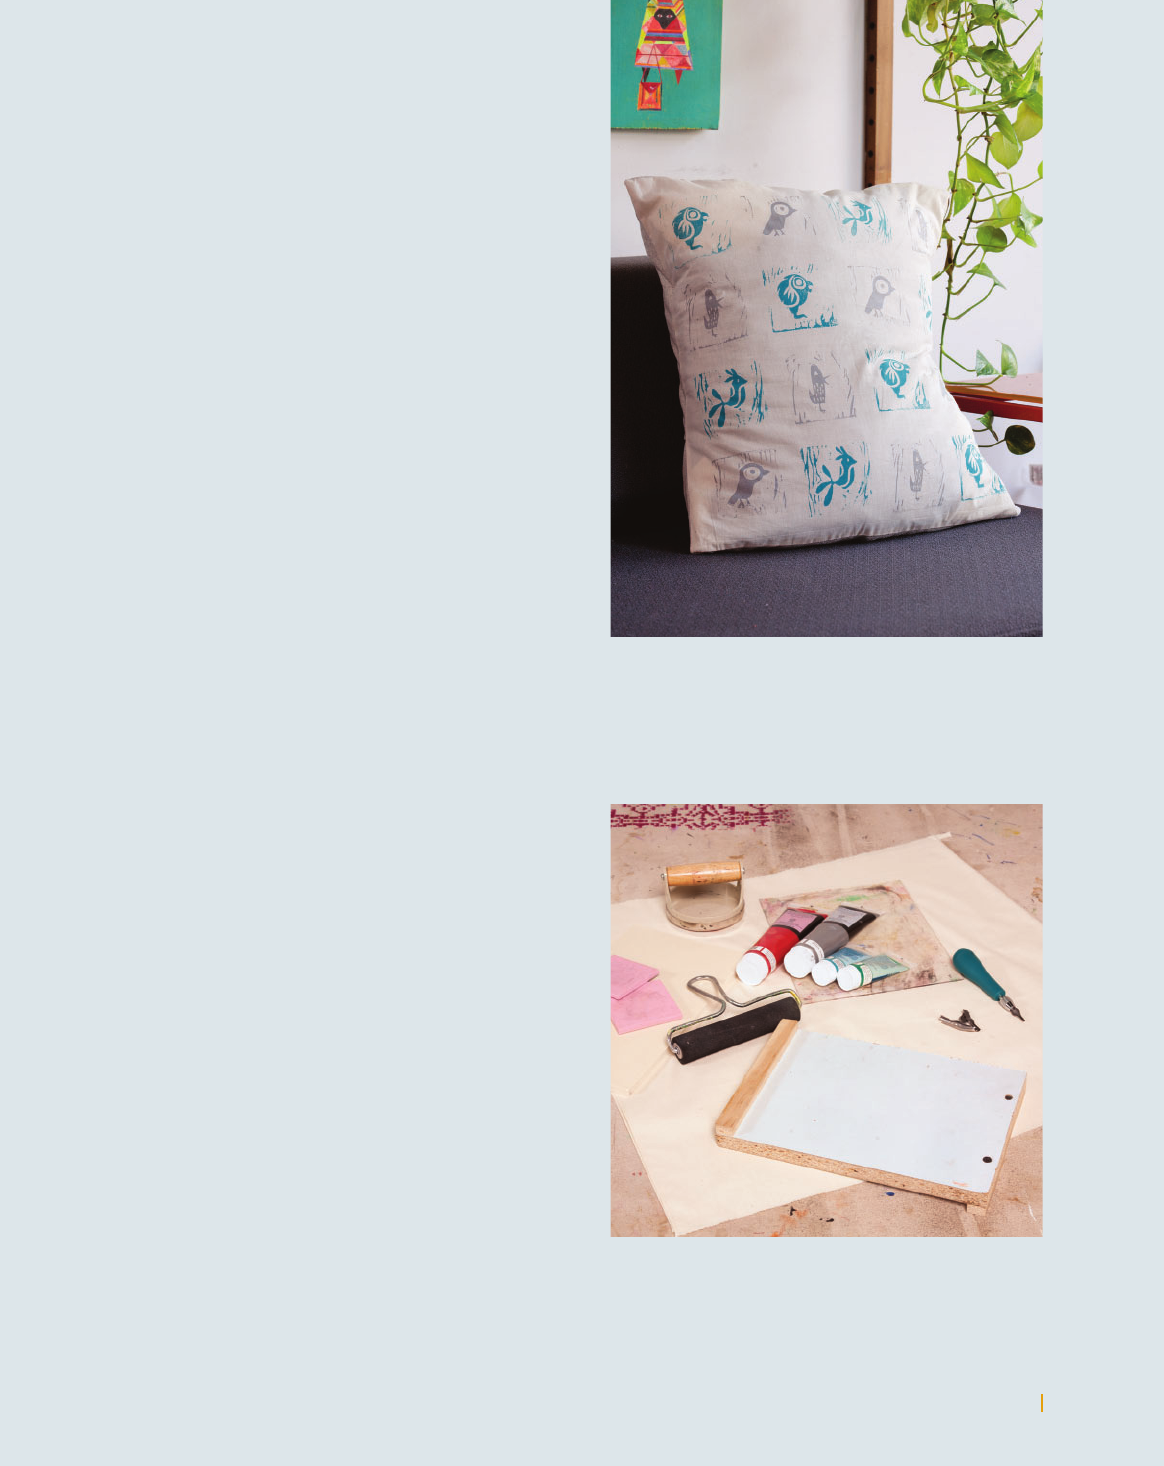
ABOVE Here is a finished pillow us-
ing the artwork of Alexandra Labriola.
It is hand printed and sewn! This is an
easy way to update your home décor
or make simple home goods for sale
or gifts.
BELOW Block printing does not
require too many materials and can
create endless fun with a design that
can be used over and over. All these
items are easy to find.
(RAY)
(Fogra 39) Job:02-28051 Title:RP-Textile Artist Handbook
#175 DTP:225 Page:107
104-121_28051.indd 107 3/6/12 7:31 PM
Get The Textile Artist's Studio Handbook now with the O’Reilly learning platform.
O’Reilly members experience books, live events, courses curated by job role, and more from O’Reilly and nearly 200 top publishers.

