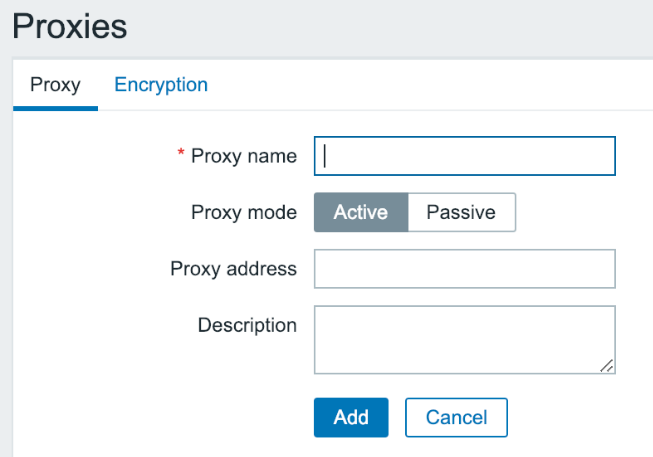
Now that we have the proxy configured and running, we have to inform Zabbix about it somehow. To do this, perform the following steps:
- Open Administration | Proxies in the frontend, then click on the Create proxy button.
- Enter First proxy in the Proxy name field:

- Next, we need to select Another host in Configuration | ...

