Microsoft Entra ID SSO with SAML
Please reach out to your customer success manager to get started. Then follow the steps below to implement SSO for the O’Reilly learning platform using Microsoft Entra ID (formerly Azure AD) with SAML.
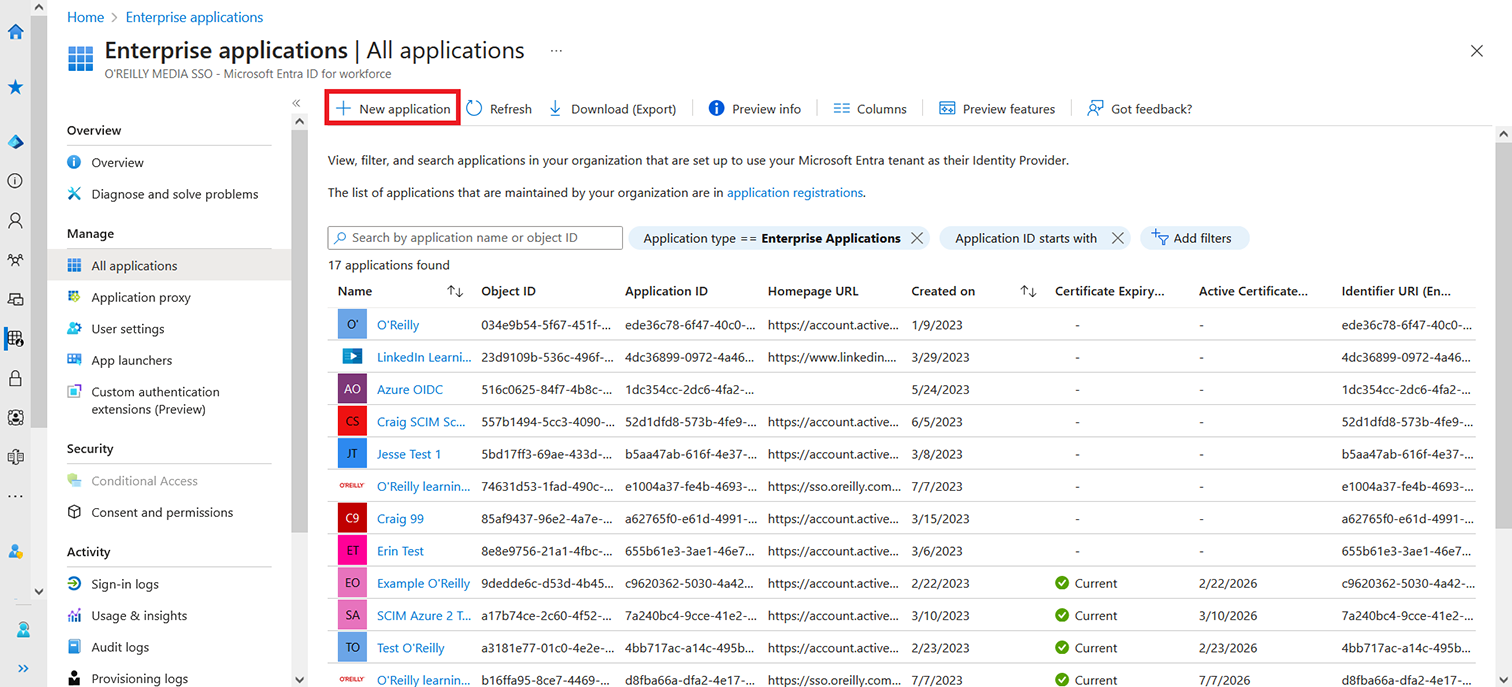
- Log in to the Entra ID administrator dashboard, navigate to Enterprise applications, and select New application.
-
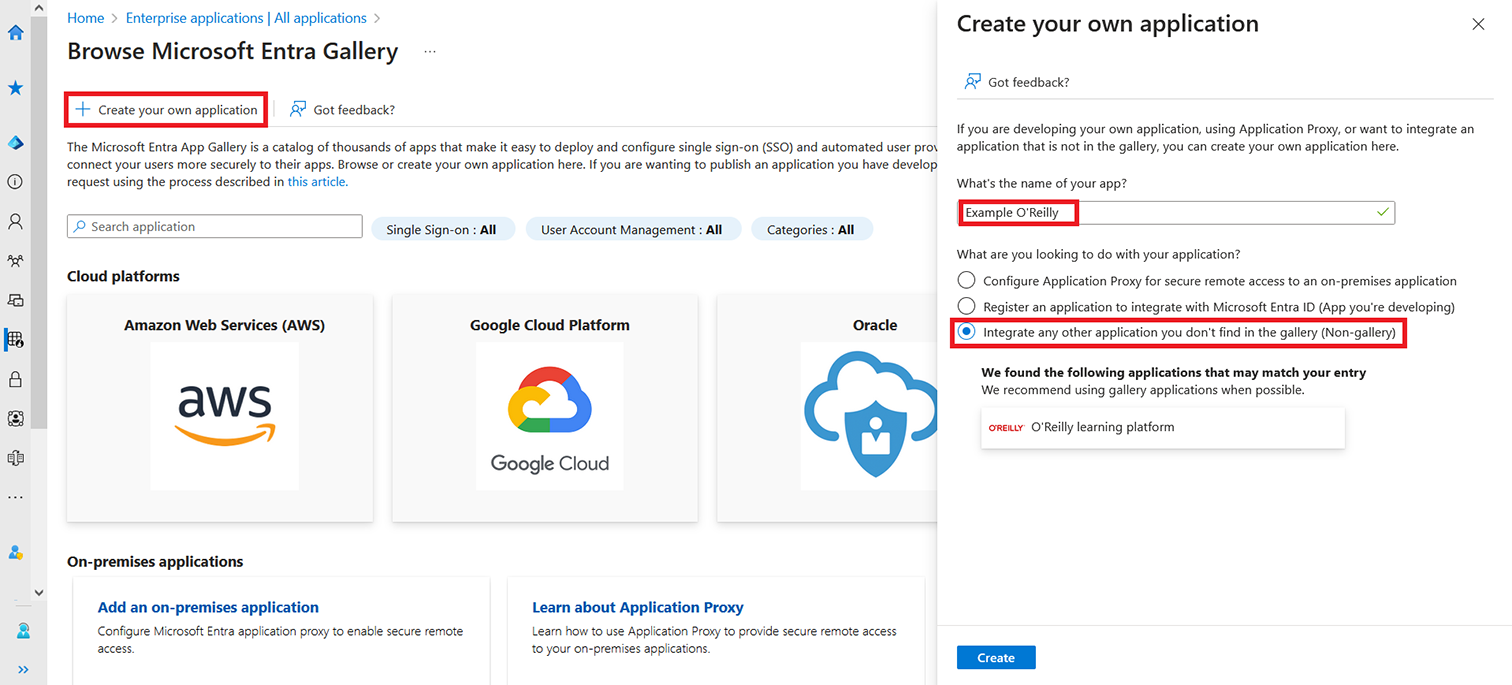
Select Create your own application and enter a name that will help you identify the application, such as O’Reilly SSO. Leave the default option selected: “Integrate any other application you don’t find in the gallery (Non-gallery).” Click Create.
-
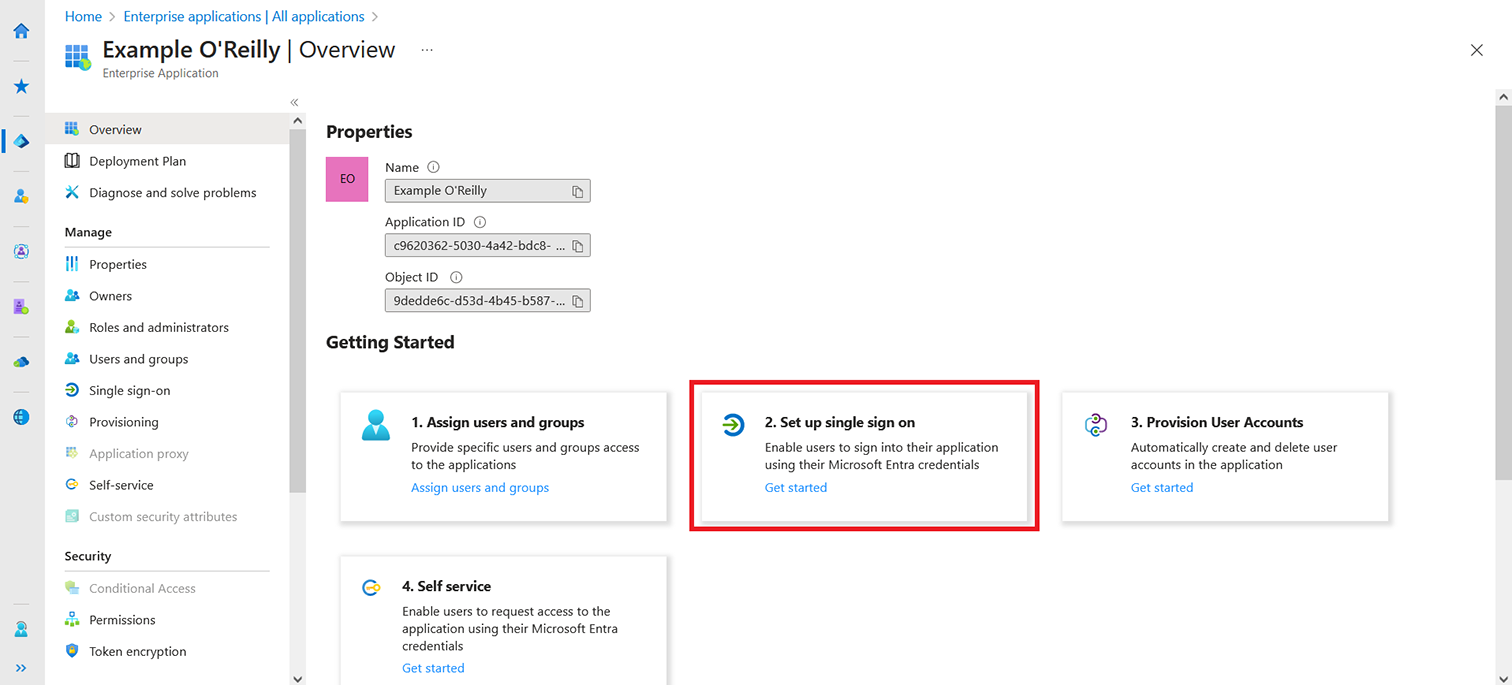
Select item 2: Set up single sign on.
-
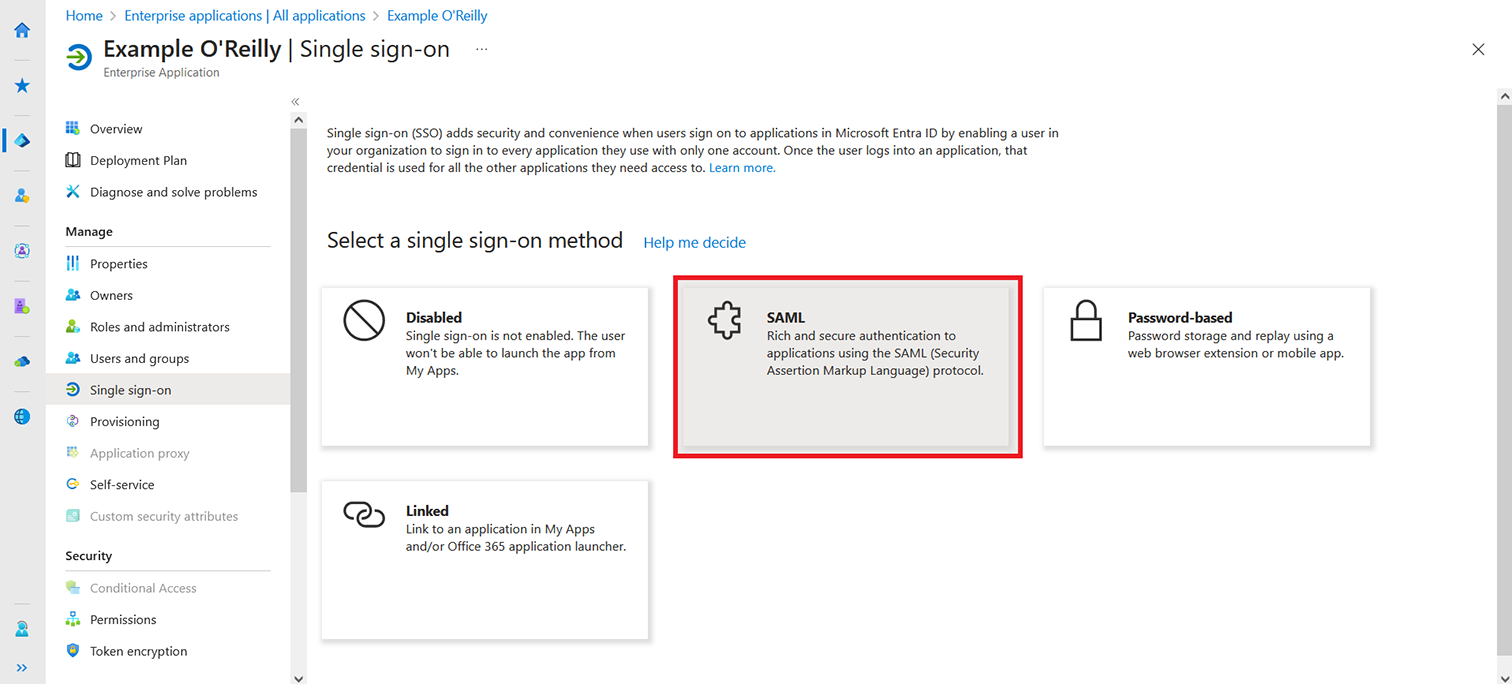
Select SAML.
-
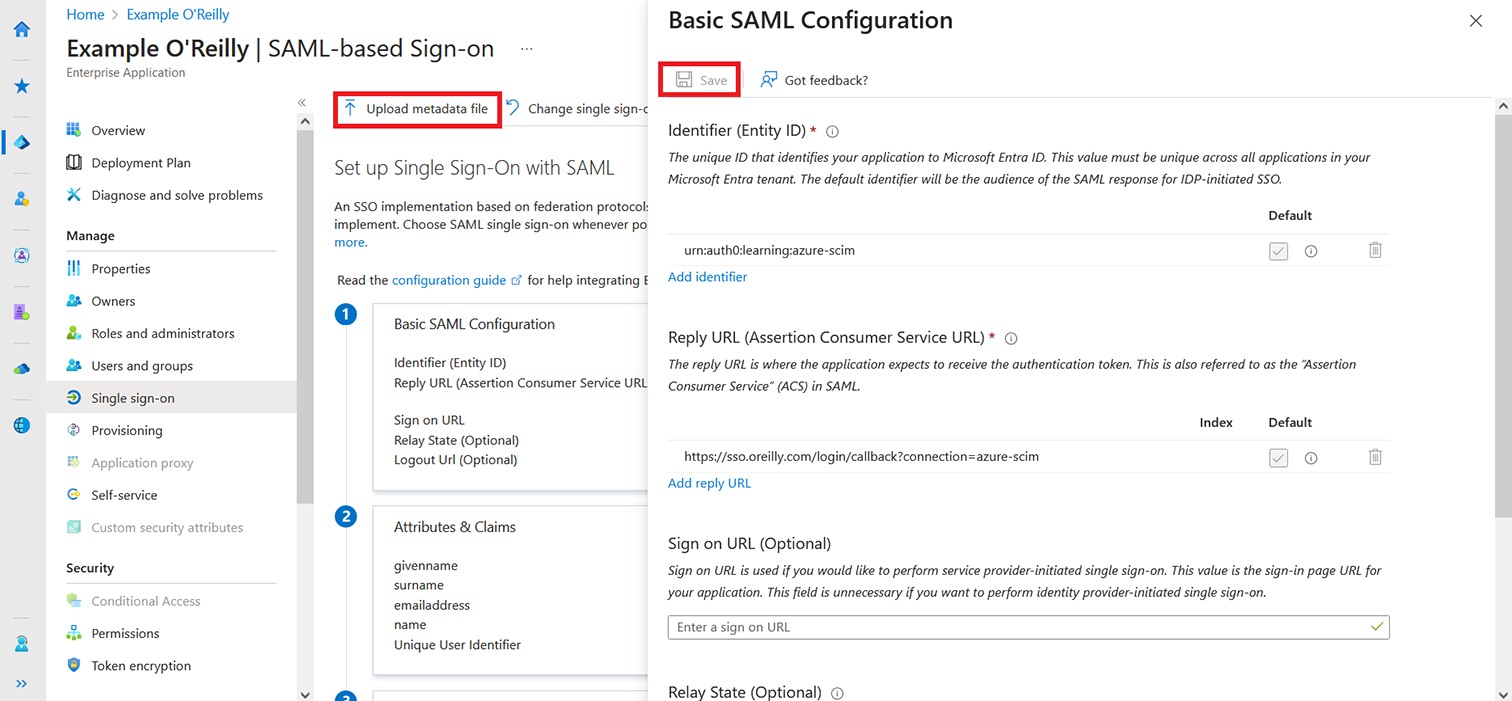
Select Upload metadata file and upload the SP metadata file provided by the O’Reilly platform integration team member you’re working with. (Here’s an example: https://safarijv.auth0.com/samlp/metadata?connection=example-oreilly.) The panel on the right will show the Entity ID, ACS URL, and Logout URL fields populated. Click Save.
-
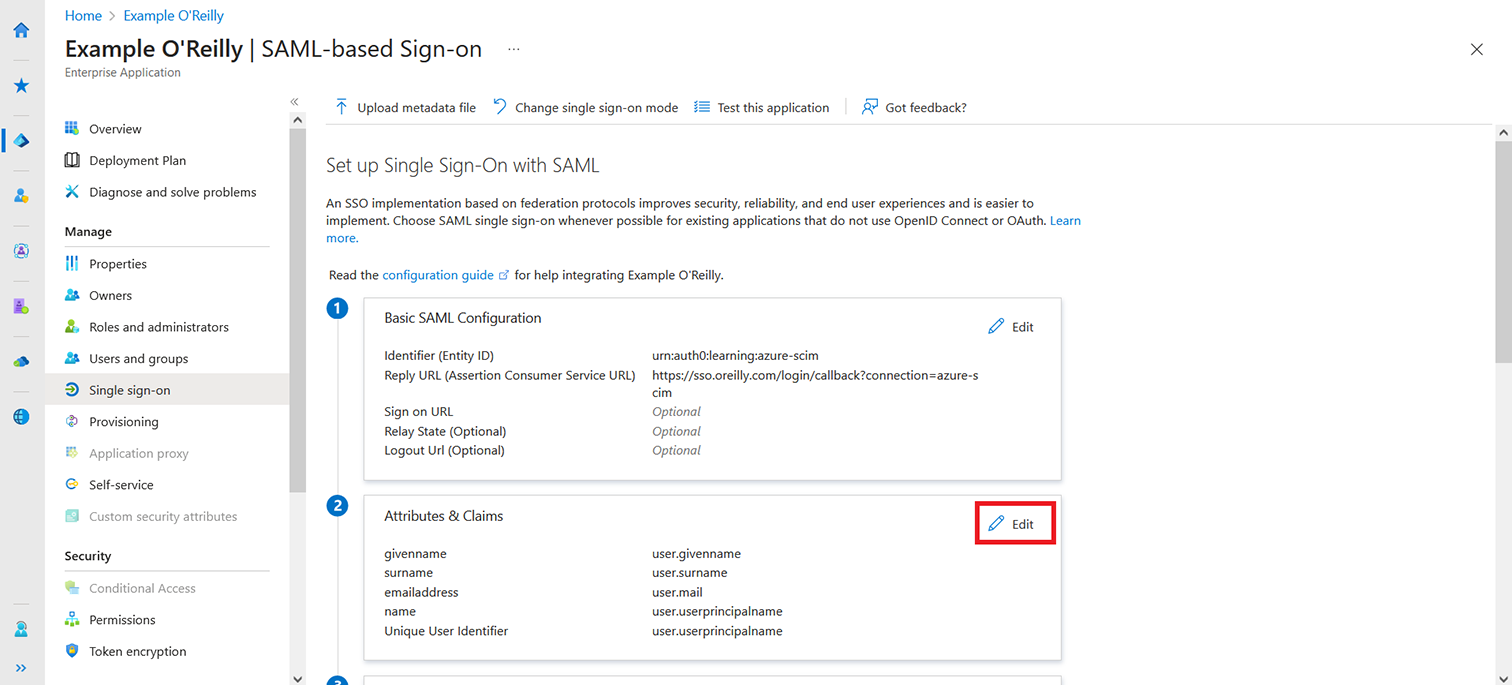
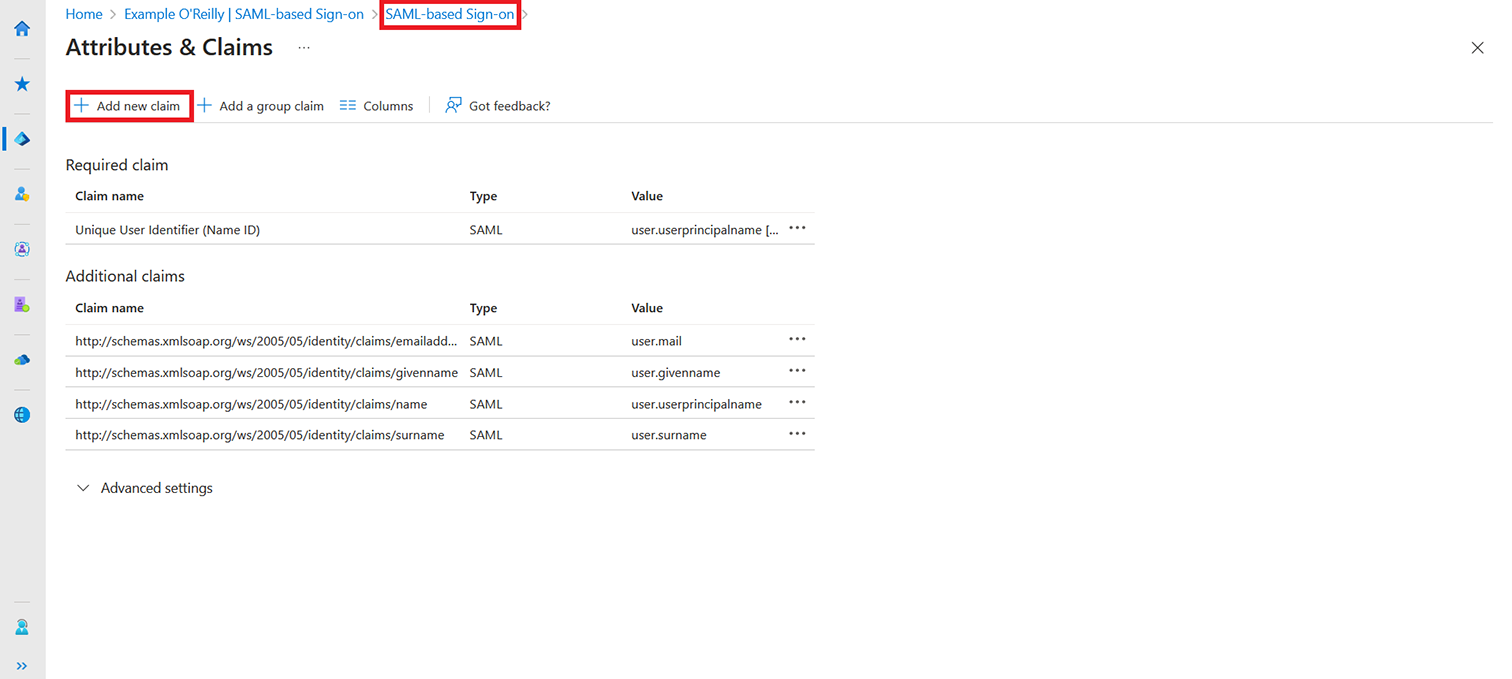
In section 2: Attributes & Claims, select Edit to review and update the attributes being sent to O’Reilly. To edit an attribute mapping, simply select the row.

-
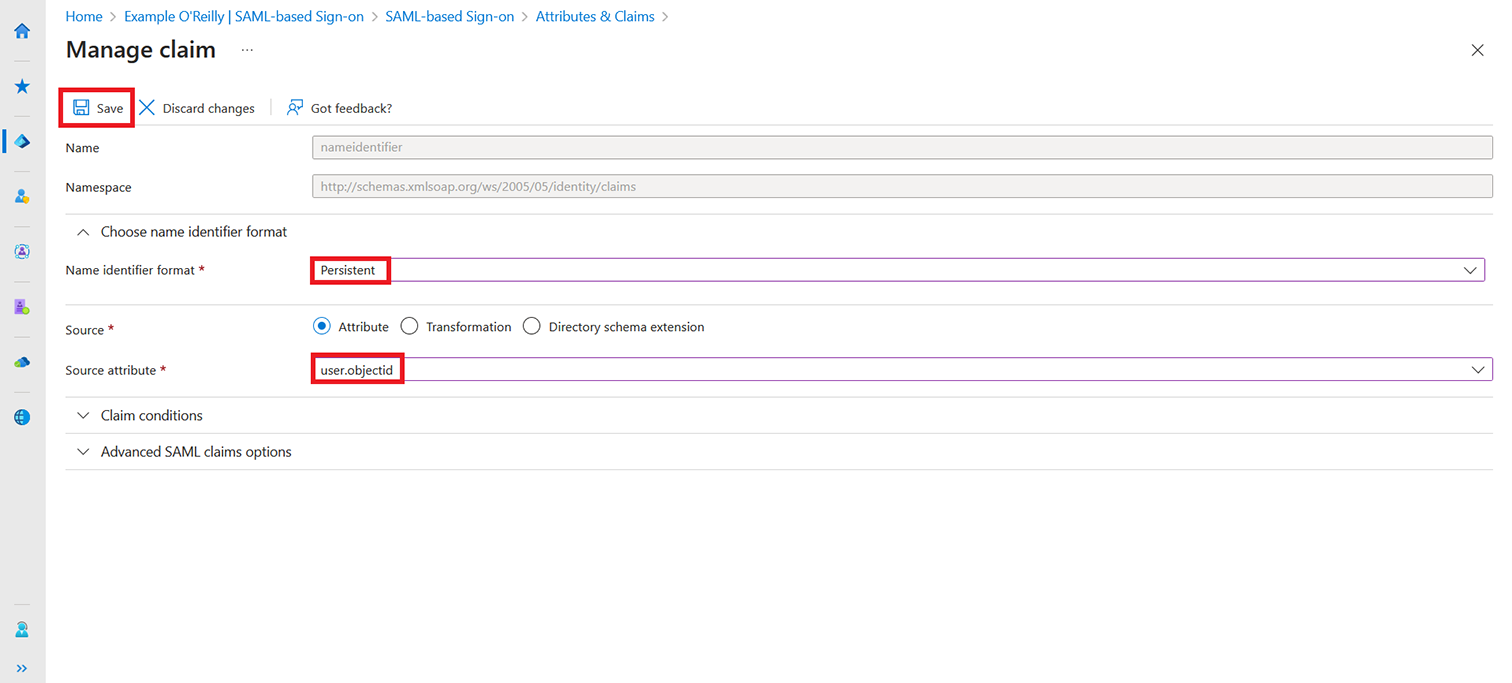
We recommend updating the Unique User Identifier (Name ID) to send the Object ID (user.objectid) or another unchanging value. You can select the new mapping from the Source attribute dropdown, update the Name identifier format to “Persistent,” then click Save.
-
You can select Add new claim if you want to send additional attributes to O’Reilly. Once you’re finished updating attributes, select the “SAML-based Sign-on” link to finish the rest of the setup.
-
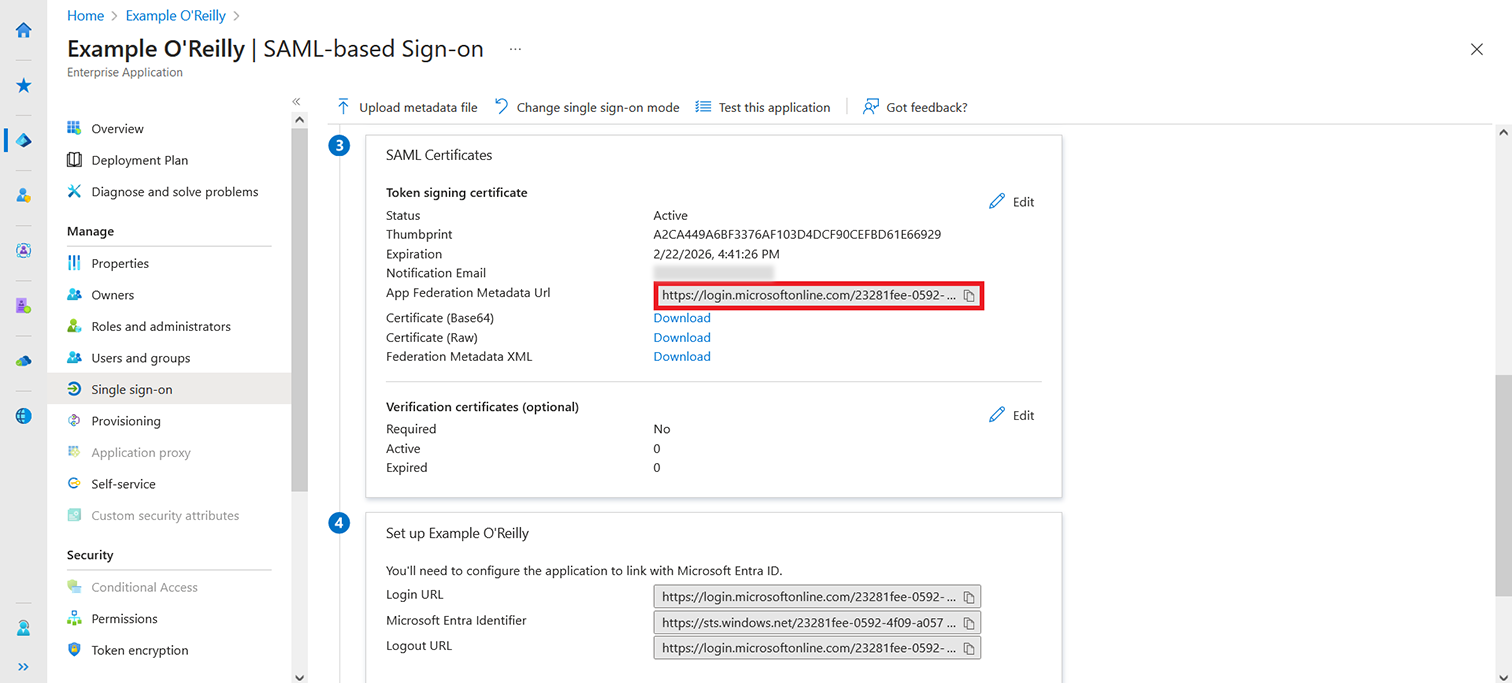
In section 3: SAML Signing Certificate, copy the App Federation Metadata URL and send it to the O’Reilly platform integration team at platform-integration@oreilly.com.
They’ll use those details to finish the configuration on the O’Reilly side of the SSO integration.
-
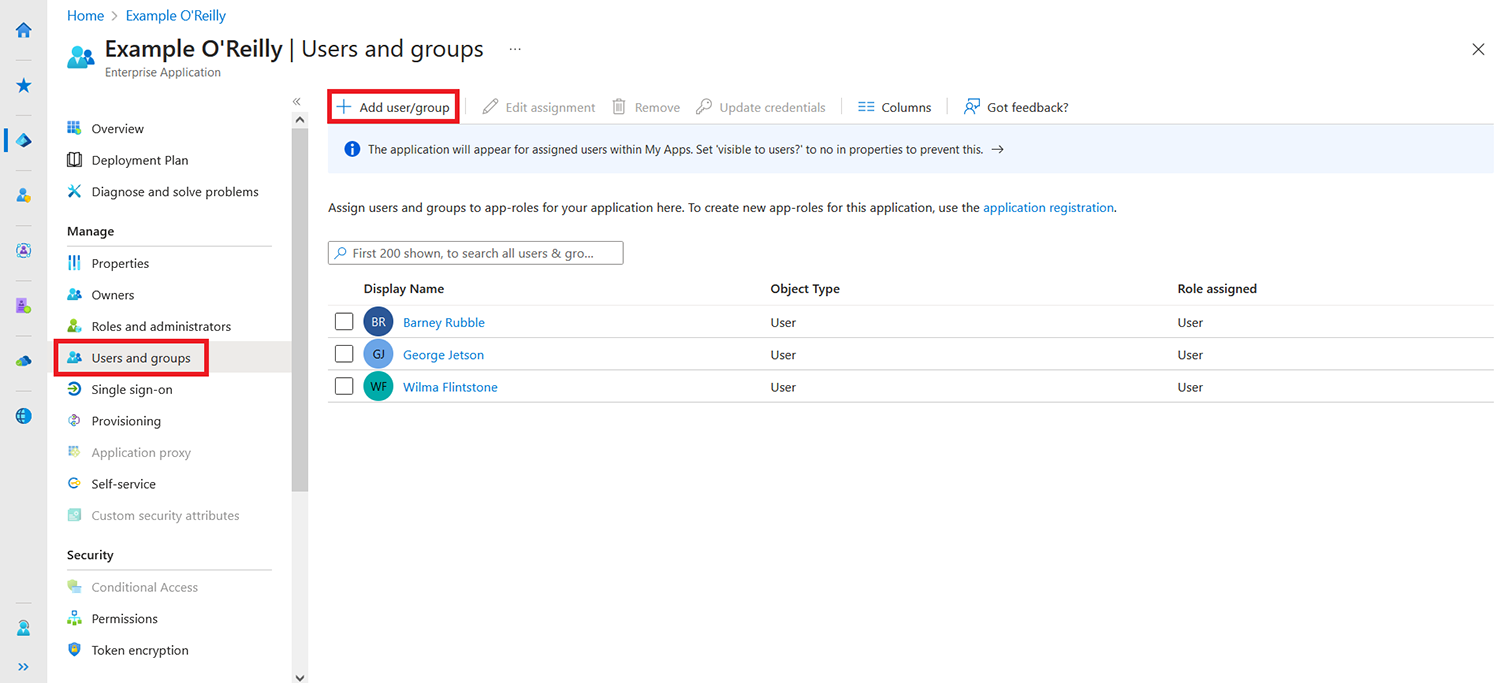
In order to use the SSO connection, the new application must be assigned to users or groups. You can do this by selecting Users and groups on the left menu, then Add user/group. You may want to only add a test user to confirm the connection is working. Then you can add the rest of the users or groups you want to provide with O’Reilly access.
-
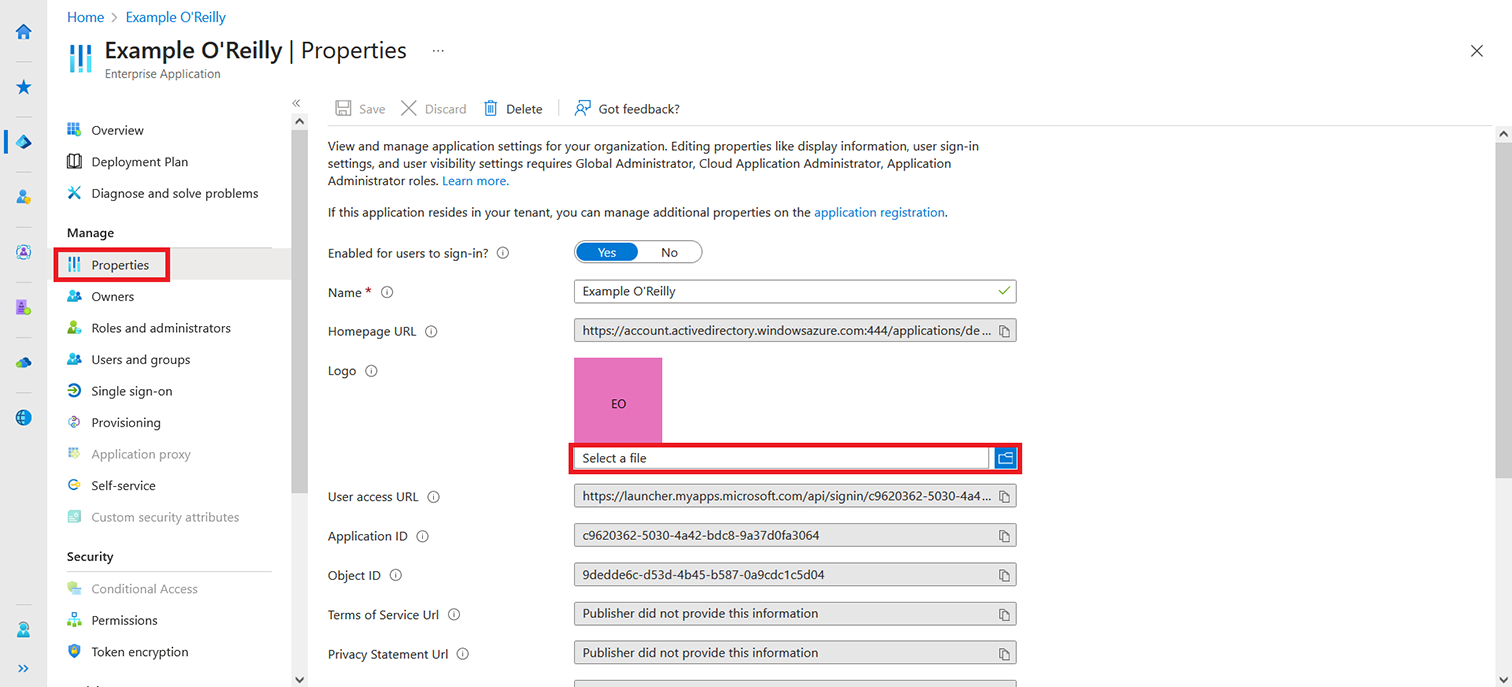
Upload the O’Reilly logo by selecting Properties in the left menu. Our logo can be downloaded here. (The best option is OReilly_logo_rgb.png.)