Linking with Properties
Defining links with drag-and-drop gets even easier with the Menus and Timelines tabs. First, open the menu in the Menu Editor window to display the button for which you want to define a link. Then, to link to a clip, click the Timelines tab to select the target timeline and display its associated chapter points. Then drag-and-drop the target timeline (or chapter point within the timeline) to the button in the Menu Editor (see Figure 7-18).
Similarly, for linking to a menu, click the Menus tab to select the target menu, and then drag-and-drop the target menu (or even a button within the menu) onto the button in the Menu Editor. This way, you can not only link to a menu, but also specify which button on the menu is highlighted.
Note
The Timelines tab displays columns with information from the timeline Properties palette. To display more of the properties, right-click the Titles row and choose Columns from the context menu.
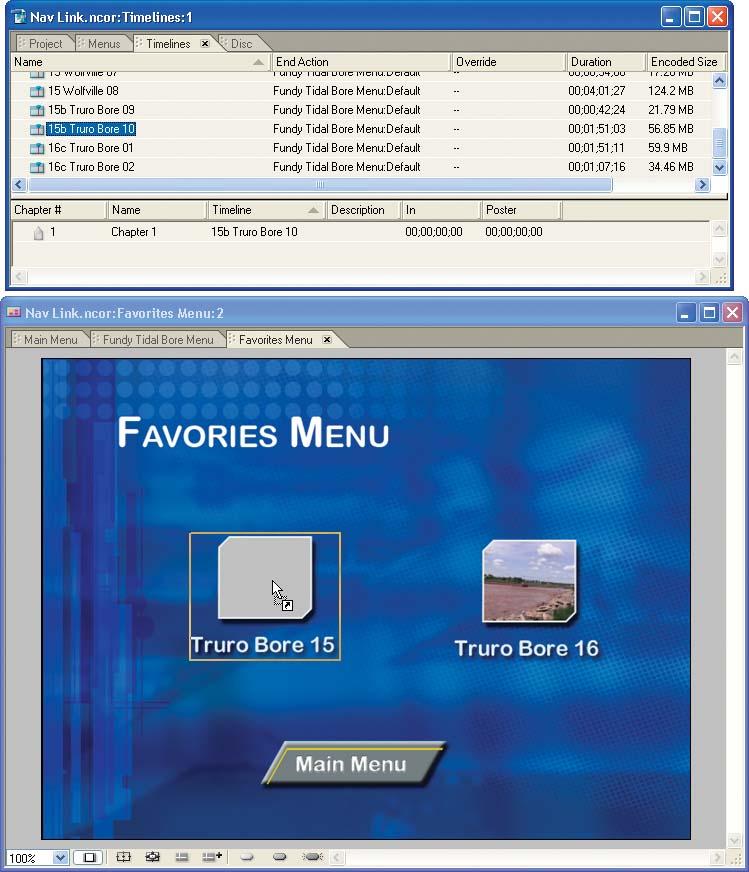
Figure 7-18. Drag-and-drop from the Menus or Timelines tab to specify the link for a button in the Menu Editor.
Linking with the pick whip
As you have seen, you can define links in several different ways using the Properties palette for a menu button, for a menu or timeline (for the End Action or Menu Remote Button), or for the entire disc (for the First Play or Title Button). You can define the link, or an associated override. And you can define ...
Get Adobe Encore DVD: In the Studio now with the O’Reilly learning platform.
O’Reilly members experience books, live events, courses curated by job role, and more from O’Reilly and nearly 200 top publishers.

