Recipe 3.4 Creating Custom ListViews
The standard ListView simply displays a list of items. While it may suffice when you just want to display a list of text, it is not enough for more sophisticated applications. In this recipe, you will see how you can customize the ListView so that you can display images, multiple lines of text, and more.
Solution
To display a ListView in your activity, you need to add the <ListView> element to your UI, such as the activity_main.xml file:
<RelativeLayout xmlns:android="http://schemas.android.com/apk/res/android"
xmlns:tools="http://schemas.android.com/tools"
android:layout_width="match_parent"
android:layout_height="match_parent" >
<ListView
android:id="@+id/android:list"
android:layout_width="fill_parent"
android:layout_height="fill_parent" />
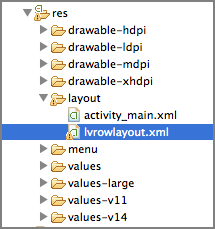
</RelativeLayout>The first thing you will learn in this recipe is how to display an image next to each item in the ListView. To do that, add an XML file in your res/layout folder and name it, for example, lvrowlayout.xml (see Figure 3-5).
Populate the lvrowlayout.xml file as follows:
<LinearLayout xmlns:android="http://schemas.android.com/apk/res/android" android:layout_width="fill_parent" android:layout_height="fill_parent" android:orientation="horizontal" > ...Get Android Application Development Cookbook: 93 Recipes for Building Winning Apps now with the O’Reilly learning platform.
O’Reilly members experience books, live events, courses curated by job role, and more from O’Reilly and nearly 200 top publishers.

