Chapter 1. Getting Started
It’s fairly easy to set up the Android developer environment. The steps are basically the same for all supported platforms (with small variations on each OS). I’ll describe them in detail so you can be sure you have everything configured correctly.
Warning
Installation instructions might change over time. These basic steps are consistent with the latest release. However, they might change, so you should always check the online documentation to make sure you are installing and using the most up-to-date version.
The basic steps are:
Make sure your computer meets minimum requirements.
Install the Java Development Kit (JDK).
Install the Android SDK.
Install the Eclipse Integrated Development Environment (IDE).
Install the Android Developer Tools (ADT) plug-in for Eclipse.
Minimum Requirements
To develop for Android, you’ll need a reasonably responsive computer. You will likely be running a few memory-intensive processes (including emulators) and IO-intensive things (such as building your code or packaging a release artifact). The published base requirements for Android make it possible to develop on a variety of very low-powered devices (such as netbooks), but for practical purposes I suggest using a development environment with more widely available resources. Guidelines for practical minimum requirements are listed in Table 1-1.
Installing Java
The Android development platform is built on the standard Java framework. Android applications are built on top of the Java platform, so you will need to install it in order to do anything with Android. Make sure you get the Java Developer Kit (JDK) as opposed to the Java Runtime Environment (JRE) (which may already be installed on your system). The JDK has the compiler, debugger, and other tools you will use to develop software; the JRE is a runtime for executing those tools. Download the latest version, choosing the default settings (it is not necessary to have any of the optional packages that are available).
Tip
Currently, Android is designed to target Java version 1.6. If you download a version newer than this (which is likely), you will need to set the Java Compiler level to be compliant with 1.6. In Eclipse, a Java Compiler option in the properties of your Android project allows you to set this.
You can download the JDK installation packages for each supported OS from the Java download site.
Tip
Optionally, if you are on Linux, you can use a package manager (such as apt or yum) to download and install Java. For instance, on Ubuntu or Debian, use the following command:
sudo apt-get install sun-java6-jdk
In general, Mac OS X developers aren’t required to install Java manually. On the Mac OS, Java comes preinstalled, with a custom packaged version directly from Apple. Updating to newer versions of Java is only possible when Apple releases an update through their own channels. To confirm that the correct version of Java is installed, the following command can be run from any terminal window to display this information:
java -version
More information about Java on Mac OS X is available here: Mac OS Java site.
Installing the Android Software Development Kit
The Android Software Development Kit (SDK) is the collection of libraries, tools, documentation, and samples that are required to run and develop Android apps and to use the tools. It is not a complete development environment, and contains only the base tools needed to download the rest of the necessary components. Downloading tools and components will be discussed in detail in the section about using the SDK Manager.
In order to get started, you will need to download the “ADT Bundle.” This is a new packaging style (as of ADT version 21) that includes all the components required to develop for Android packaged as a single, integrated download. Previous to this release, it was necessary to download and install each of the required components separately, and then set them up to work together. This manual approach is more error-prone, but is still supported, particularly if you wish to use an IDE other than Eclipse. The manual procedure is described on the Android Developers web page titled Setting Up an Existing IDE. I strongly recommend you use the ADT Bundle to install the tools. It streamlines the process, minimizes the chances of error, and creates a standard directory structure for the tools. The bundle includes each of these components:
The Eclipse IDE, including the ADT plug-ins, and all the required extensions
The SDK Tools
The Platform Tools
The latest Android Platform
A CPU image compatible with the latest platform
Installing the ADT Bundle
The most recent release of the tools provides a convenient single package containing everything necessary to develop Android. It makes installation easy.
Downloading the ADT bundle
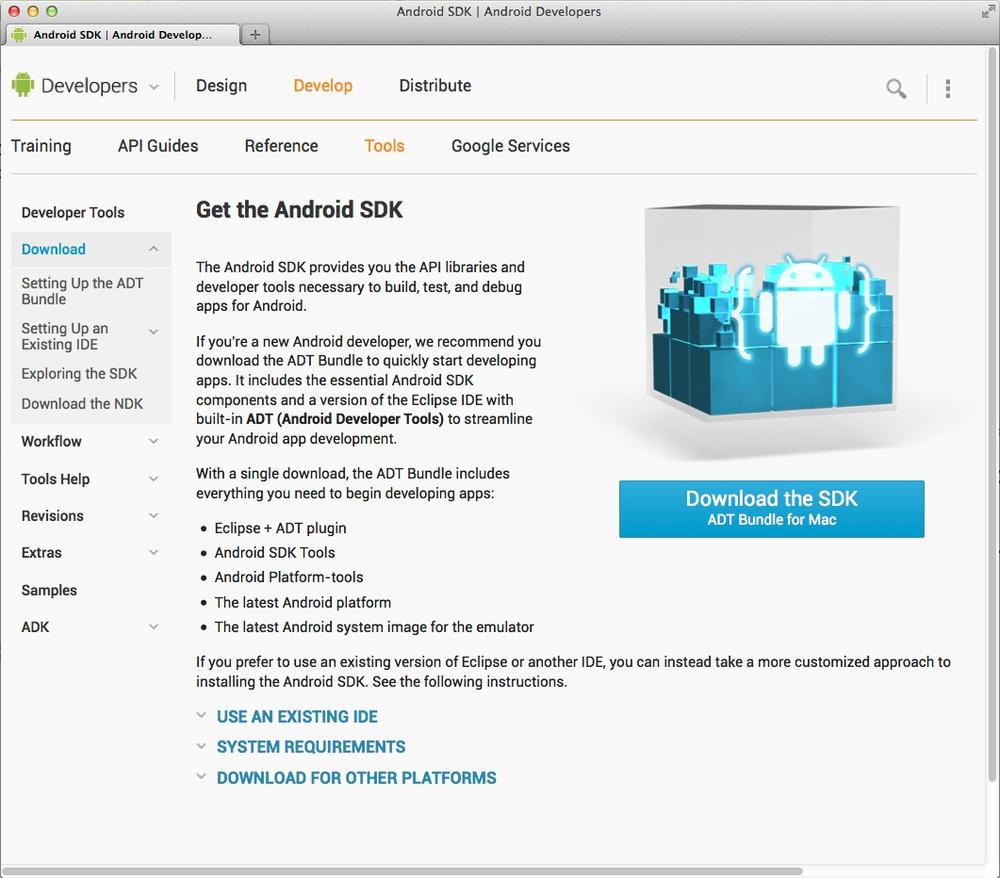
On the main page of the SDK site, you will notice a button to download the package, which currently looks like Figure 1-1. This link will automatically download the version for the OS you are using. Make sure you have good Internet connectivity (it is a large download—at the time of this writing, over 400MB).
Extracting the tools to Android Home
The next step in the installation is to extract the artifacts to an appropriate location on your filesystem. You will need to select the location to install the tools, which can be wherever you wish. I suggest placing this directory at a high level in the filesystem, in order to make it easier to reference, locate, and back up. Here are some suggestions:
If you are on a single-user machine or want to put everything in a common location, you could use the following locations:
Windows: C:\android
Linux or Mac OS X: /usr/dev/android
It is common and perfectly acceptable to put Android in your home directory. For instance:
Windows: C:\Users\youruserid\android
Mac OS X: /Users/youruserid/android
Linux: /home/youruserid/android
Unzip the downloaded artifact to the Android folder
Use the appropriate utility (such as WinZip on Windows, tar on Linux, or just double-click the file on Mac OS X) to extract the Bundle into the folder you chose in the previous step. If you do this correctly, you should see the android-sdk folder in the Android Home folder you created in the previous section. On Windows, this is C:\android\sdk, and on Mac OS X or Linux, it’s /usr/dev/android/sdk.
Setting your PATH variable
Next, you will need to append the location of the Android executables to your PATH environment variable. This is not strictly required, but makes it much easier to use the Android tools from anywhere on your system (and will be assumed in the examples in this book). All the executables we want to use from the command line can be found in the platform-tools and the tools directories in your Android installation.
Setting your PATH is different on each OS. Instructions about how to do this can be found on the help pages of each operating system, or in this article, which contains a great overview of how to set and use PATH and other environment variables.
You can verify that your path is set correctly by opening a new
terminal window and typing android at the
command prompt. This will launch the SDK Manager, which signifies you
did everything correctly and that you have successfully installed the
Android SDK. You will use the SDK Manager to download additional
components, but won’t need to use it now, since the ADT Bundle already
has the current platform included.
Validating the installation
To validate that everything was installed correctly, launch the Eclipse executable by clicking on or running ${android.sdk}\eclipse\eclipse. Eclipse will start, and prompt you to enter the location of the workspace. This is the location where your project-specific assets (source code, images, build scripts, and so on) will be stored. You can select whatever location you prefer, or just use the default value supplied. Eclipse will start, and you will see a customized version of the tool (named the Android Developer Tools – ADT). Congrats, your installation was successful.
Developing Without Eclipse
Although it is recommended that you use an IDE to help in the development process, the tools provided in the SDK can also be used on the command line or with other IDEs. You will be able to do almost anything you need (including compiling, building and packaging artifacts, launching emulators, and using the tools) strictly using the command line or other tools.
Command-Line Usage
To start using the tools from the command prompt, simply start a terminal window, and type the name of the tool you want to start at the command prompt. If you set your PATH variable properly (according to the instructions in Setting your PATH variable), you will be able to execute the various command from anywhere on your filesystem. Some examples of command-line usage can be found in Android Debug Bridge (ADB). The main way you will access the tools is through Eclipse, but you can also access them from the command line. This is useful for scripting or automation. It is not recommended to use them exclusively, as the tools integrated into Eclipse are excellent, make a lot of tasks simpler, and will likely make your coding more efficient.
Tip
Windows users can use Explorer to navigate to their C:\android\sdk\tools folder, highlight the full address, and simply replace it with cmd. Press Enter, and the command prompt starts at the location.
Using a Different IDE
It is not strictly necessary to use Eclipse for development. Many people have had success using Netbeans or IntelliJ. At the time of this writing, the officially supported IDE is Eclipse, which is the tool we will focus on for this book. In general, I suggest using the officially supported tools. This will ensure that you are able to get the latest updates and are using the most stable tool. Another important reason to stick with the suggested tools is that you will be using the same tools as a majority of the development community, so bugs you come across will likely be easier to fix because they’ll be encountered by a larger community of users.
The open-source nature of the Tools projects means that they are designed to be platform- and tool-agnostic. This means the development team takes care to ensure the tools run well everywhere. If you do have a preference for other development tools, you most likely will be able to use them for your Android projects. There are robust communities supporting various platforms, and in many cases, the alternate tools do things better than Eclipse.
At Google I/O 2013, the Android tools team announced support for a new IDE named “Android Studio” (Chapter 6 describes how to use it). This looks like an exciting alternative for the future. However, it is currently a very early release, so it is not ready for production usage.
The NetBeans IDE also supports Android development. Information about using this can be found on the Android Plug-in for NetBeans page on the Kenai website.
Configuring a Device for Development
The simplest way to test your applications is often by using an Android device. You can use almost any Android device for development, as long as you make a few changes in order to enable communication with the development tools.
Configuring a Physical Device for Development.
The instructions for setting up your device to be used as a development device are covered in Configuring a Physical Device for Development.
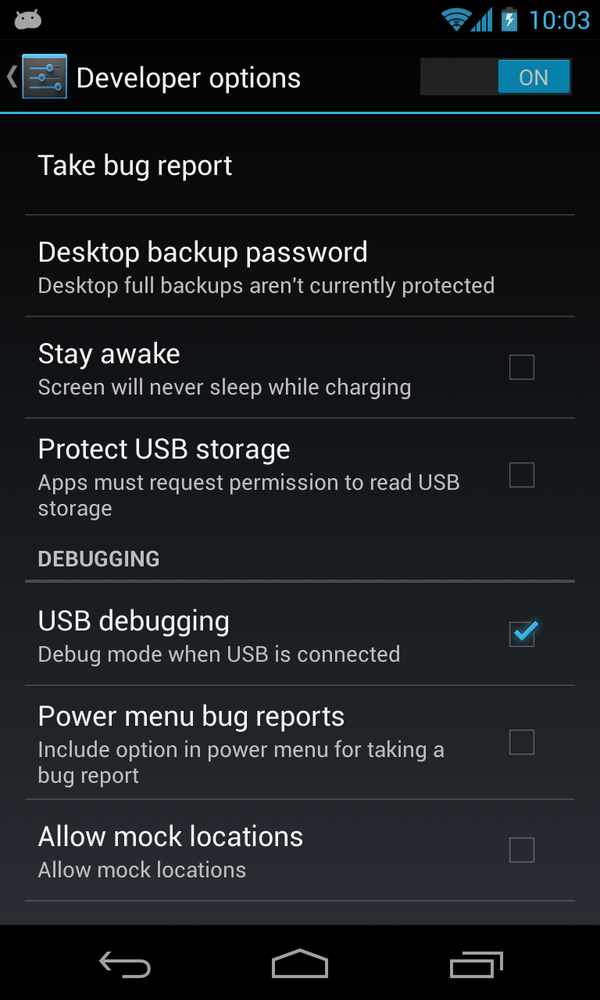
Change phone settings.
Launch the Settings app on your phone, then select → → . Check the box next to “USB debugging” to enable this functionality. The result should look like Figure 1-2.
Download the ADB driver.
In order to connect an Android-powered device for testing on Windows machines, it is necessary to install the appropriate USB driver. This is not necessary on Mac OS X or Linux.
You can find drivers at the website of the manufacturer of your phone. You may be able to find a driver through the Android Document website, which contains a list of links to software for many original equipment manufacturers (OEMs).
Validate debugging on the phone.
Connect your device to your computer. If everything went well, you will see a notification (
 ) from your operating system, indicating that
the device is installed and ready to use.
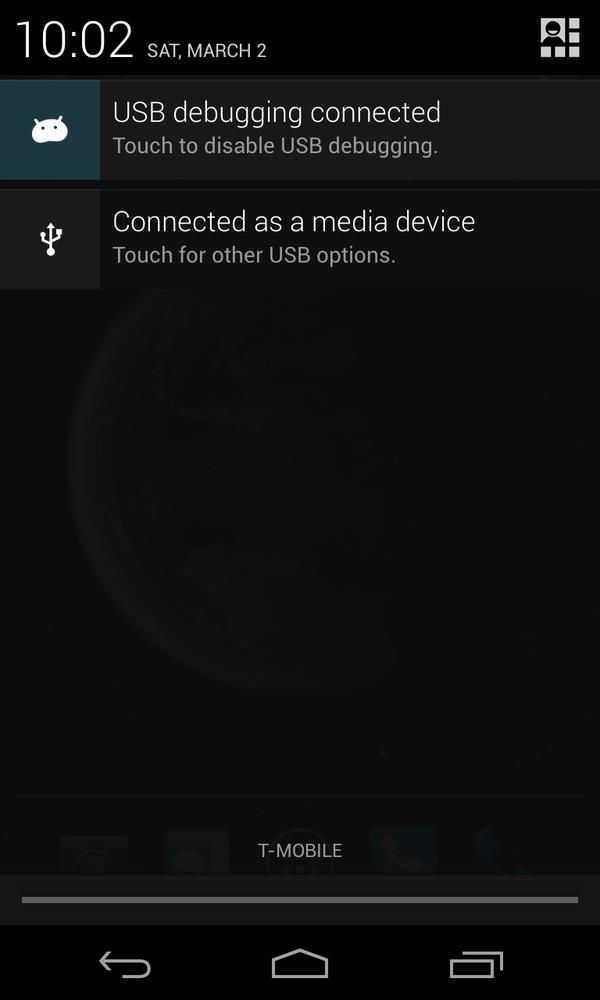
) from your operating system, indicating that
the device is installed and ready to use.You will also notice two new entries in the notification drawer of your device (shown in Figure 1-3). These will show that you are successfully connected. You can select them to launch the Settings application.
Congratulations! You have successfully installed everything you need to develop and test Android applications.
Get Android Developer Tools Essentials now with the O’Reilly learning platform.
O’Reilly members experience books, live events, courses curated by job role, and more from O’Reilly and nearly 200 top publishers.

