CREATING THE IOS APPLICATION
Finally, you can write your iOS application to receive push notifications. The following Try It Out shows how you can programmatically receive notifications received from the APNs server.
TRY IT OUT: Creating an iOS Application
![]()
- In Xcode, create a new Single View Application (iPhone) project and name it ApplePushNotification. You will also use the project name as the Class Prefix and ensure that you have the Use Automatic Reference Counting option unchecked.
- Drag and drop a WAV file (shown as beep.wav in this example) onto the Supporting Files folder in Xcode (see Figure 19-17).
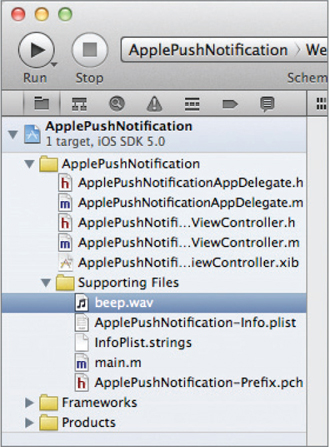
FIGURE 19-17
- Double-click on the project name in Xcode and select the ApplePushNotification target. Select the Info tab, and set the Bundle Identifier to net.learn2develop.BegiOS5PushAppID (see Figure 19-18). This is the Bundle Identifier you set when you created the App ID earlier. As mentioned earlier, you should use your own unique Bundle Identifier.

FIGURE 19-18
- Click the Build Settings tab and type Code Signing in the search box. In the Any iOS Device item (under Debug), select the profile that matches the Bundle Identifier, as shown in Figure 19-19.
FIGURE 19-19
- In the ...
Get Beginning iOS 5 Application Development now with the O’Reilly learning platform.
O’Reilly members experience books, live events, courses curated by job role, and more from O’Reilly and nearly 200 top publishers.

