Setting Up a Site (in Depth)
Organizing and maintaining a website—creating new folders and web pages; moving, renaming, and deleting files and folders; and transferring pages to a web server—can require going back and forth between a couple of programs. With Dreamweaver’s site management features, however, you can perform all those tasks from within one program. But to take advantage of this simplicity, you must first make Dreamweaver aware of your site; in other words, you need to give Dreamweaver some basic information about it.
Setting up a site in Dreamweaver involves showing the program which folder contains your website files (the root folder) and setting a few other options. You already know the very basics of setting up a site using Dreamweaver’s Site Setup window (Setting Up a Site). Here, you’ll get a detailed explanation of the options available in Site Setup.
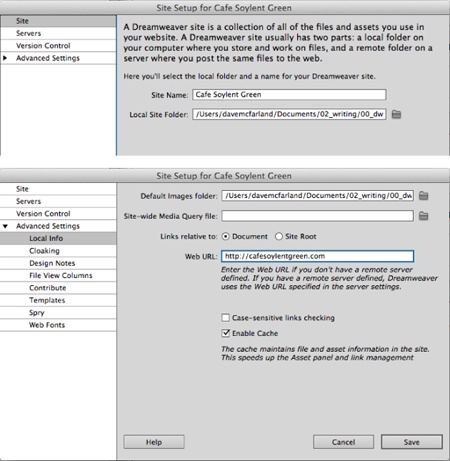
Start by choosing Site→New Site. That opens the Site Setup window (see Figure 15-4). It includes four categories of options where you specify the details of your site—Dreamweaver labels the categories Site, Servers, Version Control, and Advanced Settings.

Figure 15-4. Use the Site Setup window to tell Dreamweaver about your site files—where they’re located on your computer, where you want to put them on the Web, and how Dreamweaver’s site management tools should work with them. You’ll find the “Site-wide Media Query ...
Get Dreamweaver CS6: The Missing Manual now with the O’Reilly learning platform.
O’Reilly members experience books, live events, courses curated by job role, and more from O’Reilly and nearly 200 top publishers.

