Editing Images
Nothing’s ever perfect, especially when you’re building a Web site. Corrections are par for the course—not just to a Web page, but to the pictures on it, as well: “Hey, can you change the text on that button from ‘Now Firing’ to ‘Now Hiring'?”
In the hands of less-capable software, you’d face quite a tedious switching-and-opening task each time you wanted to open a graphic. You’d have to open Photoshop, Fireworks, or whatever graphics program you prefer; choose File→Open; navigate to your Web site folder; find the graphic that needs touching up (if you can even remember its name); then open it to make your changes.
Dreamweaver proves much more considerate of your time, because it lets you specify your favorite graphics program. Thereafter, using that program to edit a picture on your Web site is as easy as a couple of clicks.
Setting Up an External Editor
Before you can take advantage of this timesaving feature, you need to tell Dreamweaver which graphics program you want to use.
Choose Edit → Preferences (Dreamweaver → Preferences in Mac OS X).
The Preferences dialog box opens, as shown in Figure 5-9.
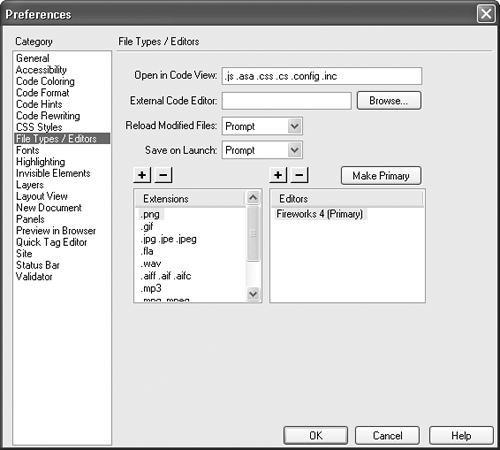
Figure 5-9. You can select external editors for various types of Web files—including graphics formats such as GIFs, JPEGs, and PNGs—from the File Types/Editors category of the Preferences dialog box.
In the left pane, click File Types/Editors.
The Preferences box now shows ...
Get Dreamweaver MX: The Missing Manual now with the O’Reilly learning platform.
O’Reilly members experience books, live events, courses curated by job role, and more from O’Reilly and nearly 200 top publishers.

