A Quick Castle Tour
Templates are great for putting out quick projects that still look professional. Many times, though, you really want custom menus that show off your project's content. You can create some fun menus with video backgrounds and video buttons, but we'll save that for the next chapter. Here we're going to tackle some intricate menus built with the all-powerful Photoshop layers. You need to make sure you learn to love Photoshop layers. They get used all over the place for all manner of clever tricks.
You might find it easier to keep both a "raw" and a "flat" copy of your document. You'll find that no project is ever really finished. Being able to go back to your raw document to quickly fix a typo might save your sanity one day.
Our first layered menu
We'll start this project in Photoshop to create the layered document we'll use for our castle tour menu. We need a background, a title, and a few buttons to help users navigate to the video clips. The background and title are pretty straightforward, as shown in Figure 3-13.
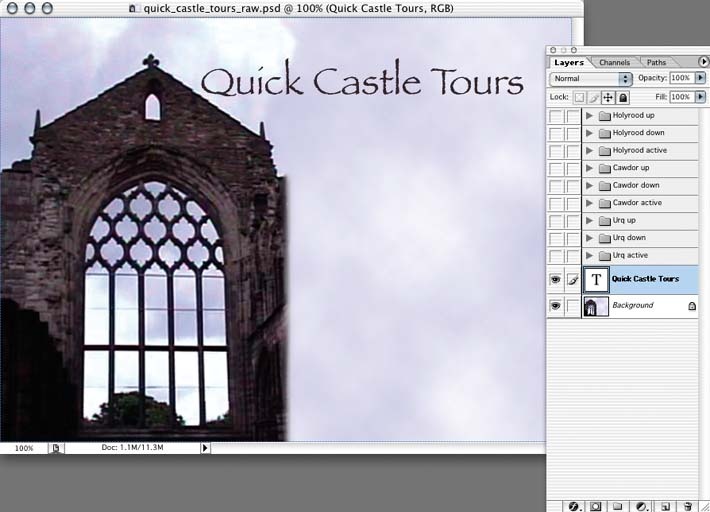
Figure 3-13. The background and title layers of a layered menu in Photoshop
The buttons, however, are the interesting part here. We need to create three layers for each button: a normal layer, a selected layer, and an activated layer. DVDSP will turn those layers into the actual states of the button in your menu. One button on the screen will show its selected ...
Get DVD Studio Pro 3: In the Studio now with the O’Reilly learning platform.
O’Reilly members experience books, live events, courses curated by job role, and more from O’Reilly and nearly 200 top publishers.

